Einleitung

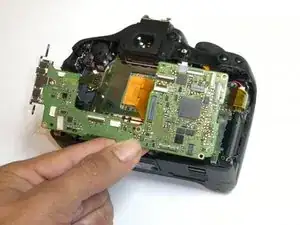
Replacing the motherboard is a last resort for correcting water damage to the camera. This guide will help you remove it step-by-step.

  1. bAm42cfRNog1r5Tr
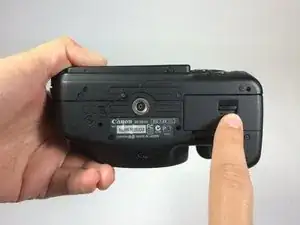
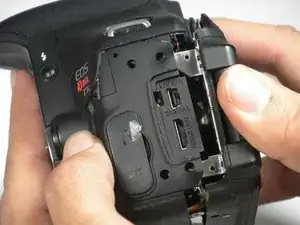
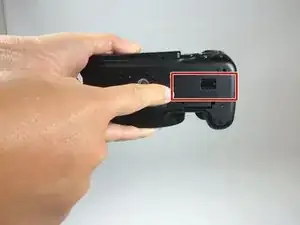
    • Locate the battery compartment on the bottom of the camera.

  2. 5chA6egdVXQVinPU
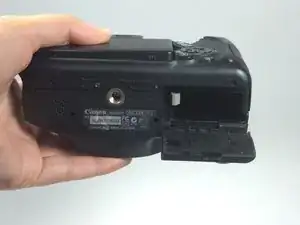
    • Hook your finger onto the compartment door latch.

    • Open the battery compartment door.

  3. wpYnkD2unGaDqVKU
    • Remove the battery from the compartment.

  4. FcGAJ2KgmrewMGFc
    FcGAJ2KgmrewMGFc
    2NeqQWFuUYX4V6qJ
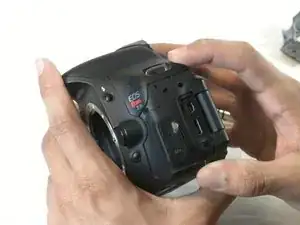
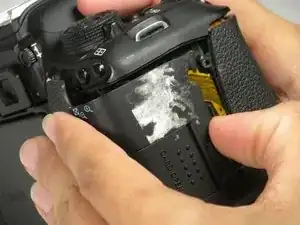
    • Peel away the rubber grip on the left side of the camera with your fingers.

    • The grip should feel like a thick sticker as it comes off.

  5. XWkaCbZIQLeBjIE6
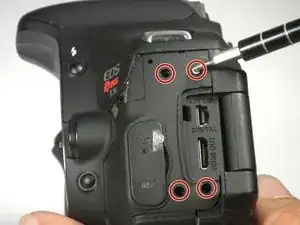
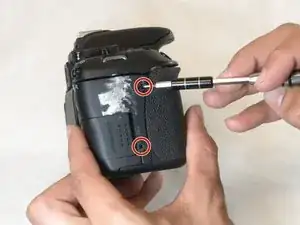
    • Remove four 3 mm Phillips #000 screws on the left side of the camera.

  6. Rj6xVKuh3V2rWDSd
    Rj6xVKuh3V2rWDSd
    wyjhKMFlvTRaXsdD
    iLsBfOnZkDMDYqDQ
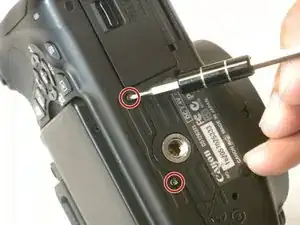
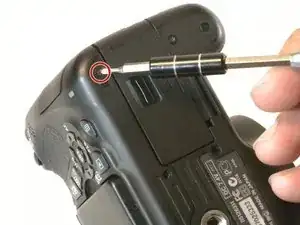
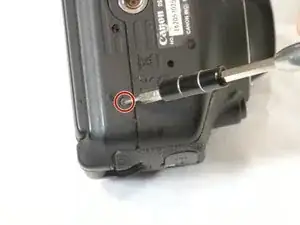
    • Remove four 3 mm Phillips #000 screws on the bottom of the camera.

    I’m using the 000 screwdriver but the screws won’t come lose. Does anyone have a solution?

    Joran Peeks -

  7. ga3N4B5vUCEvJtOI
    • Remove two 3 mm Phillips #000 screws on the right side of the camera.

  8. C6MdD6KWqwJacfU2
    C6MdD6KWqwJacfU2
    VheFx44AN2FoOvhu
    • Remove the back of the camera by lifting from both the left and right sides.

    • Be careful not to break the orange and blue cables connecting the back panel of the camera to the motherboard.

  9. IgPjhoxsIU3cSbZP
    • Disconnect the orange cable at the bottom of the camera by gently pinching with your fingers.

  10. dySU2jNbGkNdY6To
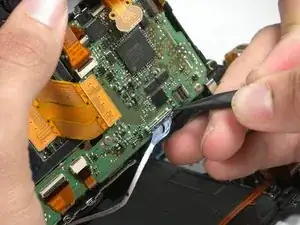
    • Detach the blue cable by sliding the pointed end of a spudger between the motherboard and the silver prongs connected to the cable.

    where can I order this blue cable? I broke mine when performing this step:(

    Rob Waterman -

  11. 2WgSSkvTfO25Pp2d
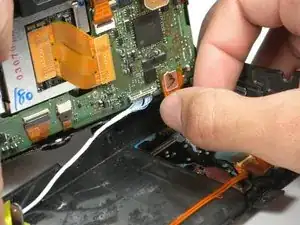
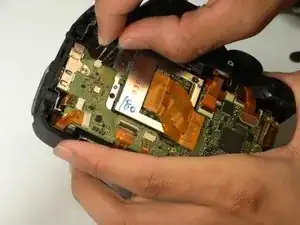
    • Locate the cable on the top left corner of the motherboard.

    • Pinch the round, white connector with tweezers and gently remove the cable.

  12. JkqFLMVHeFOXMy6P
    JkqFLMVHeFOXMy6P
    iUVYbbNn4ZKkk1D2
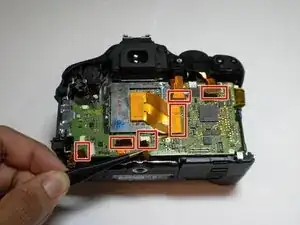
    • With tweezers, pinch the ends of the remaining orange ribbon cables, and gently pull these ends off of the motherboard.

    • Leave the other end of all ribbon cables attached to their components.

    Sometimes it’s easier to use a spudger to lift the plastic rails holding the cables in place, and using the edges of the cable and the pointed end of the spudger to push them out.

    Máté Homolya -

  13. TwRiMN3tAJAZYK5m
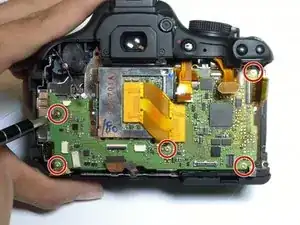
    • Remove the five 4 mm Phillips #000 screws.

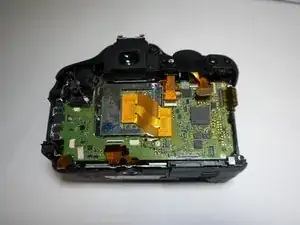
  14. SNDgSRduO6UqW6Mx
    • Gently lift the motherboard away from the camera.

Abschluss

To reassemble your device, follow these instructions in reverse order.

Natalie Crock

Mitglied seit: 27/08/15

752 Reputation

7 Kommentare

Publicación muy esmerada y didáctica, gracias.

Japons -

There was one huge step left out. On the T3i there is a fiber optic cable connection on the underside, top right hand side of the motherboard. If you don't reconnect this before reassembly your camera won't work. It is difficult to make sure both this cable and the adjacent white round-wire cable are connected before putting the motherboard back in place.

Albert Einstein -

How do you connect it?

art.w.abate -

I concur with Albert Einstein. It was very difficult. This should be mentioned int the steps, not reserved for the comments!

Raymond Pedersen -

Yes, 15 step. to make it easier to connect the optical cable and the second rear cable is better to remove the top cover

Evgeny Rozalenok -

I want to know a camera repair shop where I can send my Canon Rebel T3i.

joleneg4147 -

Will you please get back to me as soon as possible!!!

joleneg4147 -