Einleitung
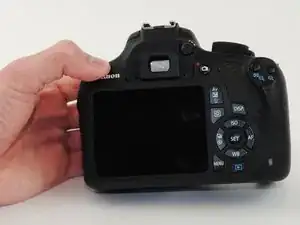
If you are going to replace any of the major components of your camera, you will need to first remove the back panel. This guide will teach you how to open up your camera.
Werkzeuge
-
-
Lay the camera on its back so that the card/battery door is facing you.
-
Using your fingernail, slide the tab on the battery door up to release the battery door latch.
-
-
-
Lift the now free card/battery door to reveal the battery compartment.
-
Push the gray lever to the right side so that the battery can be removed and replaced with a new one.
-
-
-
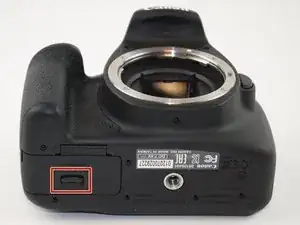
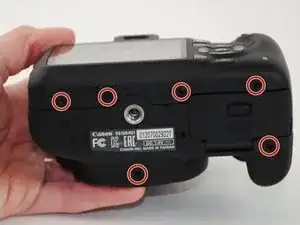
Turn the camera so that the back is facing to your right.
-
Remove the 5mm Phillips #000 screw above the rubber USB port cover.
-
-
-
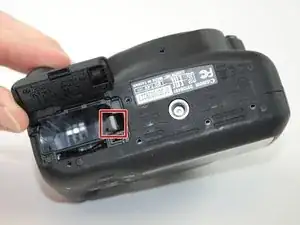
Remove the rubber piece.
-
Unscrew the two screws under the rubber cover to completely remove the rubber cover piece.
-
-
-
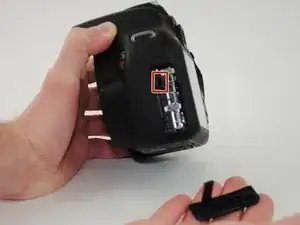
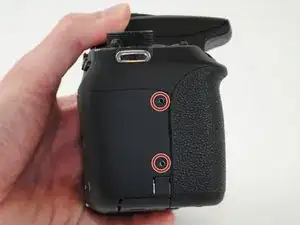
Now turn the camera so that the front is facing towards your right.
-
Remove the two remaining 5mm Phillips #000 screws.
-
-
-
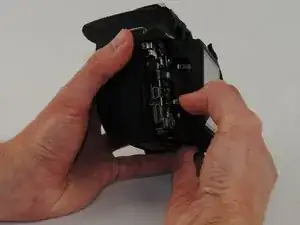
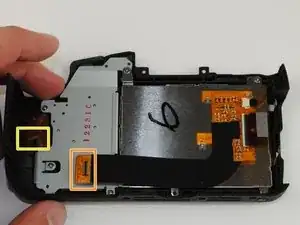
Now that all of the exterior screws have been removed, grip the camera firmly on both sides.
-
Gently pry the back panel from the main body of the camera.
-

To reassemble your device, follow these instructions in reverse order.