Einleitung

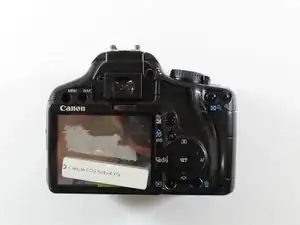
This replacement guide shows how to remove the camera's LCD screen. The back panel must be removed before hand.

  1. 4FItVIUMUfa1GeW3
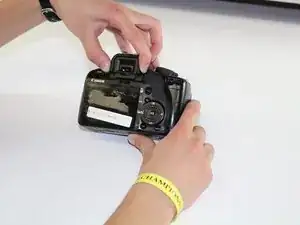
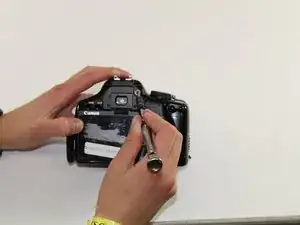
    • Squeeze the eyepiece between your index finger and thumb and lift up and off.

  2. xcJH6OSgboijlF3t
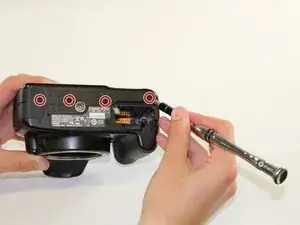
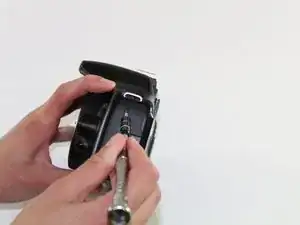
    • Using the PH000 screwdriver head, remove the four 4 mm screws on the bottom of the camera.

  3. APuW1SXcucXODQE4
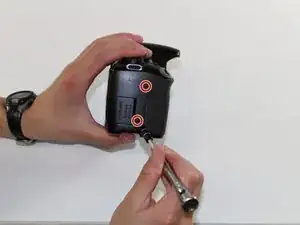
    • Using the PH000 screwdriver head, remove the two 3mm screws on the right side of the camera (from the LCD screen).

  4. xdZ4cpsgib1tFIdU
    • Remove grip by slowly peeling off.

  5. ESGUDQnlSAGgh2jj
    • Using the PH000 screwdriver, remove the four 4mm screws behind the eyepiece.

  6. GdJdKa1nhobtcSPu
    • Using the PH000 screwdriver head, remove one 4 mm screw on the left side of the camera (from the LCD screen).

  7. H2cPu1hEXYnGpXyv
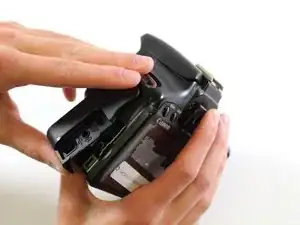
    • Remove the side panel by lifting off with fingers.

  8. l1ETeDISttLCYXq4
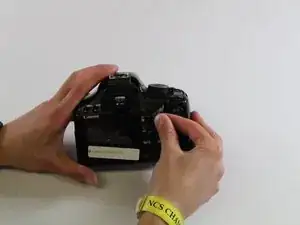
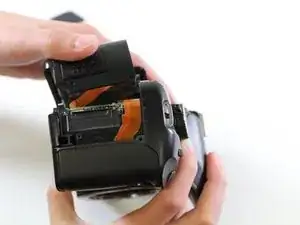
    • Use hands to pry off the back panel.

  9. wA4y46qBrP5ihxgF
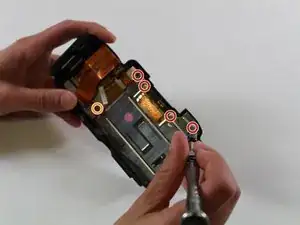
    • Using the PH00 screwdriver head, unscrew four 4 mm screws and one 2 mm screw

  10. MQPlK3n6BhcGwlqF
    MQPlK3n6BhcGwlqF
    dkMSdBuwfNxWYHGL
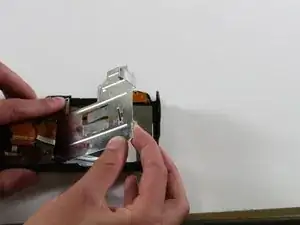
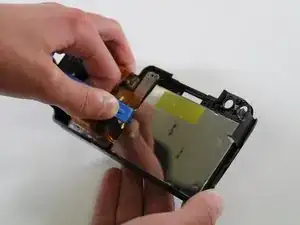
    • Remove the metal plate covering inside of the LCD screen

  11. L4KHXIEfsCD2Gk1L
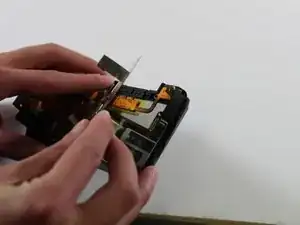
    • Carefully disconnect the circuitry sheets from the white plastic bases

  12. MJ5MeOVIXul4VXUE
    MJ5MeOVIXul4VXUE
    fJwuiFB6VmmQDopo
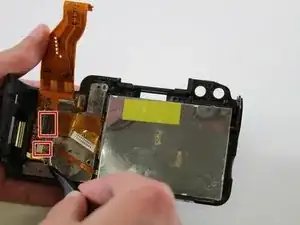
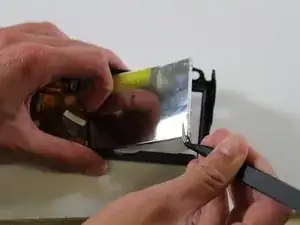
    • Using the plastic spudger, carefully pry out the LCD screen from the back panel

Abschluss

To reassemble your device, follow these instructions in reverse order.
Erik Mork

Mitglied seit: 27/01/17

596 Reputation

0 Kommentare