Einleitung
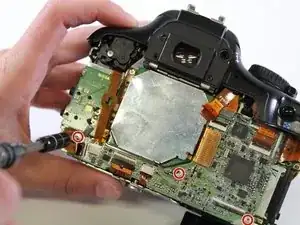
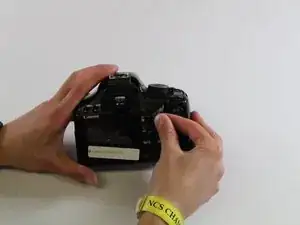
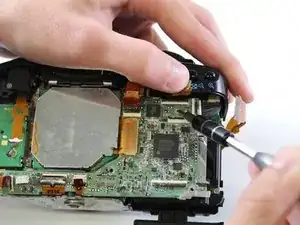
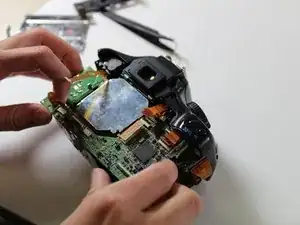
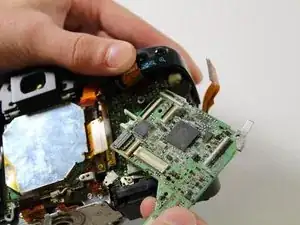
This replacement guide shows how to remove the camera's motherboard, located on the back side of the camera. The motherboard allows all the individual components to communicate; without a functional motherboard, you're just working with some very expensive scrap-metal. Motherboards are not a common point of failure, but if your device has been water damaged, dropped, or otherwise isn't functional, and other component failures have been ruled out, it's time to replace the motherboard.
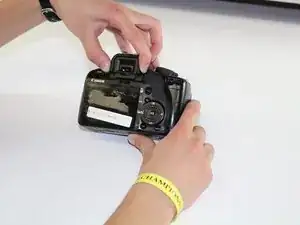
The back panel must be removed to access this component.
Remove the battery before beginning.
Werkzeuge
-
-
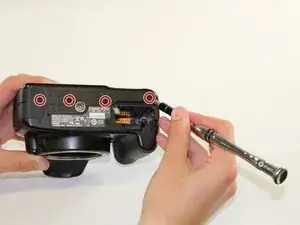
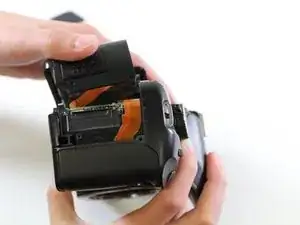
Using the PH000 screwdriver head, remove the four 4 mm screws on the bottom of the camera.
-
-
-
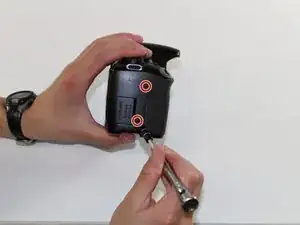
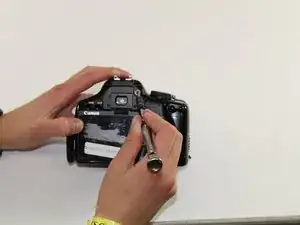
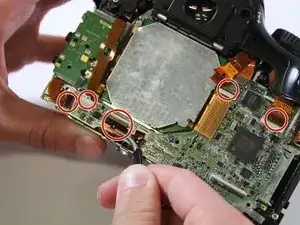
Using the PH000 screwdriver head, remove the two 3mm screws on the right side of the camera (from the LCD screen).
-
-
-
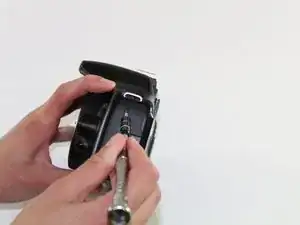
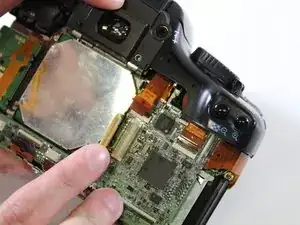
Using the PH000 screwdriver head, remove one 4 mm screw on the left side of the camera (from the LCD screen).
-
-
-
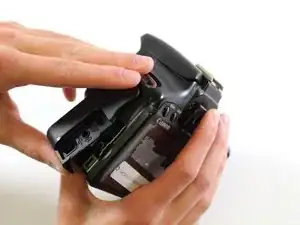
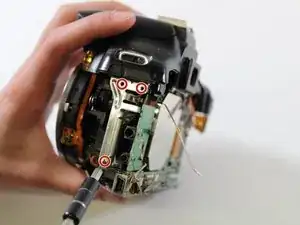
Using the PH00 screwdriver head, unscrew the three 3mm screws on the left side of the camera.
-
To reassemble your device, follow these instructions in reverse order.
