Einleitung
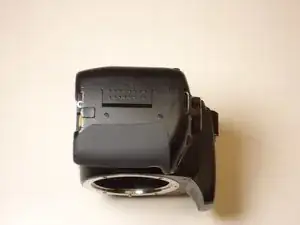
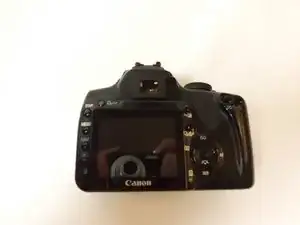
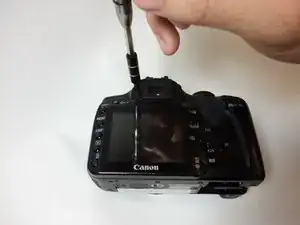
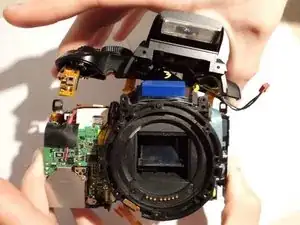
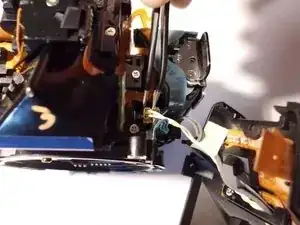
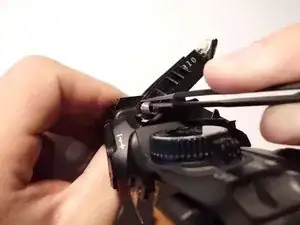
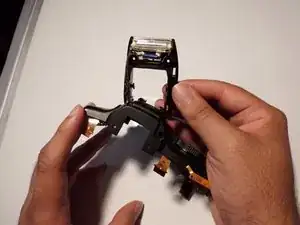
After long term use, it is possible that the flash module on your camera is stuck in position and can only be opened manually, or the light has burnt out. In either case it is safe to say that the module needs to be replaced. Use caution when removing the module because there are several wire harnesses connecting the module to the motherboard.
Werkzeuge
-
-
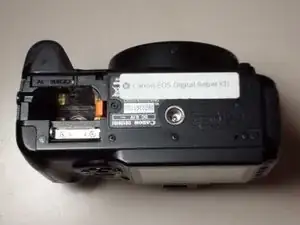
To remove the secondary battery, reposition the camera to where the display screen is facing upwards.
-
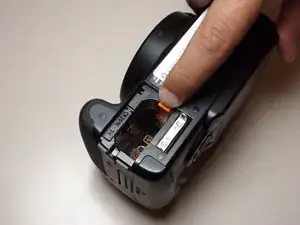
Place your finger inside the empty battery compartment and pull away from the camera on the ridged battery tab.
-
-
-
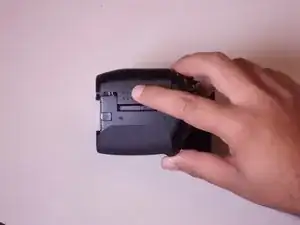
Place the camera on its side with the soft touch grip facing up and the top of the camera facing right.
-
-
-
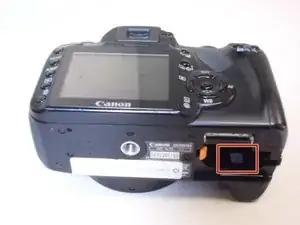
Slide the memory card door in the direction of the arrow engraved on the camera.
-
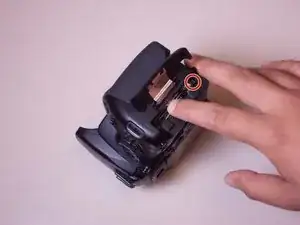
Once the door has slid open to its full position, lift up on the door.
-
-
-
With the door open, push down the small black plunger next to the CF slot. The CF card will disengage from the slot and be ejected far enough that you can grasp it between thumb and forefinger and remove it from the slot.
-
-
-
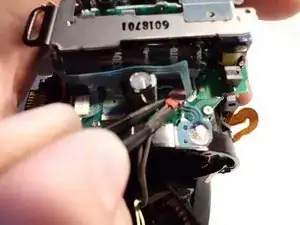
Separate the top casing from the electrical components enough to expose the wire harnesses that will need to be disconnected.
-
-
-
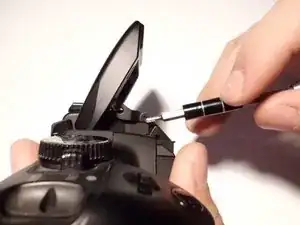
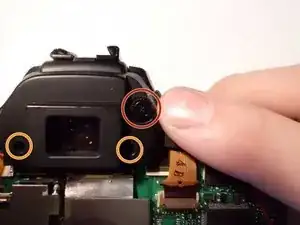
Use a J00 screwdriver to remove the two 3 mm screws on the retention arms. There is one arm on each side of the module.
-
Remove the Retention Arms.
-
-
-
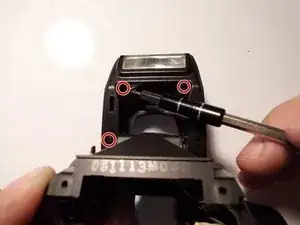
Use a J00 screwdriver to remove the three 3 mm screws on the flash cap.
-
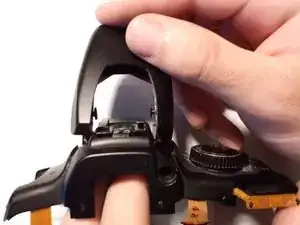
Remove the flash cap.
-
-
-
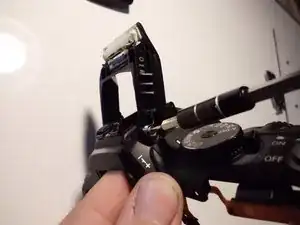
Remove the 7 mm phillips head screw on the flash hinge.
-
Using the straight tweezers remove the spring from the hinge hole.
-
-
-
Lift the side of the flash module closest to the on/off button towards the opposite side of the camera.
-
Pull the wires gently through the top of the camera to completely remove the flash module.
-
To reassemble your device, follow these instructions in reverse order.
3 Kommentare
Between steps 7 and 8, you left out removing the rest of the body covers. The top won't come off without removing the front, back, and sides.
