Einleitung
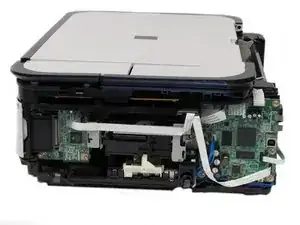
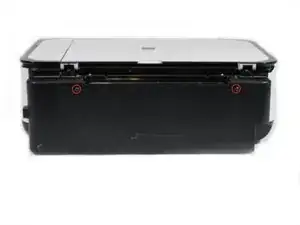
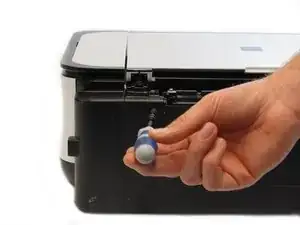
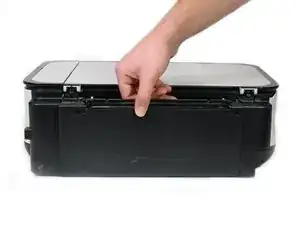
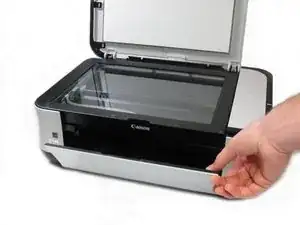
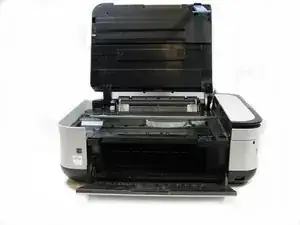
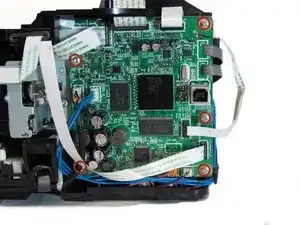
This guide will show you how to detach the motherboard from the printer, in order to replace or repair it.
Werkzeuge
Ersatzteile
-
-
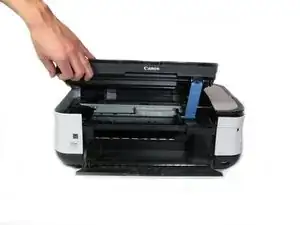
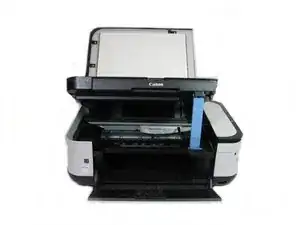
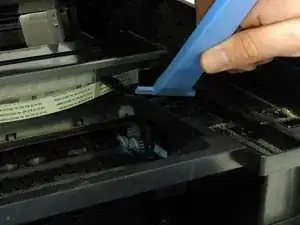
Remove the blue lever from its slot by pushing it back and twisting clockwise.
-
Close the scanner compartment and cover.
-
-
-
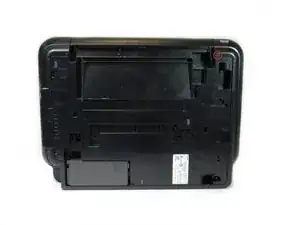
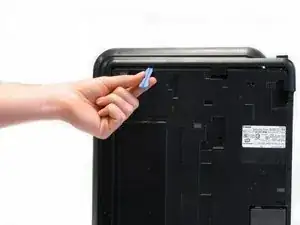
Flip the printer over so that you are facing the bottom of the printer.
-
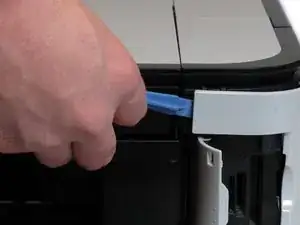
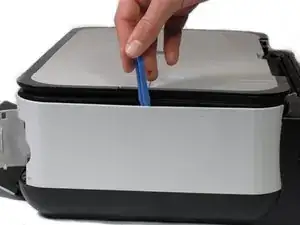
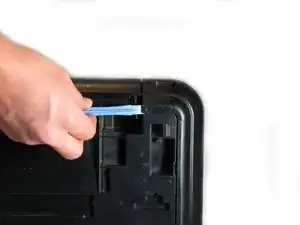
Use the plastic opening tool to remove the corner of the side panel from the plastic pin.
-
-
-
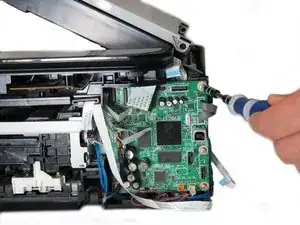
Unscrew the five silver Phillips screws that secure the motherboard:
-
Five 3.65mm Phillips #1 screws.
-
-
-
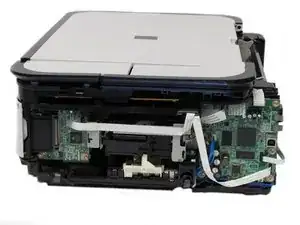
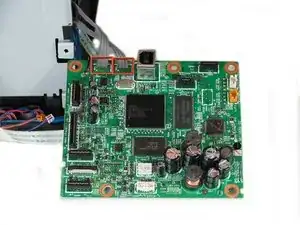
Once all wires and screws have been removed, gently take the motherboard out of the printer.
-
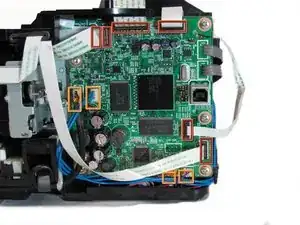
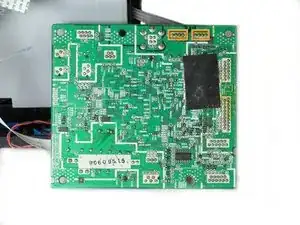
These wires are soldered onto the bottom of the PCB and must be de-soldered in order to completely detach the motherboard from the printer.
-
De-solder these eight solder joints on the bottom of the motherboard.
-
When reinstalling the motherboard back into the printer, solder the highlighted joints (in orange markers in the second photo) back onto the board.
-
Congratulations on successfully removing the motherboard from the printer! To reassemble the motherboard, follow these instructions in reverse order.
