Einleitung
This guide requires that you use a Phillips head screwdriver to remove the screws holding the buttons in place.
-
-
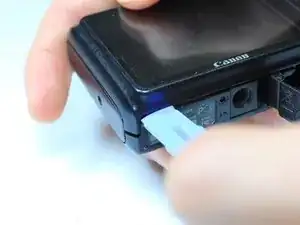
First, remove the batteries and memory card.
-
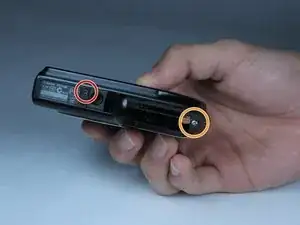
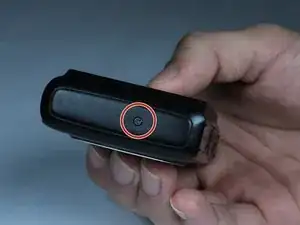
Remove the 5.0 mm black screw with a Phillips #00 screwdriver.
-
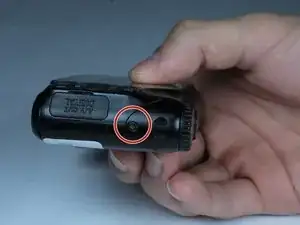
Remove the 5.0 mm silver screw with a Phillips #00 screwdriver.
-
-
-
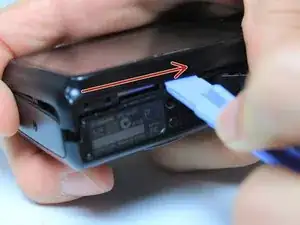
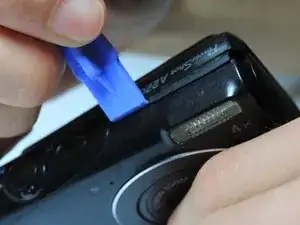
Begin taking off the back cover with a plastic opening tool.
-
Begin by wedging the plastic opening tool behind the bottom left corner of the LCD screen as shown.
-
Slide the plastic opening tool to the right, along the mating edge, to pry off the back cover.
-
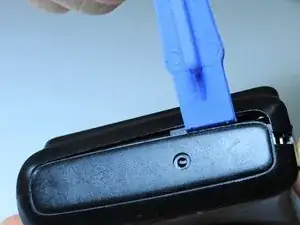
Continue taking off the back cover along the left side of the camera as seen in the third picture.
-
-
-
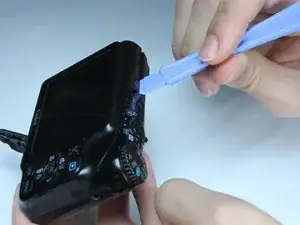
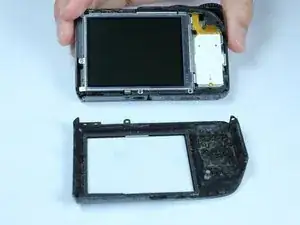
Use the plastic opening tool to separate the top section of the back cover from the frame.
-
Once there is enough separation between the back cover and the frame, remove the back cover for replacement.
-
-
-
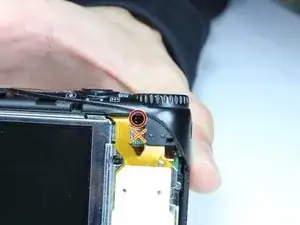
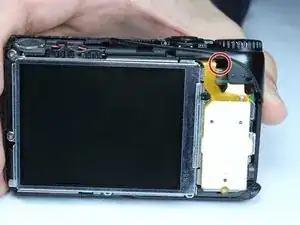
Gently lift of the buttons for replacement. They should come off without excessive force.
-
If the buttons do not lift off easily, you may have unscrewed the wrong screw. Revert to previous step.
-
To reassemble your device, follow these instructions in reverse order.