Einleitung
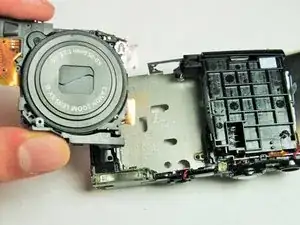
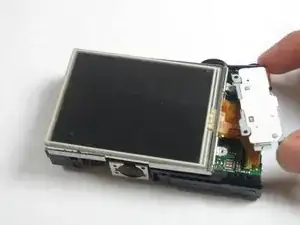
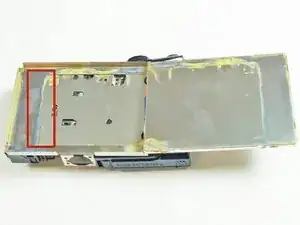
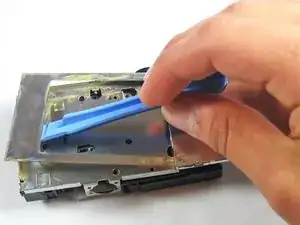
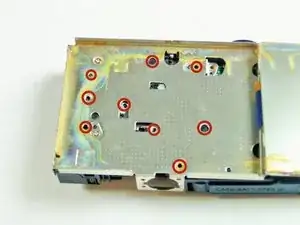
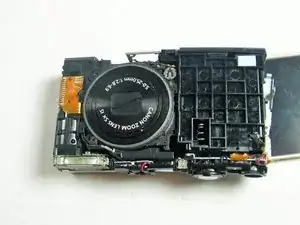
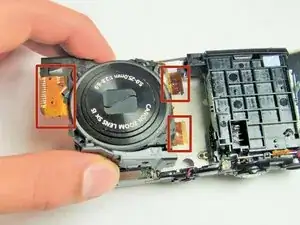
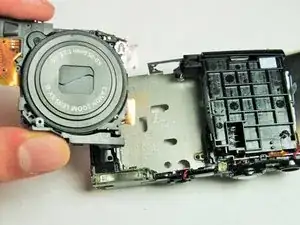
Replacement of the lens usually needs to take place when the lens no longer retracts or when the lens has been damaged due to scratches or cracks. This scenario is usually accompanied by the common E18 error showing up on the LCD display.
Werkzeuge
-
-
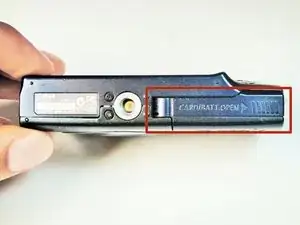
Remove the battery by pushing the orange object outwards; the battery will spring up and out.
-
-
-
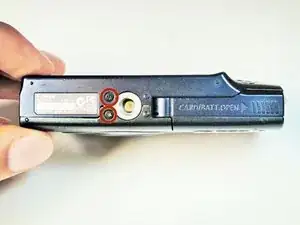
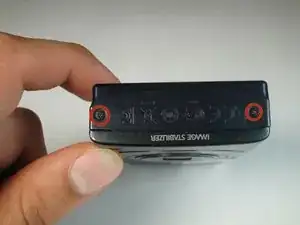
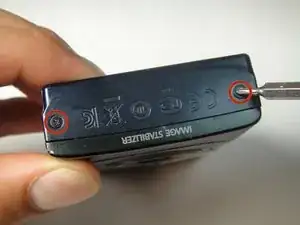
Place the camera on to the side that has the image stabilizer label.
-
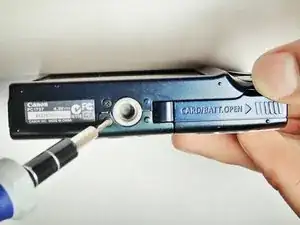
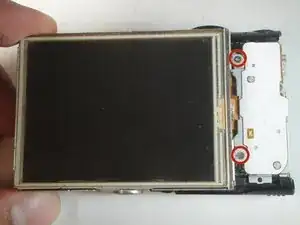
Remove the 5.00 mm screws that are on this side using the screwdriver.
-
-
-
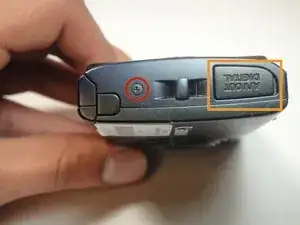
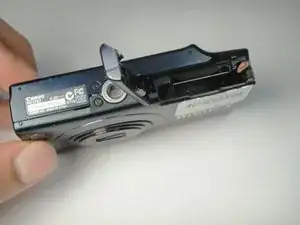
Place camera on to the side with the A/V Out Digital Cover facing up.
-
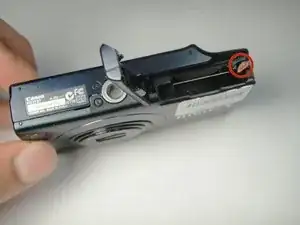
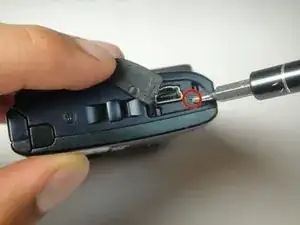
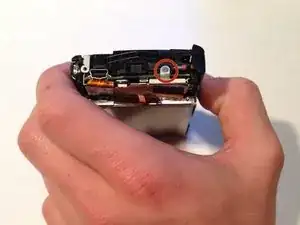
Remove this visible 5.00 mm screw.
-
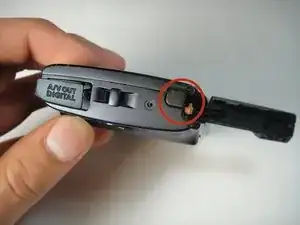
Pull the A/V Out Digital cover back to uncover the next step.
-
-
-
Turn the camera onto the side with the A/V out Digital cover.
-
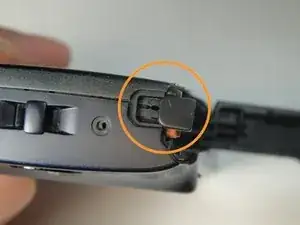
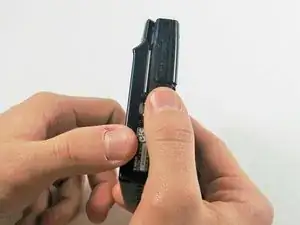
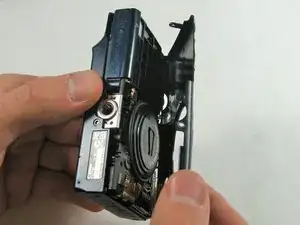
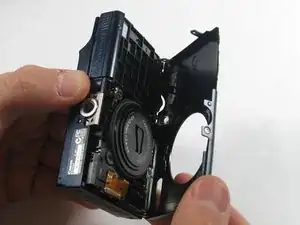
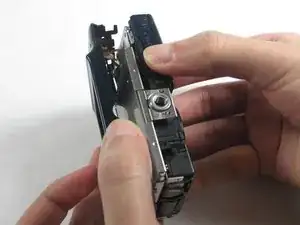
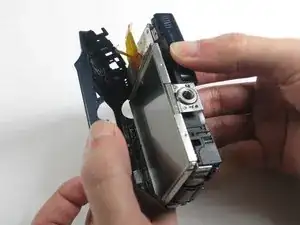
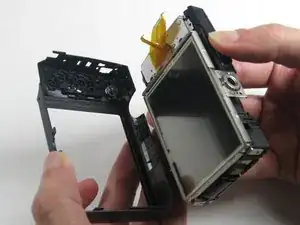
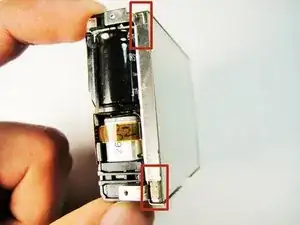
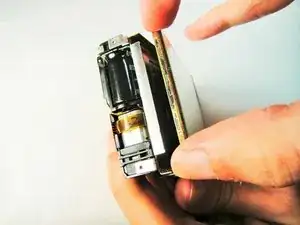
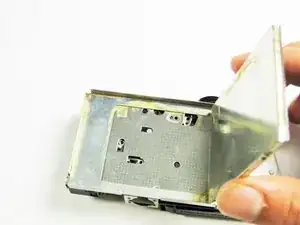
Use your finger to pull this tab to the right.
-
To reassemble your device, follow these instructions in reverse order.
2 Kommentare
SOOOO! How do you plug those oranges wires back?? Ive been wasting my time trying to plug it but i have no clue how.. It's too short and its hard to secure it..
The Heat -
I don’t own this camera but that does look like an oversight in this guide. Those are flex cables secured by ZIF connectors and it’s not enough to just “pull them slowly” as originally stated in this guide. I’ve tried to update the instructions accordingly, but some additional pictures would be helpful.
