Einleitung
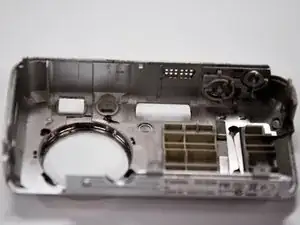
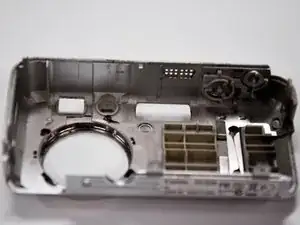
This guide will guide the user towards removing the front casing and preparing the camera for future repairs.
Werkzeuge
-
-
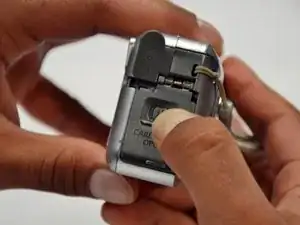
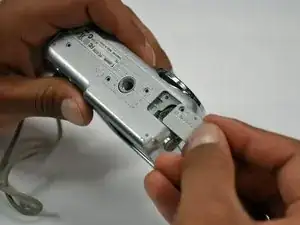
Slide the switch on the battery cover labeled "CARD/BATT. OPEN." to the right.
-
While still holding the switch, pull the cover down, allowing it to release and open.
-
-
-
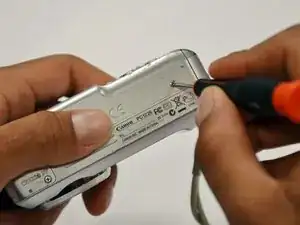
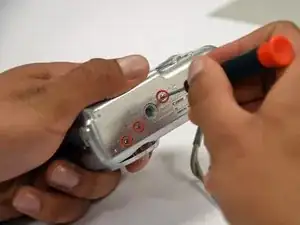
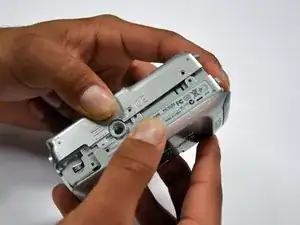
Remove the 4mm Phillips #00 screw that is located on the left side of the camera, if the display screen is facing you.
-
-
-
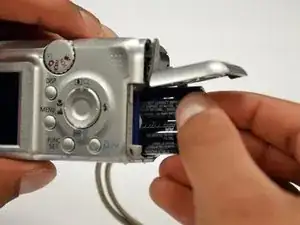
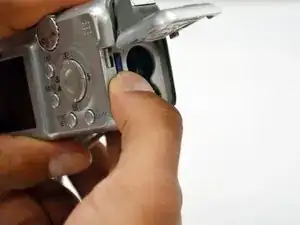
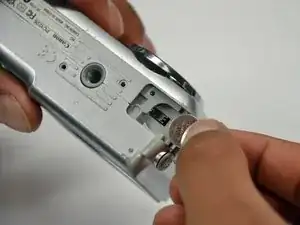
Remove the second battery cover on the bottom of camera.
-
Take the silver battery out of the camera.
-
-
-
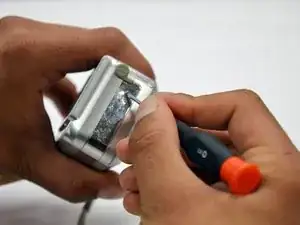
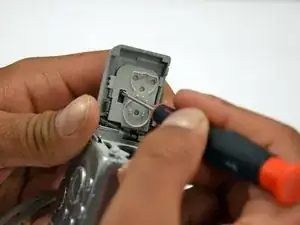
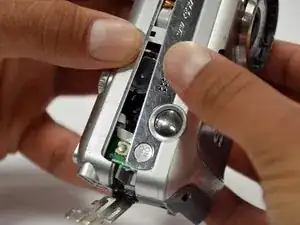
Remove the 4mm Phillips #00 screw on the inside of the flap that hides the battery and memory card slots.
-
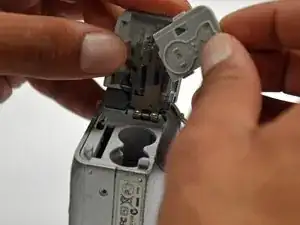
Remove the light grey, plastic piece.
-
Remove the plastic portion of the battery flap cover. The metal piece will remain attached.
-
-
-
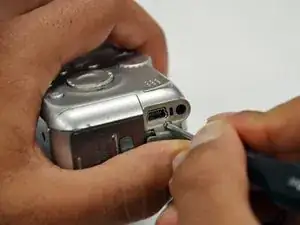
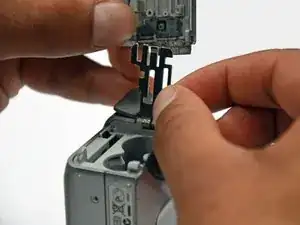
Slightly pull on each side of the camera. It should loosen up and come apart.
-
If it does not pull apart right away, use a little more force.
-
Do not give up!
-
To reassemble your device, follow these instructions in reverse order.
