Einleitung

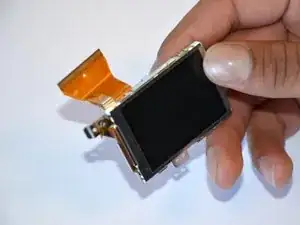
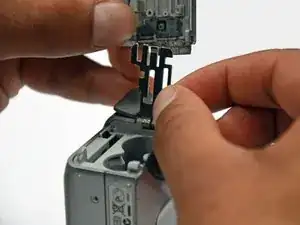
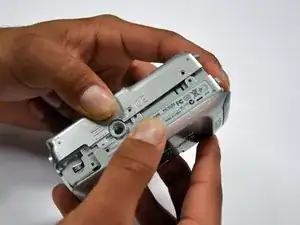
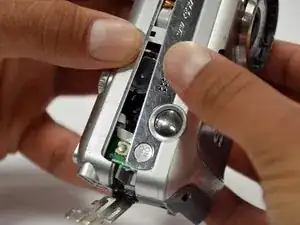
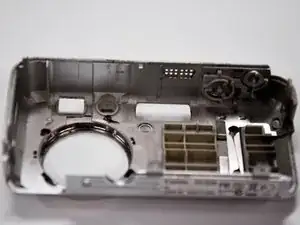
Involving removal of the camera casing as well, this guide will help the user remove the LCD screen to repair or replace it.

  1. DNAR6XvqGNonBwfE
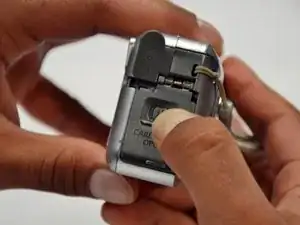
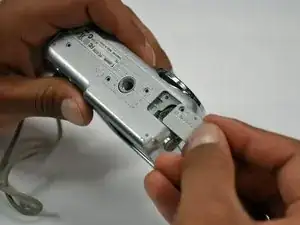
    • Slide the switch on the battery cover labeled "CARD/BATT. OPEN." to the right.

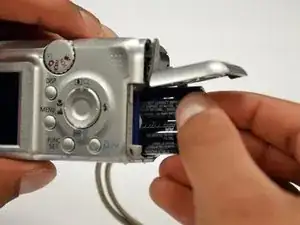
    • While still holding the switch, pull the cover down, allowing it to release and open.

  2. 2YcGZ2tQ3mQKy4np
    • Tilt the camera slightly to allow the batteries to fall out.

  3. ZPgSTP2Dhh3YM4Ns
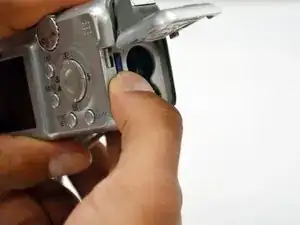
    • Press on and release the memory card to eject it.

  4. XxTrgvax1kcSdNtt
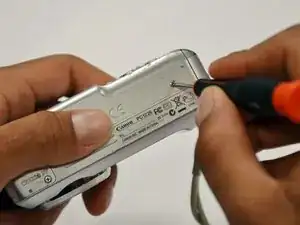
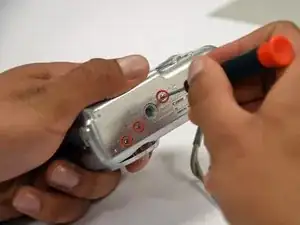
    • Unscrew the 5mm Phillips #00 screw from the bottom of the camera.

    • Make sure to keep the different size screws organized to make reassembling the camera simpler.

  5. 2ejiXXNIUoWULgrp
    • Unscrew the three 2mm Phillips #00 screws that are located on the bottom of the camera.

  6. 2nWDacX4nPHWZoCs
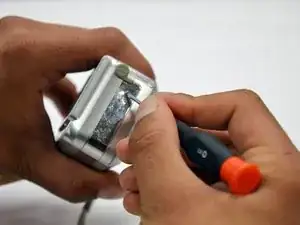
    • Remove the 4mm Phillips #00 screw that is located on the left side of the camera, if the display screen is facing you.

  7. WV3sAlkeAxSLWjVl
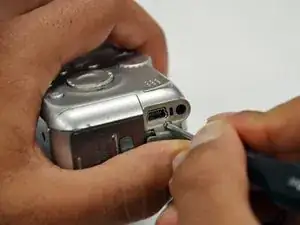
    • Take out the 4mm Phillips #00 screw under the rubber flap on the right end of the camera.

  8. Nhttgscad3GyBGxI
    Nhttgscad3GyBGxI
    HCg1XNinJxmQRcW2
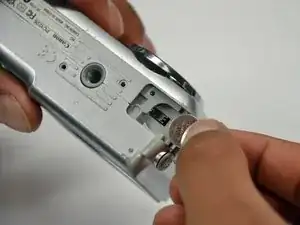
    • Remove the second battery cover on the bottom of camera.

    • Take the silver battery out of the camera.

  9. MlNOGqaONEgyjRQv
    MlNOGqaONEgyjRQv
    4ygPsP3Fh3cSsxR2
    ZuRKaEPYTEdTtKj1
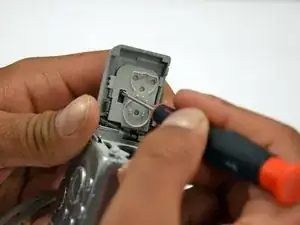
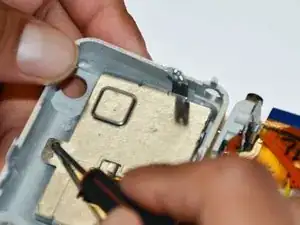
    • Remove the 4mm Phillips #00 screw on the inside of the flap that hides the battery and memory card slots.

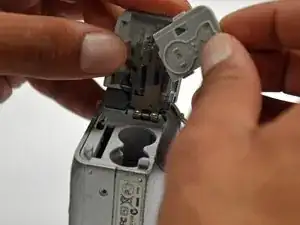
    • Remove the light grey, plastic piece.

    • Remove the plastic portion of the battery flap cover. The metal piece will remain attached.

  10. sABWSYvRESqTUmu3
    sABWSYvRESqTUmu3
    dlATFvQSQ1qh2EWi
    JqJgifwiQWsNFTRG
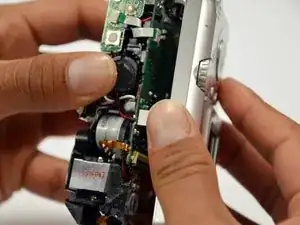
    • Slightly pull on each side of the camera. It should loosen up and come apart.

    • If it does not pull apart right away, use a little more force.

    • Do not give up!

  11. ZoYBQlq4CQGmAVPq
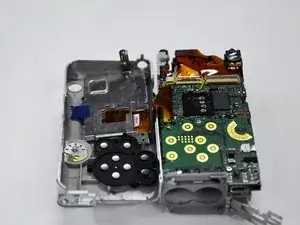
    • Remove the back case of the camera by pulling from the top.

    • Be careful when pulling off the case. There is a delicate gold ribbon connecting the bottom of the camera to the back case.

  12. 1kTi4OFEnuFPNxes
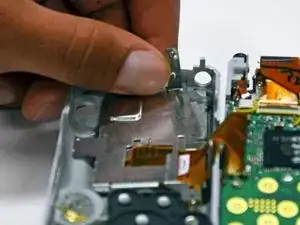
    • Remove the 4mm Phillips #00 screw from above the ribbon.

  13. kZGLSFobvhmcihYR
    • Gently peel off the blue tape on the top of the LCD screen.

  14. ivTPZCw6IdNYBqbl
    • Remove the 4mm Phillips #00 screw previously concealed by the blue tape.

  15. e4CoCNAZnvDAXqvZ
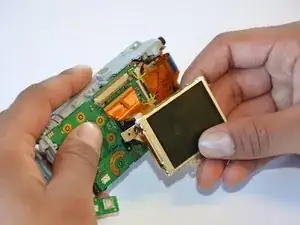
    • Gently lift the LCD screen off of the front casing by pulling up a tab on the side of the camera.

  16. N1ASITOkdFBIdQuM
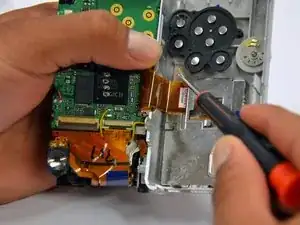
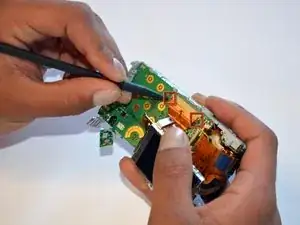
    • Using a spudger, lift the grey tabs to allow the ribbon to slide out.

  17. UDq6Dq1MN3TKwfoo
    • Since the tabs have been lifted, the ribbon should now slide out out easily.

    • Be careful not to distort the ribbon in any way.

    Thank you very much for the good knowledge that I can do by myself.

    K201

    Rachsuthee waiP -

Abschluss

To reassemble your device, follow these instructions in reverse order.

Alex

Mitglied seit: 18/01/13

82 Reputation

Ein Kommentar

Thanks for this super documented guide.

I did it!! I found a second hand lcd on Ebay.

Now my camera is working again.

Super DIY guide!! Thanks a lot!!

Pierre -