Einleitung
This guide will instruct you how to remove the front and back covers from the camera and disassemble the flash in order to replace or repair it.
Werkzeuge
-
-
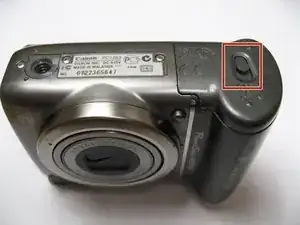
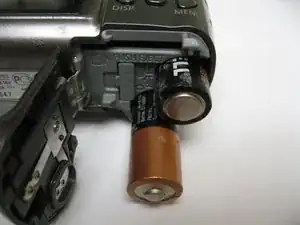
To remove batteries, simply allow them to fall out of the camera.
-
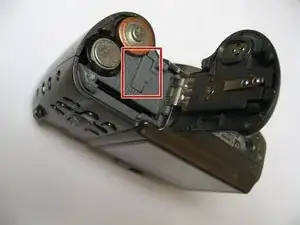
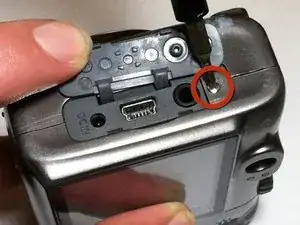
Use a fingernail to lift the clock battery out of the camera.
-
-
-
Remove the screw located under the rubber flap on the left side of the camera using a Phillips #00 screwdriver.
-
-
-
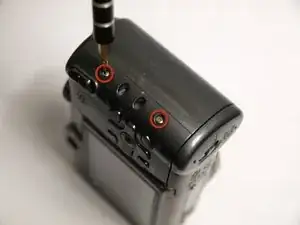
Remove the two screws located on the other side of the camera using a Phillips #00 screwdriver.
-
-
-
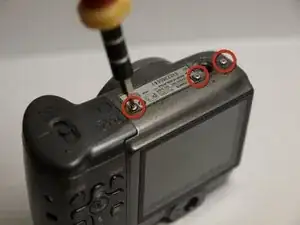
Remove the three screws located at the bottom of the camera using a Phillips #00 screwdriver.
-
-
-
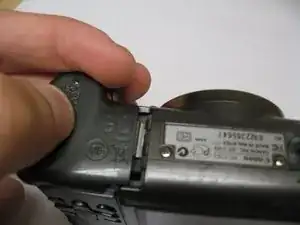
Open the battery cover.
-
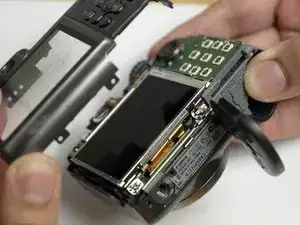
Using the iFixit opening tool, push up gently around all edges of the camera.
-
-
-
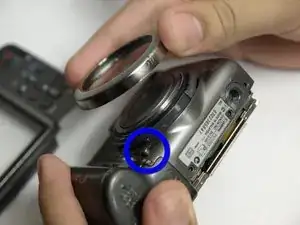
Press and hold down the button shown in the blue circle.
-
While pressing the button, rotate the lens cover in a counter-clockwise direction to remove it.
-
-
-
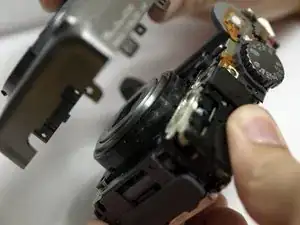
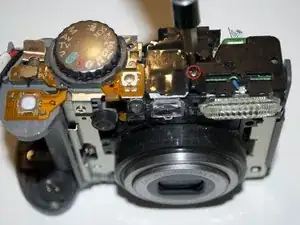
Remove the one (1) screw from the top of the camera, on the left side of the flash (looking from the front) using a Phillips #00 screwdriver.
-
Lift the black plastic covering off the circuit board.
-
-
-
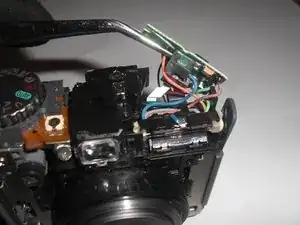
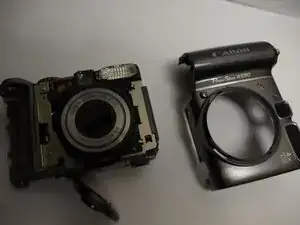
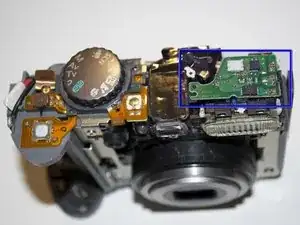
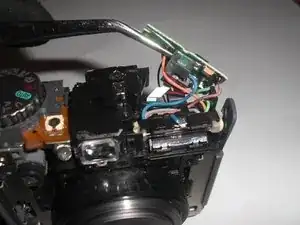
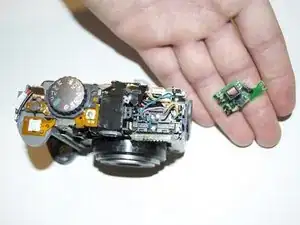
Remove the green circuit board from the top. Looking from the front of the camera, first lift the left side up above the black peg. The board should then slide out to the left.
-
To reassemble your device, follow these instructions in reverse order.
2 Kommentare
Zach, can you show how to replace the Ring Release Button? The release button appears to be fixed to the front cover once it is removed. Can we purchase a replacement release button?
If it is the flash element that needs to be replace, I presume I will see it when I’m there.
Is this correct ?
effitech_structure@yahoo.com
Can the hatch be replaced. The piece that holds the hatch is broken.
alisonbforman46 -
I had this issue for some time and never realized that lithium battery was so easily accessible. Fixed my problem.
Spud Head -