Einleitung
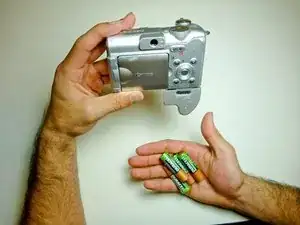
This guide demonstrates how to take off the camera casing and easily pop the broken button back into place.
Werkzeuge
-
-
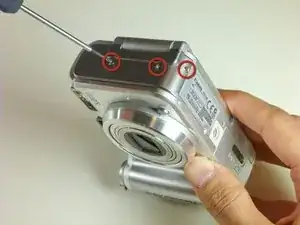
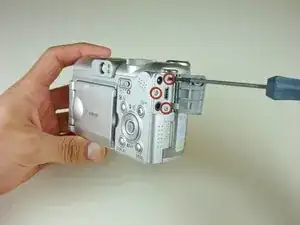
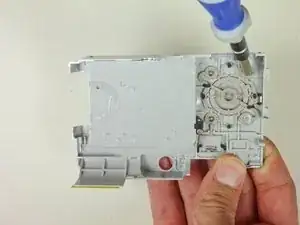
Remove the three 3 mm screws that attach the side panel to the body of the camera.
-
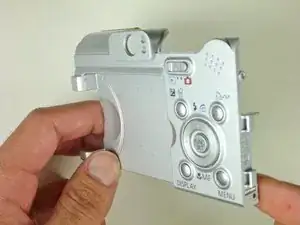
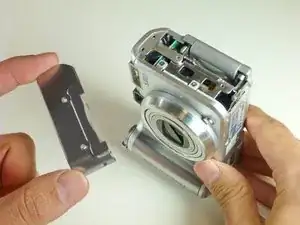
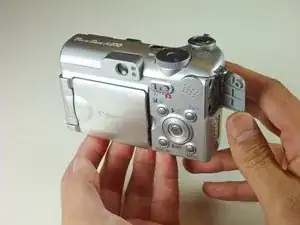
Using your fingernails, pull the side panel outward to remove it.
-
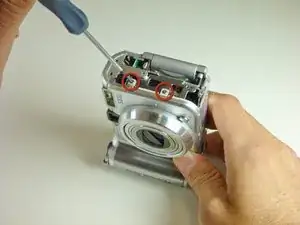
Remove the two remaining 2 mm screws that attach to the frame of the camera.
-
-
-
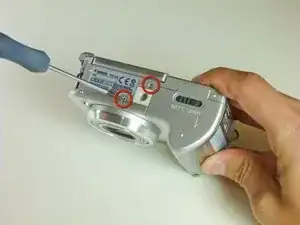
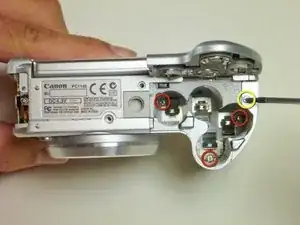
Remove the 3 mm screw that sits at the bottom of the camera, near the front side.
-
Remove the 4 mm screw that sits at the bottom of the camera, near the back side.
-
-
-
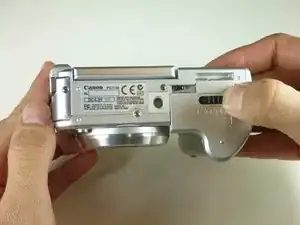
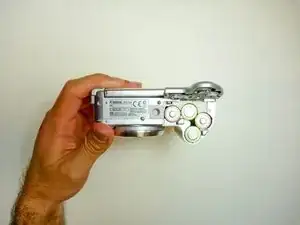
Open the battery cover.
-
Remove the 5 mm screw that sits on the top of the battery slot.
-
Remove the three 6 mm screws that sit at the bottom of the battery slot.
-
Close the battery cover.
-
-
-
Open the digital A/V DC terminal cover.
-
Remove the three 4 mm screws.
-
Detach the digital A/V DC terminal.
-
-
-
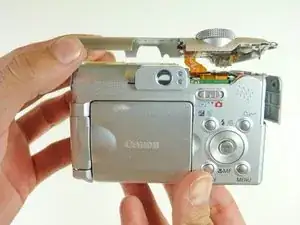
Grip the sides of the top cover and gently lift the cover until it detaches from the camera.
-
-
-
Open the battery cover.
-
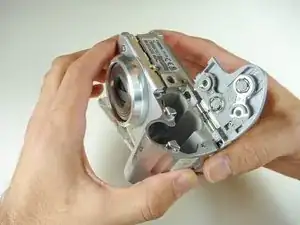
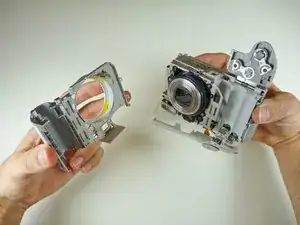
With the camera upside down, pull the front case's side that is closest to you, in an outward movement.
-
-
-
Open the memory card slot cover.
-
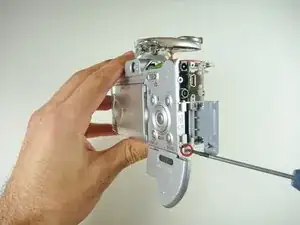
Remove the 3 mm screw that sits near the bottom of the case.
-
-
-
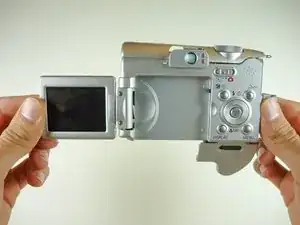
Flip the LCD screen all the way open.
-
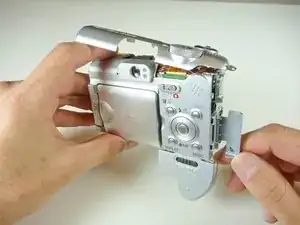
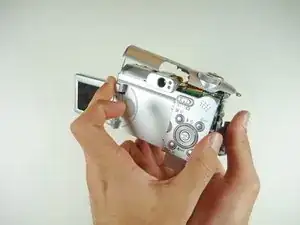
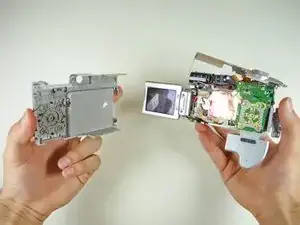
Grip both sides of the back case's top and gently pull it, in an outward movement, until the case detaches.
-
-
-
Remove the back casing.
-
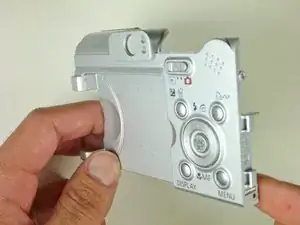
Flip the casing over and push on the back of the broken button with either your finger or a blunt object until it realigns into its slot.
-
To reassemble your device, follow these instructions in reverse order.
