Einleitung

Use this guide to replace the shooting mode dial on your Canon PowerShot A630 camera.

  1. dRV4XfDbL6eOnsgh
    dRV4XfDbL6eOnsgh
    BSqODd4YvlRNfuJO
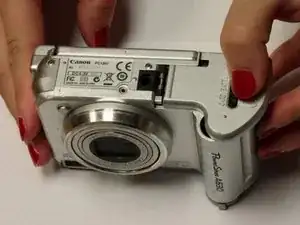
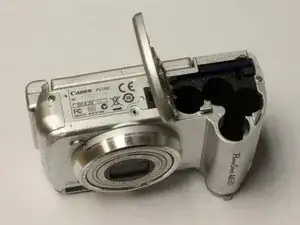
    • Open the battery door by sliding the tab on the battery door while pushing the battery door away from the camera.

    • Remove batteries.

  2. pyeARsrcEm6DCJfJ
    pyeARsrcEm6DCJfJ
    PrQwsBvsNWWvMZZE
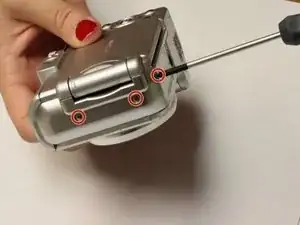
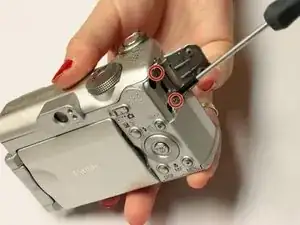
    • Remove the three indicated .2mm screws using a Phillips #00 screwdriver.

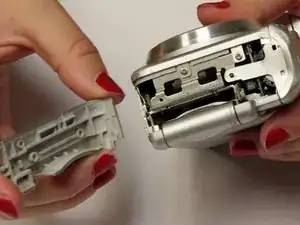
    • Gently pull off side-panel to remove it.

  3. NQbOhLKK34ZtEB5W
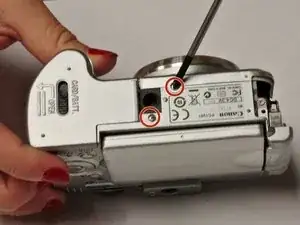
    • Remove the two indicated .2mm screws using a Phillips #00 screwdriver.

  4. Q6rxNBdRBu6YUYKT
    Q6rxNBdRBu6YUYKT
    i2KusAGuDNngItLK
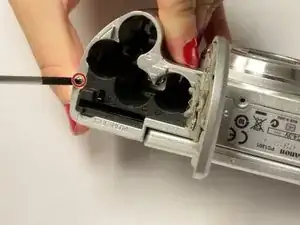
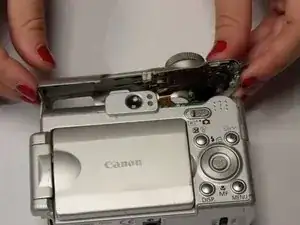
    • Remove the indicated .2mm screw using a Phillips #00 screwdriver.

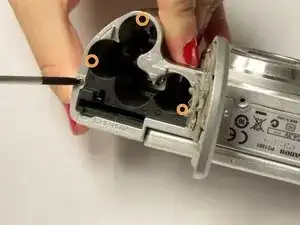
    • Remove the three .2mm screws located on the internal side of the top panel within the battery chamber using a Phillips #00 screwdriver.

  5. bgO2mIMbxSSTnFDV
    bgO2mIMbxSSTnFDV
    DyJ4Mj1Oufp3LIad
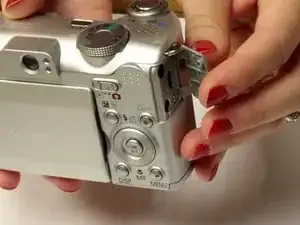
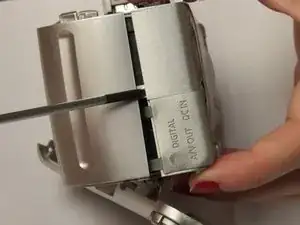
    • Open 'DIGITAL A/V OUT' door on camera.

    • Remove the two indicated .2mm screws using a Phillips #00 screwdriver.

  6. sWJIlYhseTWrKFTe
    • Grip the sides of the top panel and gently pull to separate the top panel from the camera body.

    • The top panel will not completely detach.

  7. fS3MP5FRcGeQV2Cm
    fS3MP5FRcGeQV2Cm
    WNJ6L1meYLgWtLKx
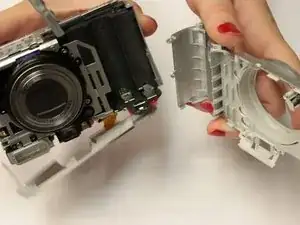
    • Gently pull the front and back panels apart, and use a Phillips #00 screwdriver to remove the screw connecting the panels.

    • Gripping the top and bottom, gently pull the front panel away from the camera body to remove it.

    There are 2 screws at the other side that need to be removed before you can seperate the front panel

    Nick Denolf -

  8. efWGib1GkZLJIoCs
    efWGib1GkZLJIoCs
    qtcyBvdDY2eUZKLG
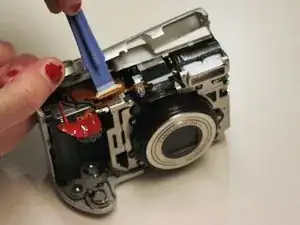
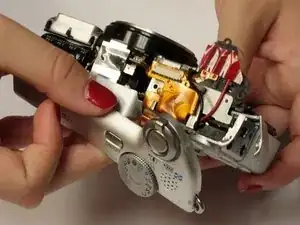
    • Pry open the connector on the yellow ribbon cable using a plastic opening tool.

  9. jm4vKvVILuZFNUrv
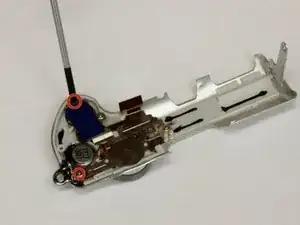
    • Remove the 2 mm screws from the metal plate.

  10. qGFHhm5jWEPPoiNb
    • Pull away the metal plate, exposing the underbelly of the mode dial.

    • Be careful not to pull too hard. Metal plate should remain attached.

  11. dTLkEYCZXefQAsCZ
    dTLkEYCZXefQAsCZ
    ffoR6Ak1AR4wjr5q
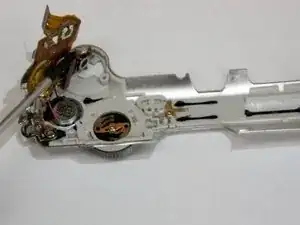
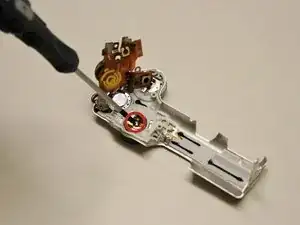
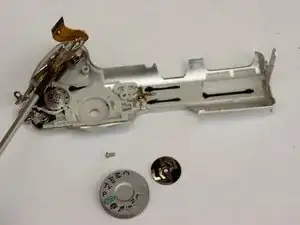
    • Remove the 2mm screw using the #00 Phillips screwdriver.

    • The mode dial should fall out.

Abschluss

To reassemble your device, follow these instructions in reverse order.
Alicia Burns

Mitglied seit: 13/10/14

550 Reputation

0 Kommentare