Einleitung
Werkzeuge
-
-
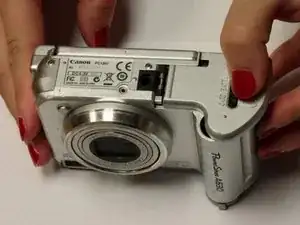
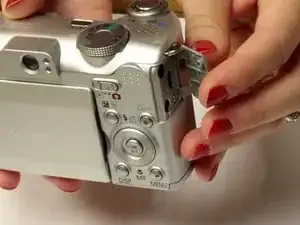
Open the battery door by sliding the tab on the battery door while pushing the battery door away from the camera.
-
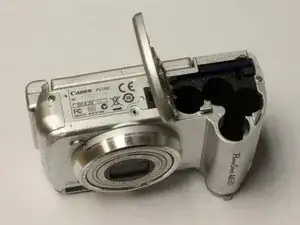
Remove batteries.
-
-
-
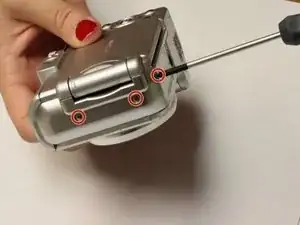
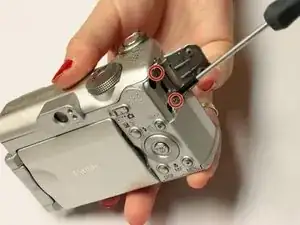
Remove the three indicated .2mm screws using a Phillips #00 screwdriver.
-
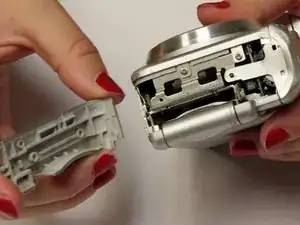
Gently pull off side-panel to remove it.
-
-
-
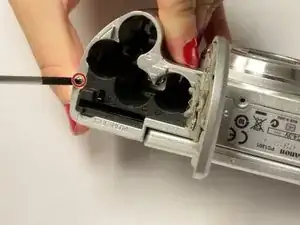
Remove the indicated .2mm screw using a Phillips #00 screwdriver.
-
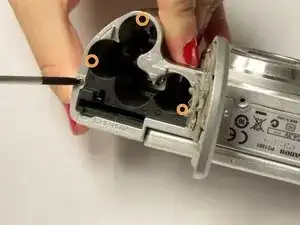
Remove the three .2mm screws located on the internal side of the top panel within the battery chamber using a Phillips #00 screwdriver.
-
-
-
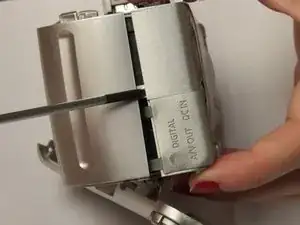
Open 'DIGITAL A/V OUT' door on camera.
-
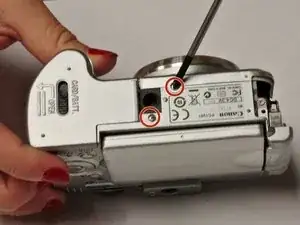
Remove the two indicated .2mm screws using a Phillips #00 screwdriver.
-
-
-
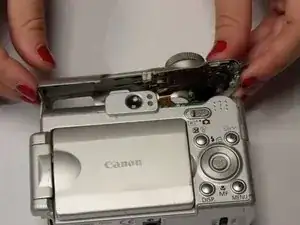
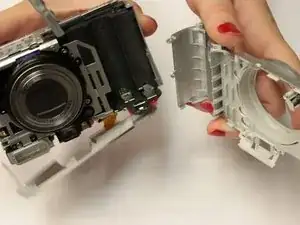
Grip the sides of the top panel and gently pull to separate the top panel from the camera body.
-
-
-
Gently pull the front and back panels apart, and use a Phillips #00 screwdriver to remove the screw connecting the panels.
-
Gripping the top and bottom, gently pull the front panel away from the camera body to remove it.
-
-
-
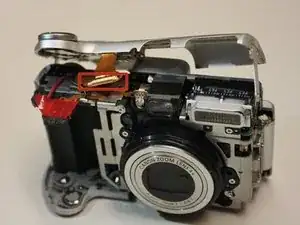
Use the spudger to gently pull back the retaining clip and pull the ribbon out
-
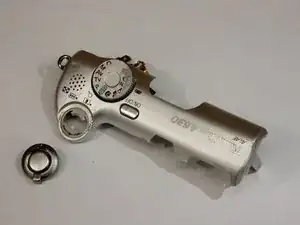
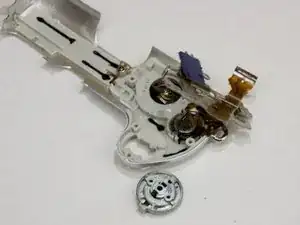
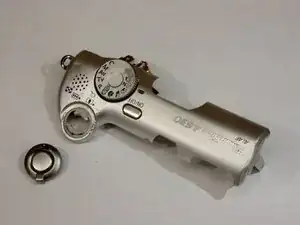
The top panel should now be completely detached from the camera
-
-
-
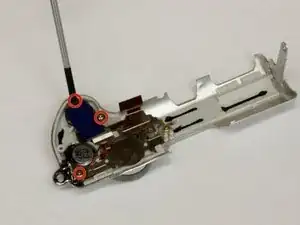
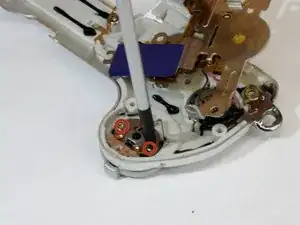
Lift up the metal frame to expose the two screws located under the trigger button.
-
Remove the two screws using Phillips #00 screwdriver
-
To reassemble your device, follow these instructions in reverse order.
