Einleitung
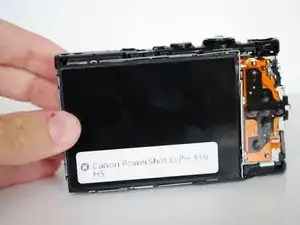
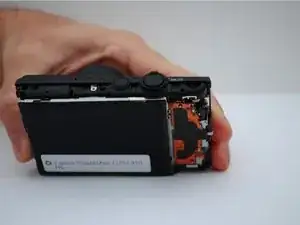
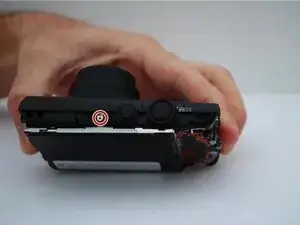
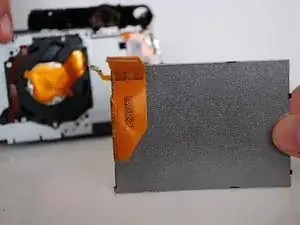
The LCD screen can be removed in order to be replaced on the camera with 10 steps, which include unscrewing the cover plates off of the camera to get to the screen itself.
Werkzeuge
-
-
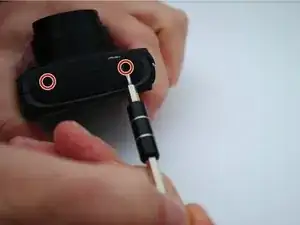
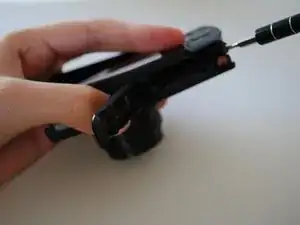
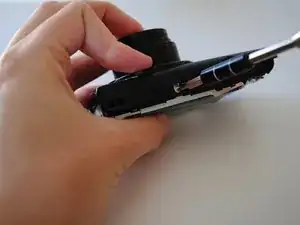
Use the Phillips #000 screwdriver from the iFixit tool kit to unscrew the two image stabilizer panel’s 2 mm Phillips head screws.
-
Using your hands, remove the image stabilizer panel.
-
-
-
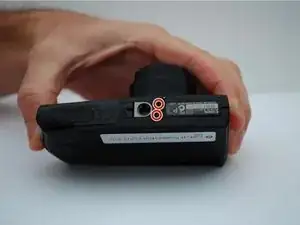
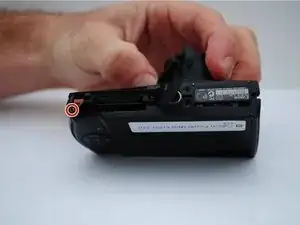
Using your hand, open the battery portal located on the bottom left of the camera. The screw is in the bottom left of the battery portal.
-
Unscrew the hidden 4mm Phillips head screw inside the battery portal.
-
-
-
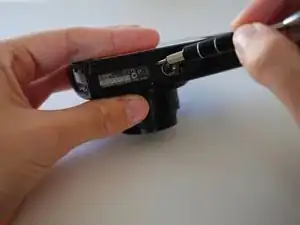
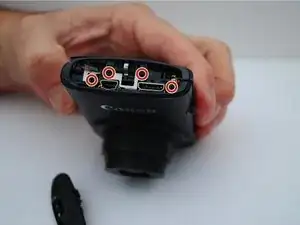
Remove the HDMI side panel with your hands.
-
Unscrew the four 4 mm Phillips head screws from the inside of the camera.
-
-
-
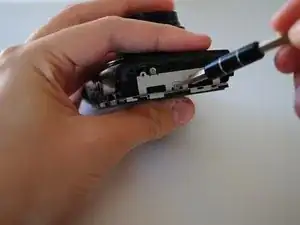
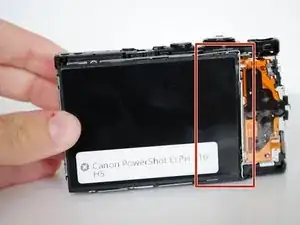
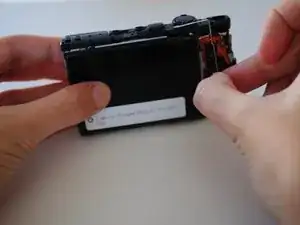
Using your hands, remove the metal piece (surrounding the right side of the screen) from the right side of the camera.
-
-
-
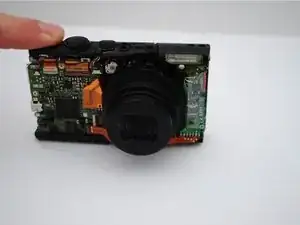
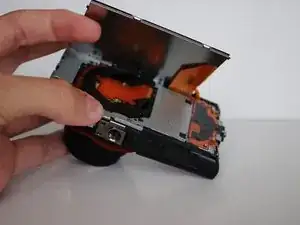
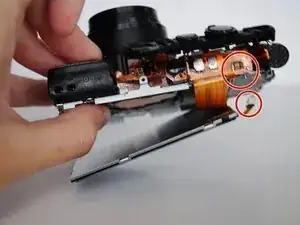
Manually lift the shutter button plate and remove the white ZIF connector, which is the white clasp underneath.
-
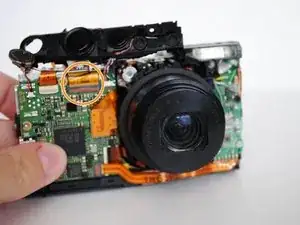
On the front of the camera, using your fingers, undo the orange ribbon from the gray clasp and pull the ribbon through the shutter deck.
-
To reassemble your device, follow these instructions in reverse order.
