Einleitung
Werkzeuge
-
-
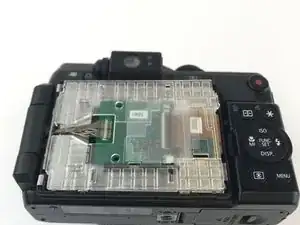
You can now remove the back side of the screens casing. When removing this back casing there will be a clear plastic piece inside. Remove this as well. If this is the piece you are replacing, remove it and then replace it with the new piece and skip to conclusion.
-
-
-
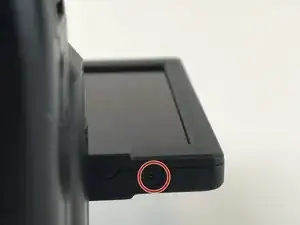
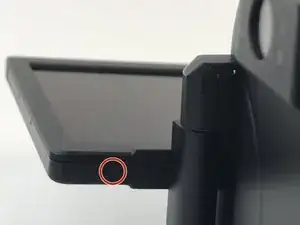
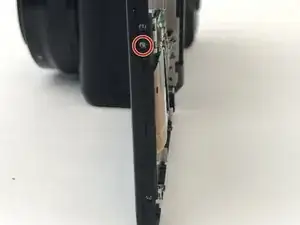
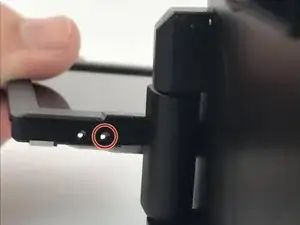
Once the plastic piece has been removed locate the two screws on the outside and inside of the casing located in the photos. Remove these screws in order to begin the process of removing the front part of the casing.
-
-
-
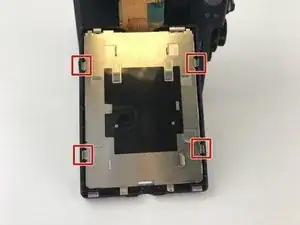
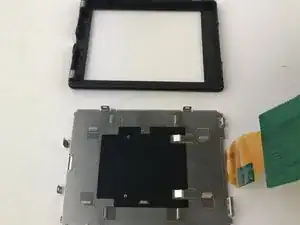
Once the two screws have been removed you must then locate the four prongs on the metal piece covering the back of the screen shown in the photo. Push each of these prongs in toward there parallel and pull up on the metal casing.
-
-
-
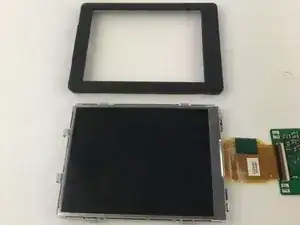
Once all of the prongs are pushed and the metal casing is removed you then can remove the front casing.
-
To reassemble your device, follow these instructions in reverse order.
