Einleitung
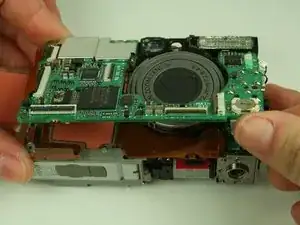
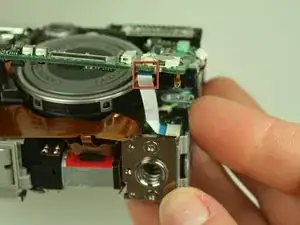
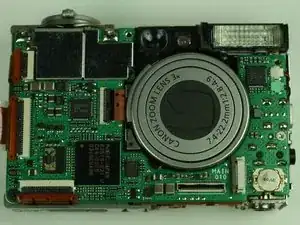
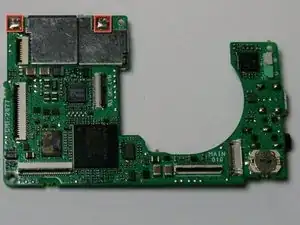
This guide illustrates how to replace the motherboard in the S400.
Werkzeuge
-
-
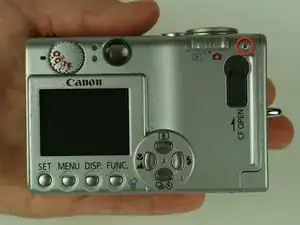
On the backside of the camera, remove the 4.75 mm screw that sits at the top right corner.
-
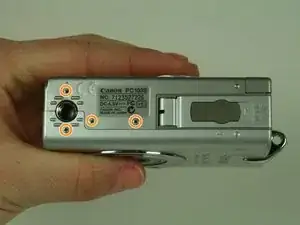
Remove the four 4.75 mm screws that sit at the bottom of the camera.
-
-
-
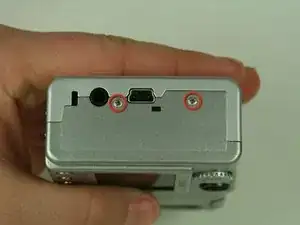
On the side of the camera, remove the two 4.75 mm screws that sit near the USB digital terminal.
-
-
-
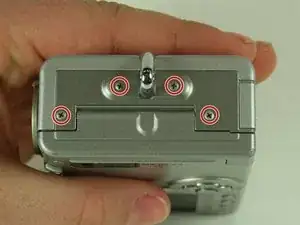
On the side of the camera, remove the four 4.75 mm screws that sit near the wrist strap mount.
-
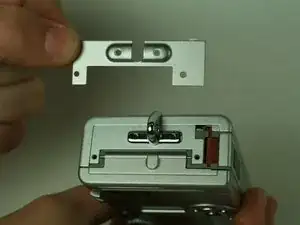
Remove the two small metal plates, which the four screws hold in place.
-
-
-
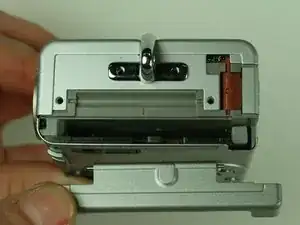
Remove the small black plastic piece and set it aside. If necessary, use tweezers to remove the small black plastic piece.
-
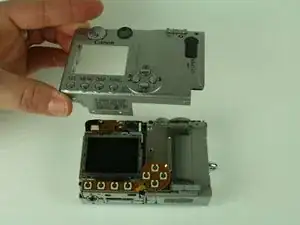
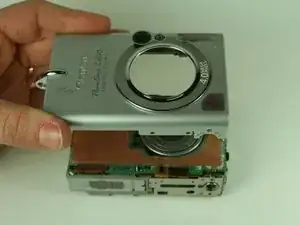
Detach the front case and back case.
-
-
-
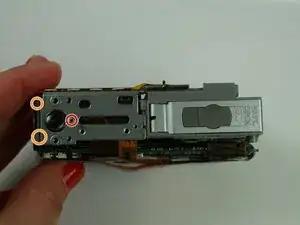
Remove the 3.5 mm screw that sits on the metal plate at the bottom of the camera.
-
Remove the two other 3.5 mm screws that sit on the side, to the left of the screw you just removed.
-
-
-
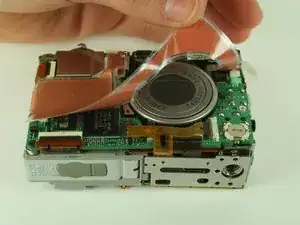
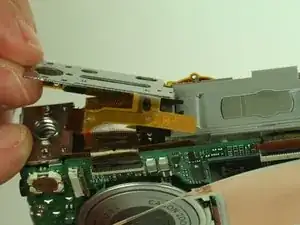
A ribbon cable attaches to the metal plate and to the main circuit board, on the front of the camera.
-
Gently release the black latch.
-
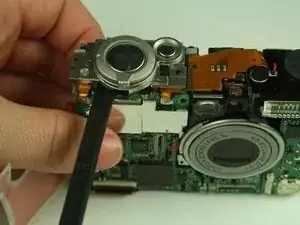
Remove the ribbon cable and metal plate assembly.
-
-
-
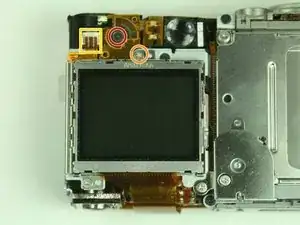
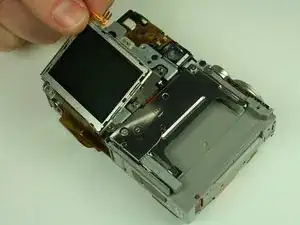
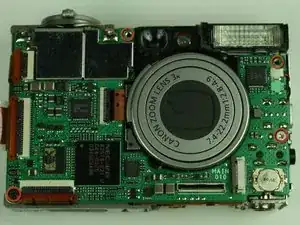
On the backside of the camera, remove the 3.5 mm screw that sits to the left of the viewfinder and above the LCD screen.
-
Remove the second 3.5 mm screw that sits directly above the LCD screen.
-
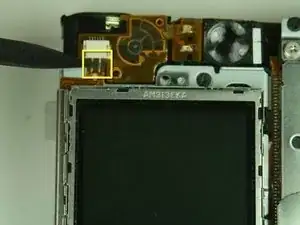
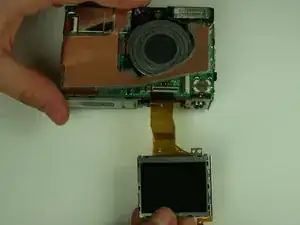
Gently detach the ribbon cable.
-
-
-
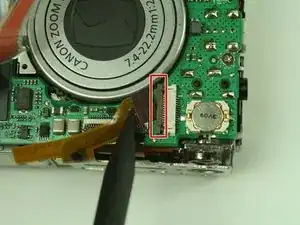
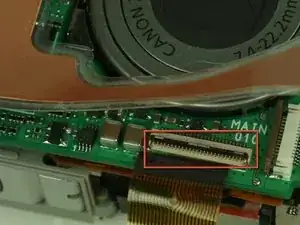
Locate the ribbon cable on the main circuit board, which sits below the lens.
-
Gently release the black latch on the ribbon cable connector and detach the ribbon cable.
-
-
-
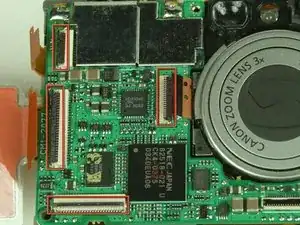
On the main circuit board, gently release the black latches of the four ribbon cables.
-
Gently detach the ribbon cables.
-
-
-
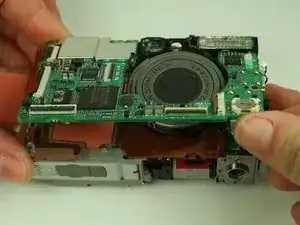
In a hinge-like motion, gently lift the bottom of the main circuit board, which is the side without the soldering points.
-
Gently detach the white ribbon cable from the underside of the main circuit board.
-
-
-
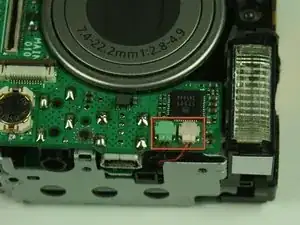
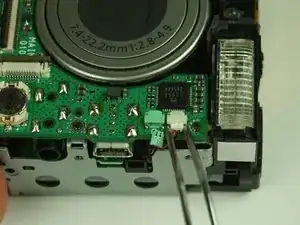
Gently desolder the two ribbon cables attached to the motherboard.
-
Remove the motherboard.
-
To reassemble your device, follow these instructions in reverse order.
