Einleitung

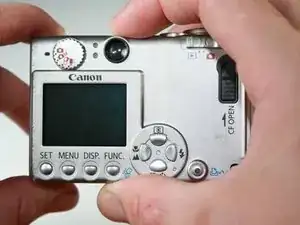
This guide demonstrates how to remove the cameras back panel for cleaning or replacement.

  1. jIMwnyWSI3SXoSbo
    jIMwnyWSI3SXoSbo
    4SOZrVvgxu5N2MSw
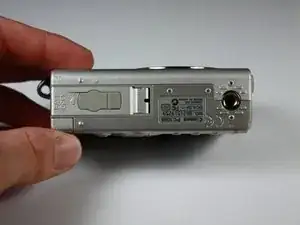
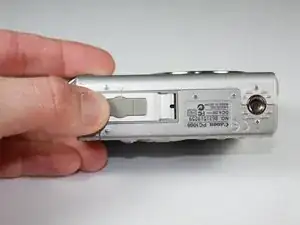
    • Turn the camera with the bottom side facing up.

    • Locate the panel labeled "Batt. Open"

    • Place your finger on the panel and slide it in the direction of the arrow.

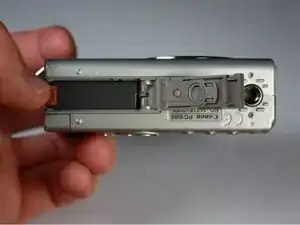
    • The slot will swing open revealing the battery pack.

  2. 6YAXDjDmausnZyqf
    • Rotate the camera so that the slot is horizontal.

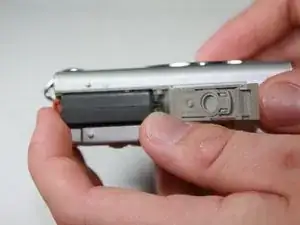
    • Pull the orange lever and the battery will spring out slightly.

  3. AyWNI1HnCVhIpWyd
    • Grasp battery and fully pull out of slot

    • When placing the new battery back in the slot, the arrow on the battery must align with the arrow on the camera.

  4. cFbwehVWr4Nw2eAQ
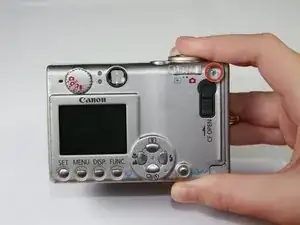
    • Start by laying the camera flat with the LCD screen facing up.

    • Remove the 3.8mm screw in the upper right corner.

  5. iSFBeCn6ccglFxMU
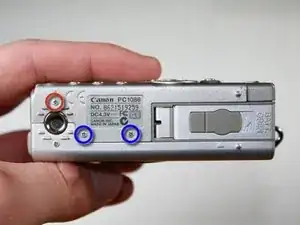
    • Position the camera with the bottom facing up.

    • Remove the 4.8mm screw.

    • Remove the two 2.3mm screws.

  6. kPvy1AKNUkMBuCrq
    kPvy1AKNUkMBuCrq
    MVPdPUXEVxHuhHam
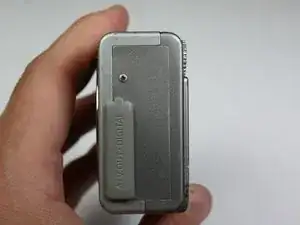
    • Position the camera so that the rubber "AV Out Digital" tab is facing upward.

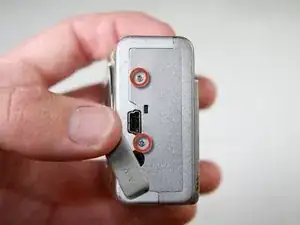
    • Slide this rubber tab out of the way to reveal the bottom screw.

    • Remove the two 3.7mm screws.

  7. y3FmPWfWDFVpxSXW
    • Turn the camera with the back side facing you.

    • Grip the edges of the back plate, and carefully slide it off.

    • If there is any resistance in movement, double check there are no screws left in the chassis.

Abschluss

To reassemble your device, follow these instructions in reverse order.
Randy Lormand

Mitglied seit: 24/01/11

349 Reputation

0 Kommentare