Einleitung
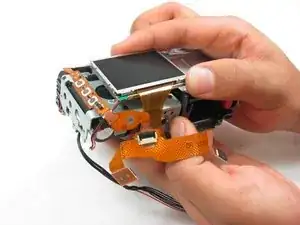
The 1.8 inch LCD Screen is the main method of interaction between the user and the camera. If the screen malfunctions, it may be useful to replace it. New screens can be bought here
Werkzeuge
-
-
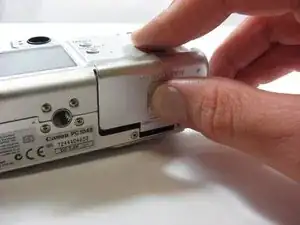
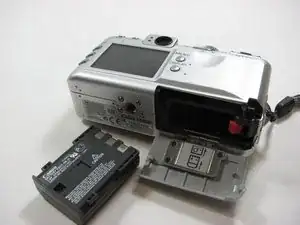
Place camera LCD side up and press up on the battery door.
-
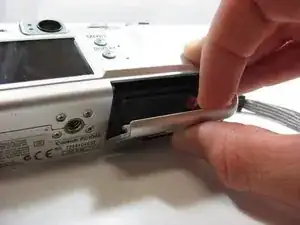
Let it swing open until you can see the battery inside.
-
-
-
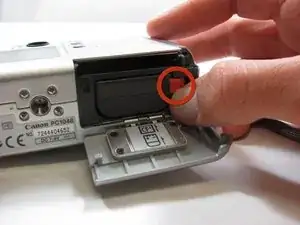
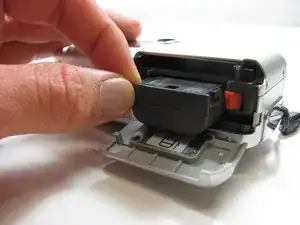
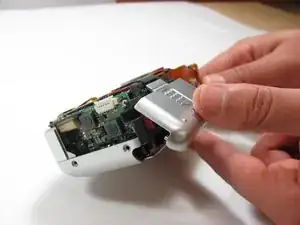
Press down on the orange plastic.
-
This will gently eject the battery from its compartment.
-
-
-
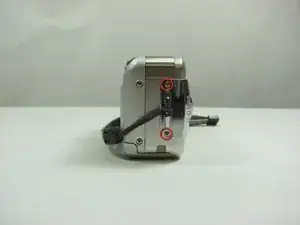
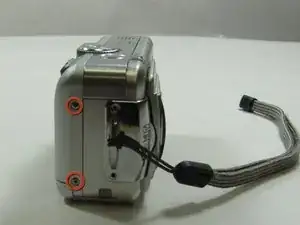
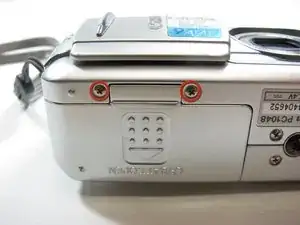
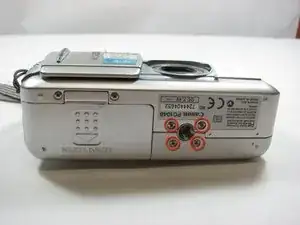
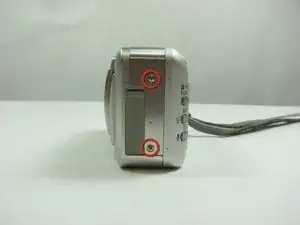
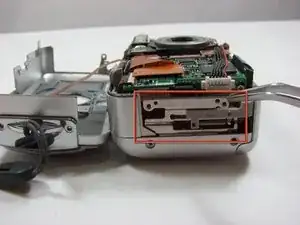
Look at the camera from the side with the lanyard and 4 screws.
-
Remove the two 3.4 mm screws on the metallic colored part.
-
-
-
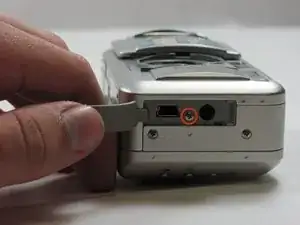
Lift open the rubber flap covering the A/V Out port.
-
Remove the 3.4mm screw in the center.
-
-
-
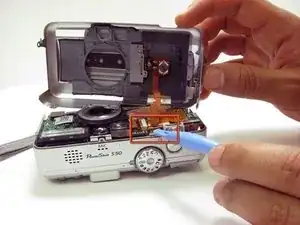
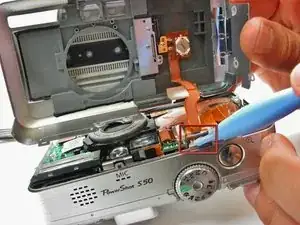
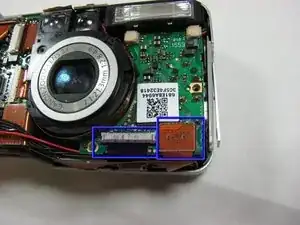
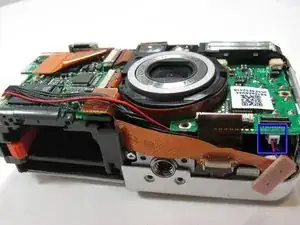
There will be a brown plastic piece keeping the thin plastic ribbon in place.
-
Use the spudger to pull out the brown plastic piece attached to the orange plastic.
-
-
-
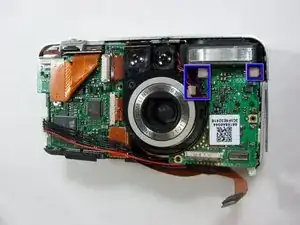
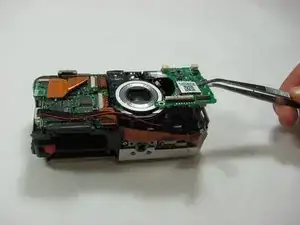
Use a pair of tweezers to pull the right motherboard away from the main body of the camera.
-
-
-
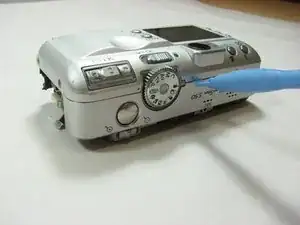
Using a spudger, gently separate the back panel from the rest of the camera and remove it.
-
-
-
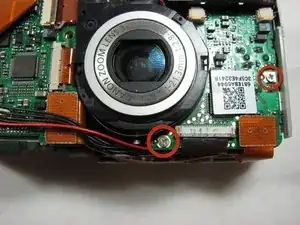
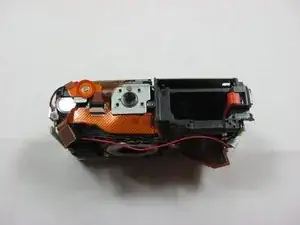
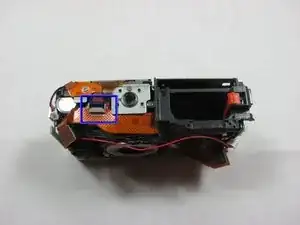
Remove the 2.6mm screw on the bottom of the camera located directly under the LCD screen.
-
This screw should be holding two pieces of orange film down.
-
To reassemble your device, follow these instructions in reverse order.
