Einleitung
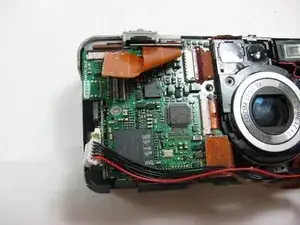
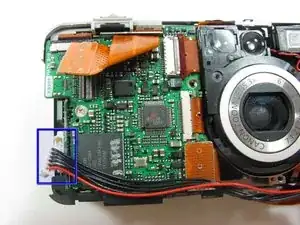
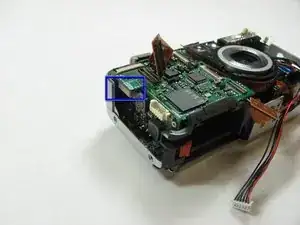
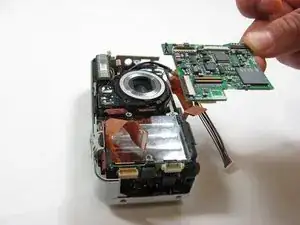
Use this guide to remove and/or replace the motherboard on the left side of the camera.
Werkzeuge
-
-
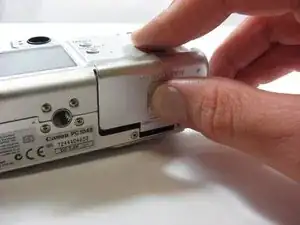
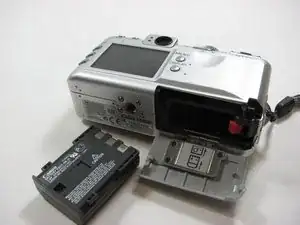
Place camera LCD side up and press up on the battery door.
-
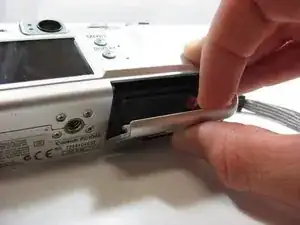
Let it swing open until you can see the battery inside.
-
-
-
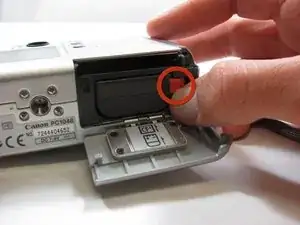
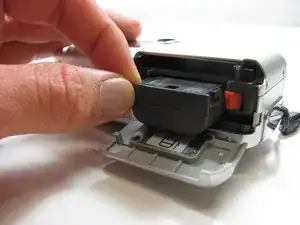
Press down on the orange plastic.
-
This will gently eject the battery from its compartment.
-
-
-
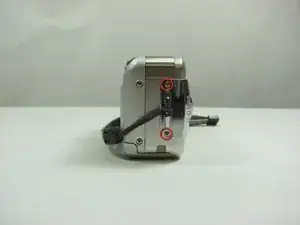
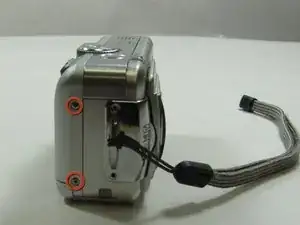
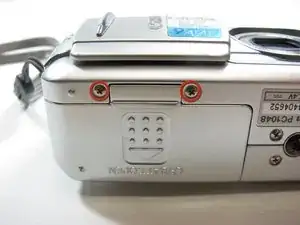
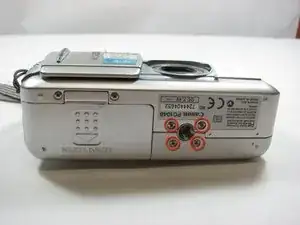
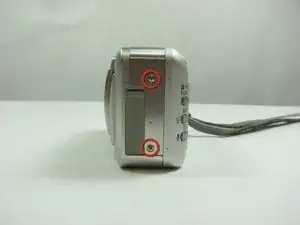
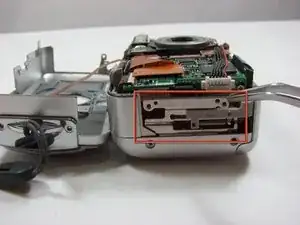
Look at the camera from the side with the lanyard and 4 screws.
-
Remove the two 3.4 mm screws on the metallic colored part.
-
-
-
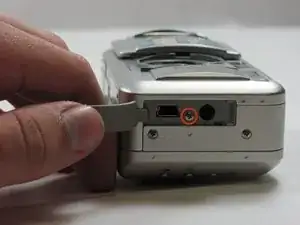
Lift open the rubber flap covering the A/V Out port.
-
Remove the 3.4mm screw in the center.
-
-
-
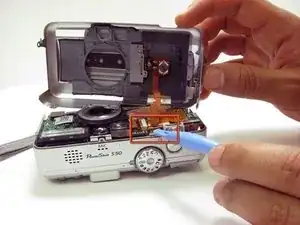
There will be a brown plastic piece keeping the thin plastic ribbon in place.
-
Use the spudger to pull out the brown plastic piece attached to the orange plastic.
-
-
-
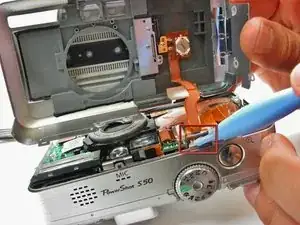
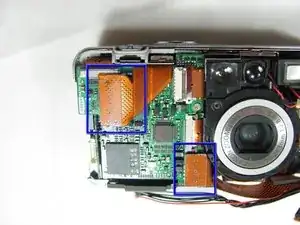
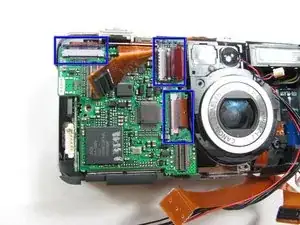
Pull off the orange ribbon on the upper left of the motherboard.
-
Remove the other two orange ribbons on the middle of the left motherboard.
-
-
-
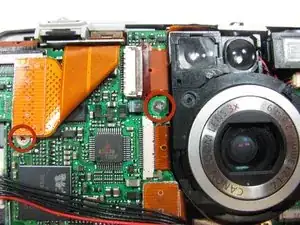
Remove the 3.3mm screw halfway up the left side of the motherboard just to the left of the lens.
-
Go under the piece of plastic and remove the 2.6mm screw.
-
-
-
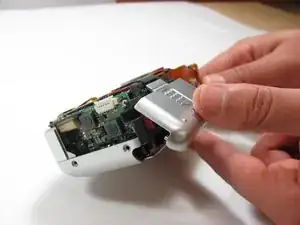
Unplug the top part of the left motherboard.
-
Gently lift the left motherboard up to remove
-
To reassemble your device, follow these instructions in reverse order.
