Einleitung
Follow the steps in this guide to remove and replace the motherboard of the camera. Damage to the motherboard will cause other components to fail.
Werkzeuge
-
-
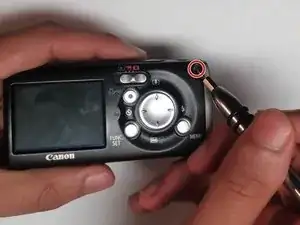
Remove the 2mm screw from the back of the camera.
-
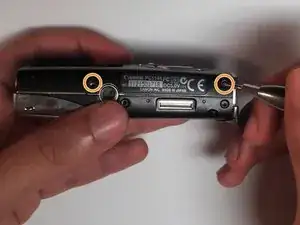
Remove two 2mm screws from the bottom of the camera.
-
Remove two 2mm screws the left side of camera.
-
-
-
Remove the two 2mm black screws that are located on the underside of the camera.
-
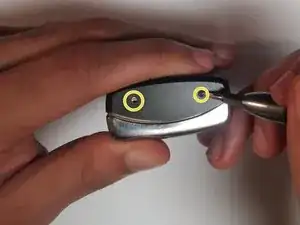
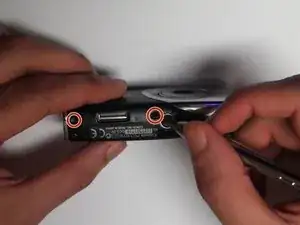
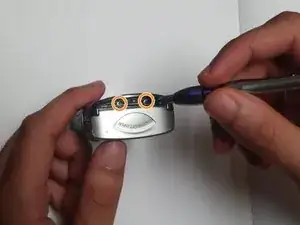
Remove the two 3mm silver screws from the right side of camera.
-
-
-
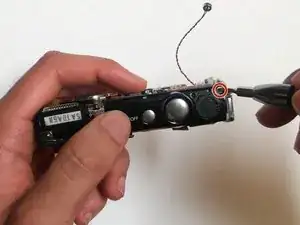
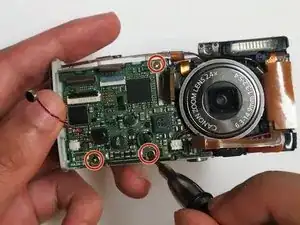
Unscrew the 3mm silver screw from the top of the camera.
-
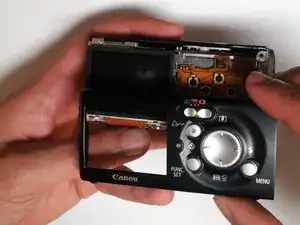
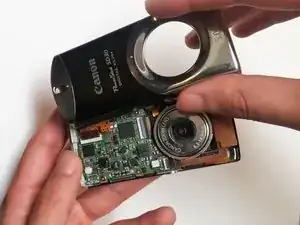
Gently remove the top button panel.
-
-
-
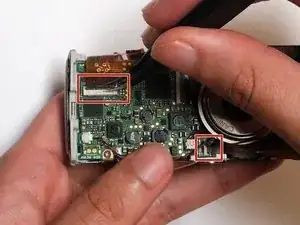
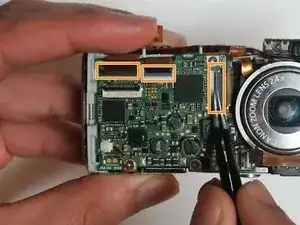
Using the tweezers, carefully lift up the 2 folds where the ribbon connects to the motherboard.
-
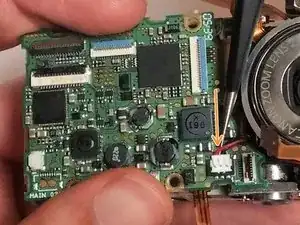
Now, lift up the three remaining ribbon connectors to disconnect them.
-
-
-
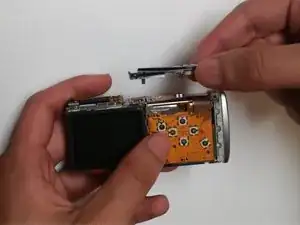
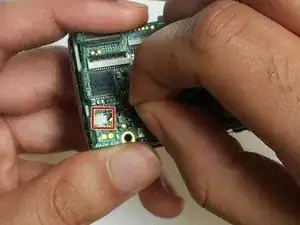
Gently pull the left wire out and disconnect it from the device.
-
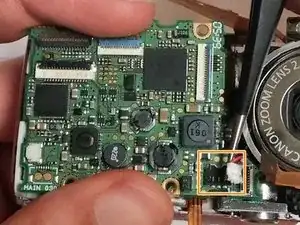
Use the tweezers to pop the right set of wires out of the connector. Do this by positioning the tweezers under the connector and lifting up.
-
To reassemble your device, follow these instructions in reverse order.