Einleitung
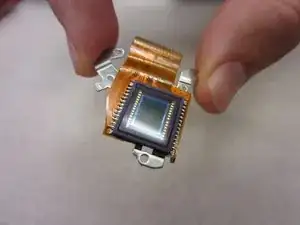
The image sensor is what actually captures the image when you take a picture. If damaged, the sensor can cause blurred, distorted, or even black pictures.
Werkzeuge
-
-
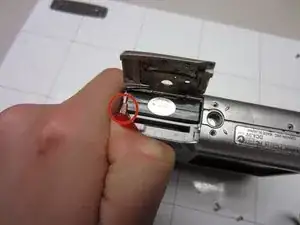
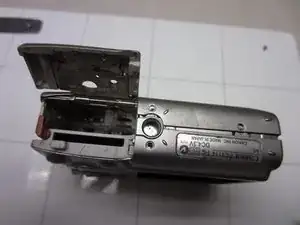
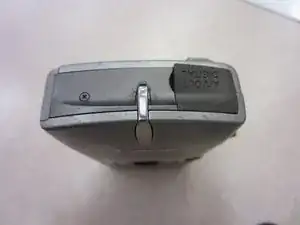
Slide open the battery cover.
-
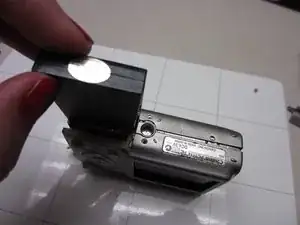
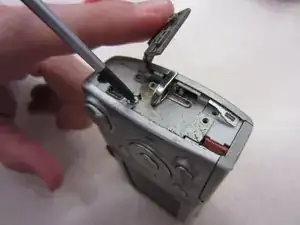
Push the small orange tab to the side so the battery can be removed.
-
-
-
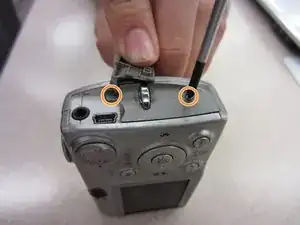
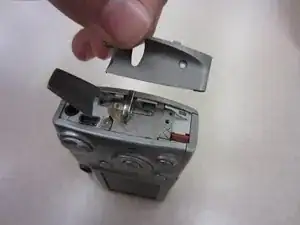
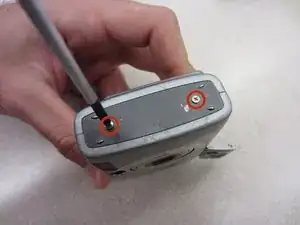
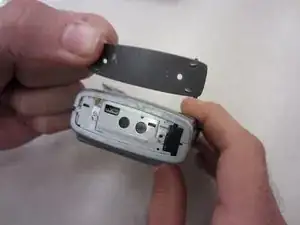
Two Phillips screws need to be removed using a #00 Phillips screwdriver. The upper screw is under the USB port cover, which can simply be pulled away gently from the casing. the lower screw is visible on the panel.
-
The screws are different sizes. The .125 inch screw is located under the USB port cover. The 0.85 inch screw goes in the lower hole on the panel.
-
-
-
Remove two .085 inch Phillips screws from the left side of the camera using a #00 Philips screwdriver.
-
-
-
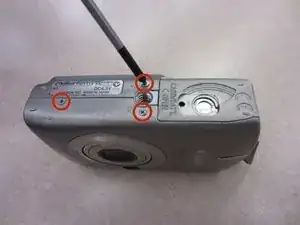
Remove three .15 inch Phillips screws from the bottom of the camera using a #00 Phillips screwdriver.
-
-
-
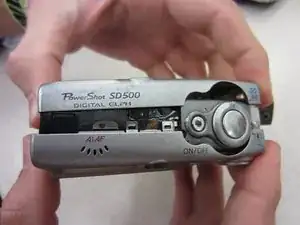
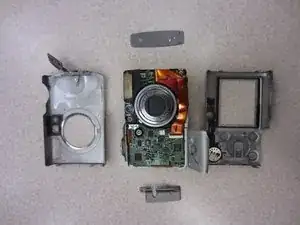
Once the casing is unscrewed, hold the camera with one side facing down, and lift the opposite face of the casing to open it.
-
Remove the internal camera components and layout out all pieces on a clean surface.
-
-
-
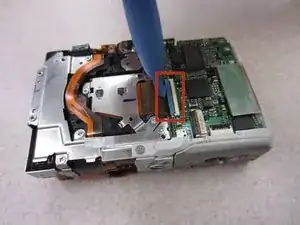
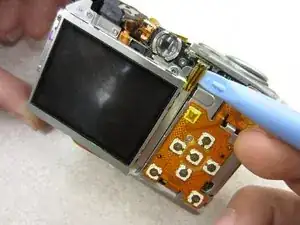
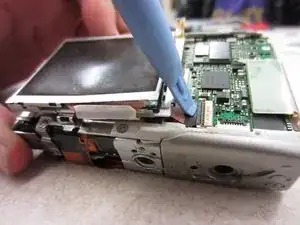
Carefully wedge the pry tool under the ribbon in the ribbon gate.
-
Gently remove the ribbon from the ribbon gate by pulling it away from the gate with the pry tool.
-
-
-
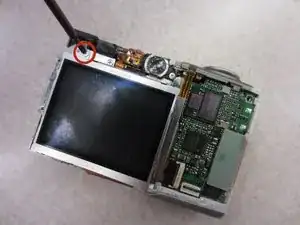
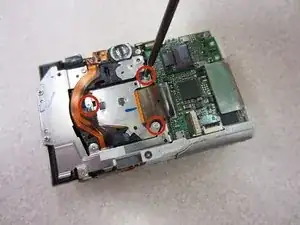
Gently press the ribbon back to get access to a Phillips screw behind it.
-
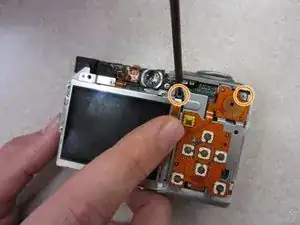
Unscrew two .125 inch long Phillips screws using a #00 Philips screwdriver.
-
-
-
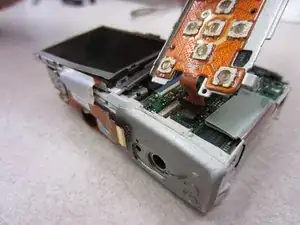
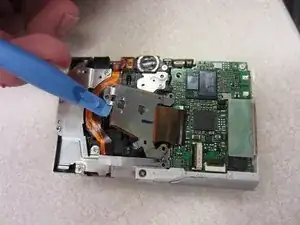
Remove the ribbon with a pry tool by gently pulling it out of the ribbon gate tab.
-
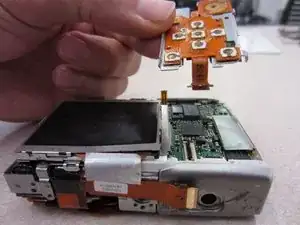
Pull the button board away from the rest of the camera.
-
-
-
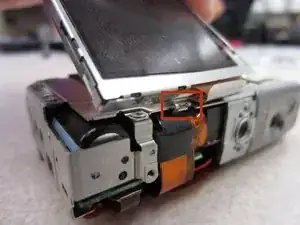
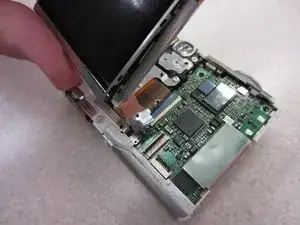
Lift the LCD screen up and away from the tab that holds it in place on the face of the camera.
-
-
-
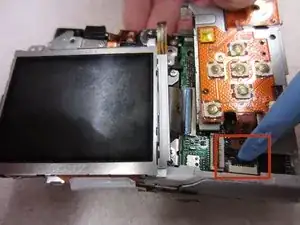
Gently press the pry tool under the ribbon gate and lift up to free the ribbon connecting the LCD to the circuit board.
-
The LCD can now be completely removed from the camera.
-
-
-
Unscrew three .15 inch Phillips screws from the back of the camera using a #00 Phillips screwdriver.
-
To reassemble your device, follow these instructions in reverse order.
