Einleitung
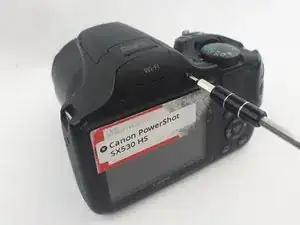
This guide shows how to remove the back panel of the Canon PowerShot SX530 HS.
Werkzeuge
-
-
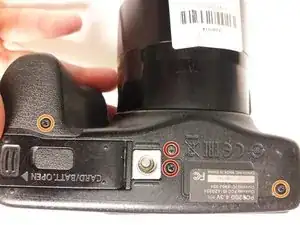
Flip over the camera.
-
Use a Phillips PH000 to remove the two 4mm screws near the center of the camera.
-
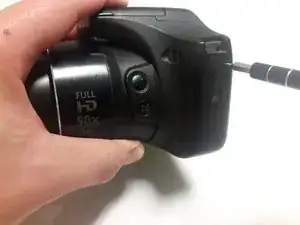
Use a Phillips PH000 to remove the two 6mm screws on the ends of the camera.
-
-
-
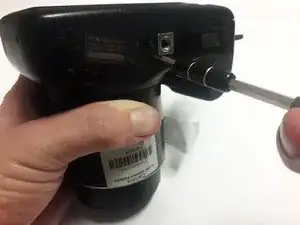
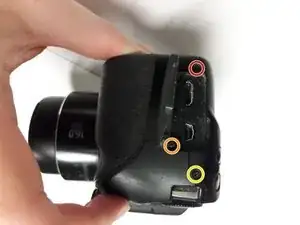
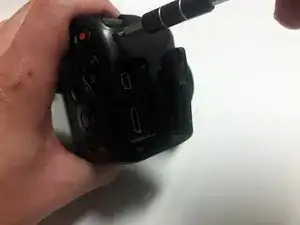
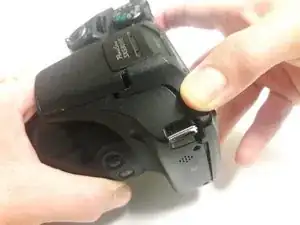
Rotate the camera to the side with the removable cover containing the HDMI and mini USB ports.
-
Use the Phillips PH000 to remove the 7mm screw located next to the HDMI port. This screw has red loctite.
-
Use the Phillips PH000 to remove the 4mm screw near the USB port.
-
Use the Phillips PH000 to remove the 7.4mm screw near the USB port.
-
-
-
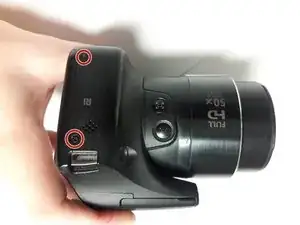
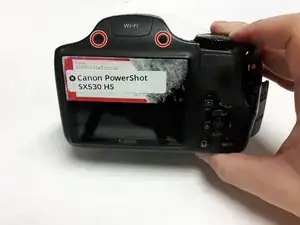
Rotate the camera to locate the side with the LCD screen.
-
Use a Phillips PH000 to remove the two 6mm screws above the LCD screen.
-
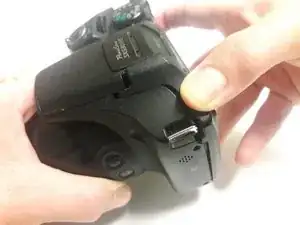
Once the screws are out the back panel, it is ready to be taken off. Grip the backside of the camera and pull it away evenly on every side. The backside must come off straight from the front.
-
To reassemble your device, follow these instructions in reverse order.
