Einleitung

This guide will show you how to replace a broken or malfunctioning LCD display.

  1. 4SIheLgnLAEh1vO5
    4SIheLgnLAEh1vO5
    VBIGxEbgWSp1cXVa
    fWs2IvIfQGURWu5s
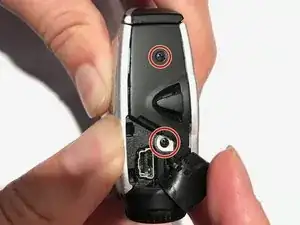
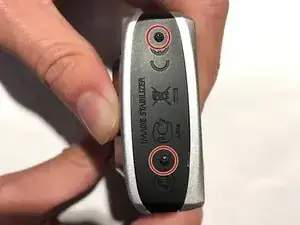
    • Remove four 2.7 mm screws, two on each side, from the camera with a JIS 000 screwdriver.

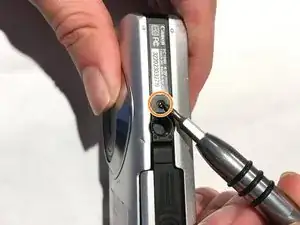
    • Remove one 3.5 mm screw on the bottom of the camera with a JIS 000 screwdriver.

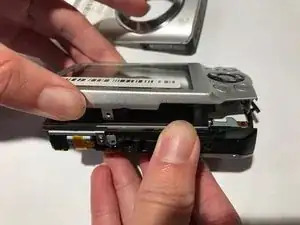
    • When removing the front and back housings, be careful to not break the tabs that hook into the top section of the chassis.

  2. iAqXSkONkONOKAoV
    iAqXSkONkONOKAoV
    QurnFRNjdEYjXUlU
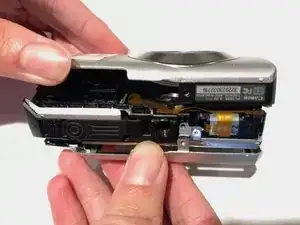
    • Pull off the back cover.

  3. ZHOVw4222IcVBmbU
    ZHOVw4222IcVBmbU
    vN2pPSAUIEdVxrOn
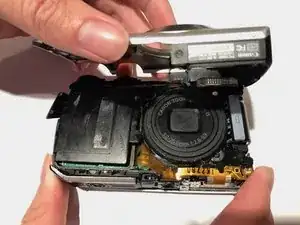
    • Pull the front cover off.

  4. xJRcDKB4JnhV1Gkl
    • Use a JIS 000 screwdriver and remove the 3.0mm screw from the bottom housing.

  5. 24XnC1WiKnyqflAr
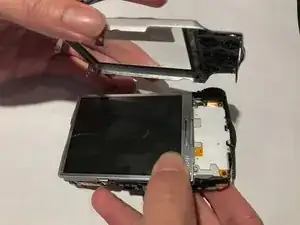
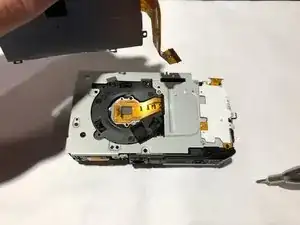
    • Gently lift the LCD screen off the back of the camera.

  6. ZCIYA2JKAFuMCW2T
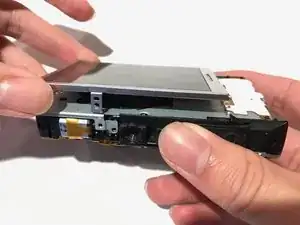
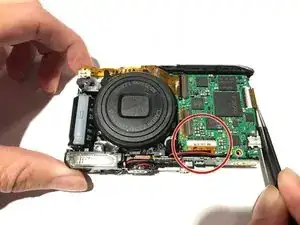
    • Use tweezers to pull out the circled brown flat flexible wire from its connection.

  7. SDwDyXNE5GZQrmCR
    SDwDyXNE5GZQrmCR
    EXIMEWxDJKyrUcrx
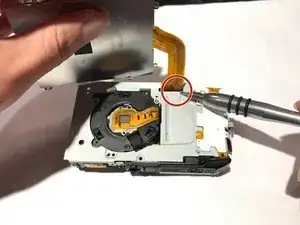
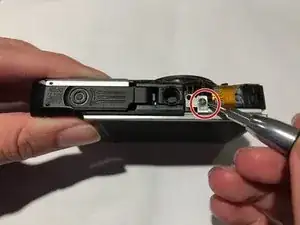
    • Use a spudger to reach under the connecting wire.

    • Gently slide the spudger under the wire and lift the wire off the connection.

Abschluss

To reassemble your device, follow these instructions in reverse order.
Kenny Chui

Mitglied seit: 17/10/17

107 Reputation

0 Kommentare