Einleitung
This guide will walk you through removing a faulty or damaged viewfinder in a Canon Powershot A70 camera.
Werkzeuge
Ersatzteile
-
-
Open the battery compartment and remove the batteries.
-
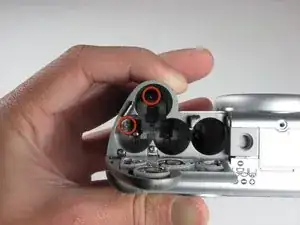
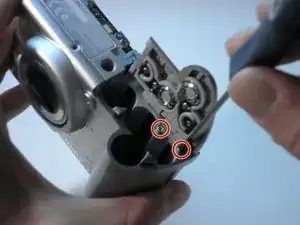
Remove the two screws that are deep in the battery compartment with a Phillips #00 screwdriver.
-
-
-
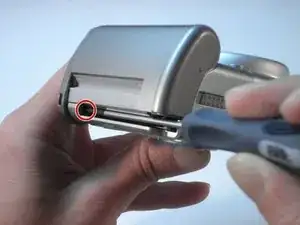
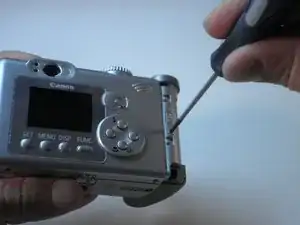
Open the CF compartment and remove the top screw with a Phillips #00 screwdriver.
-
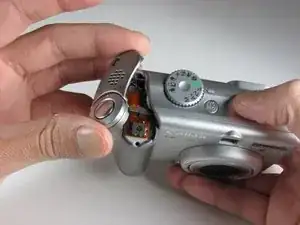
The panel that holds the shutter button and zoom will come off.
-
-
-
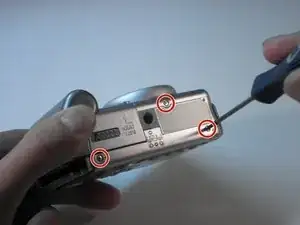
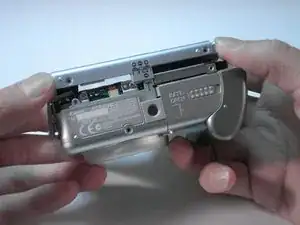
Unscrew the three small screws on the bottom of the camera with a Phillips #00 screwdriver.
-
Remove the wrist strap.
-
-
-
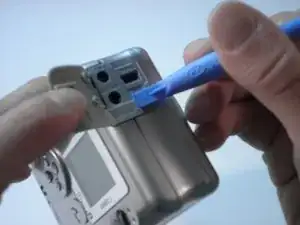
Open the rubber Digital AV Out compartment flap.
-
Pry the battery with an opening tool.
-
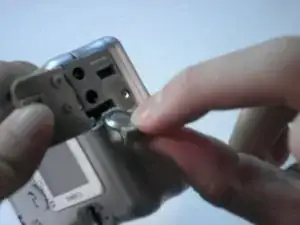
Carefully pull out the battery with two fingers.
-
Remove the two screws that are now visible with a Phillips #00 screwdriver.
-
-
-
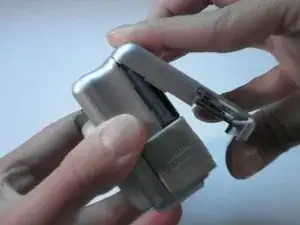
Starting from the bottom, carefully pull the casing off.
-
The casing will now pivot at the top.
-
There are three catches that hold the back casing to the body.
-
-
-
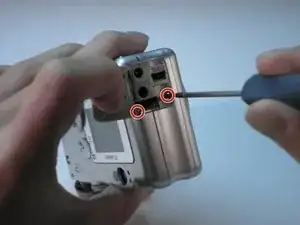
Remove the two screws at the top of the battery compartment with a Phillips #00 screwdriver.
-
-
-
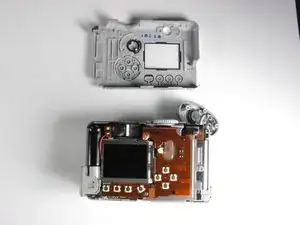
With your right thumb, pull back on the tab while using your left hand to pull the face of the camera away from the body.
-
-
-
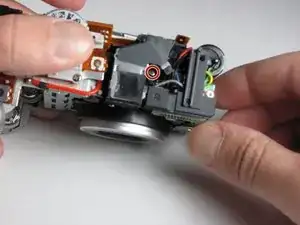
After removing the front and rear panels, locate the viewfinder directly above the lens on top of the camera.
-
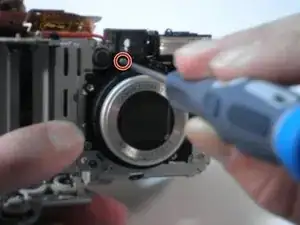
Three screws hold the viewfinder in place: two on the top and one on the lens side of the camera.
-
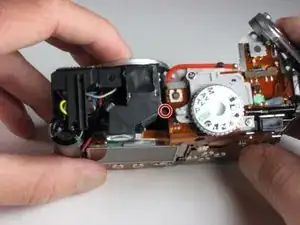
First, remove the screw in the bent corner of the viewfinder with a Phillips #00 screwdriver.
-
-
-
Remove the final screw directly under the left side of the viewfinder (on the lens side) with a Phillips #00 screwdriver.
-
-
-
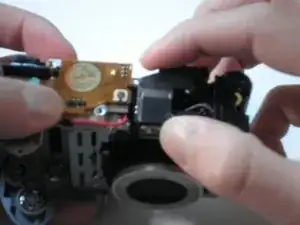
After removing the three screws, the only thing still holding the viewfinder in place is a small plastic peg.
-
Remove the viewfinder with a firm pull directly upwards.
-
To reassemble your device, follow these instructions in reverse order.
