Einleitung
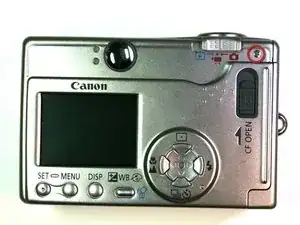
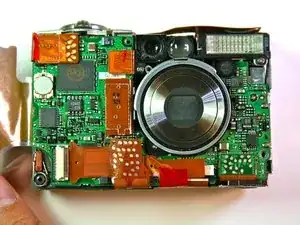
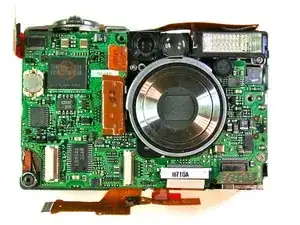
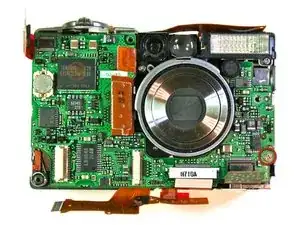
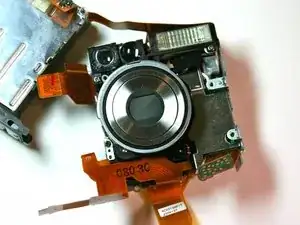
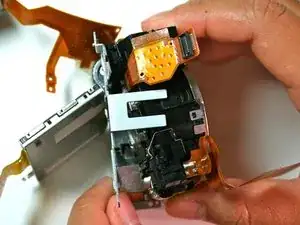
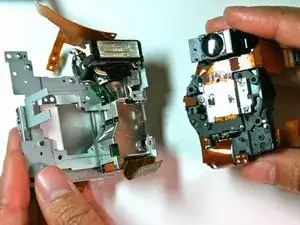
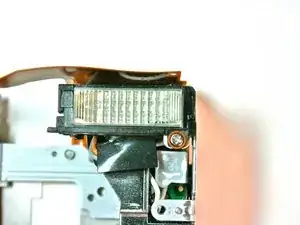
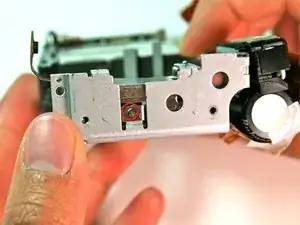
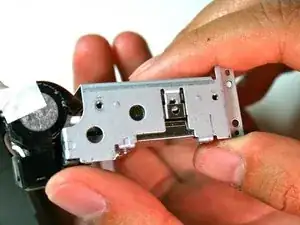
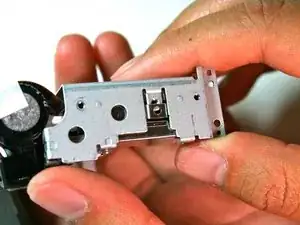
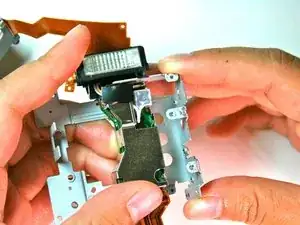
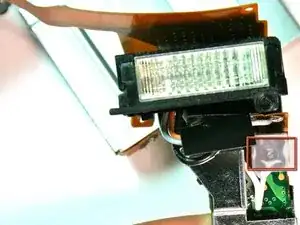
The flash unit provides necessary lighting when not enough is available.
Werkzeuge
-
-
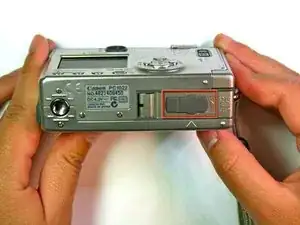
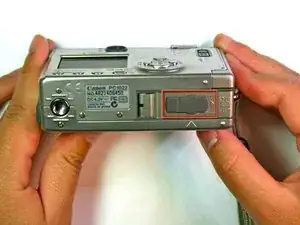
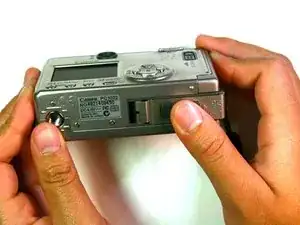
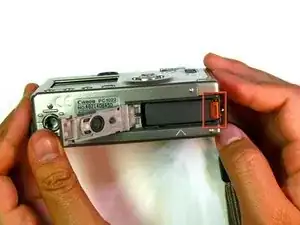
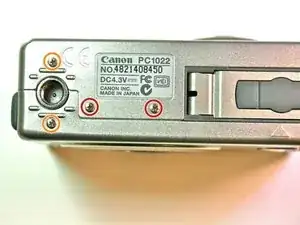
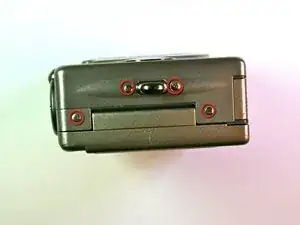
Position the camera so that the bottom is facing up.
-
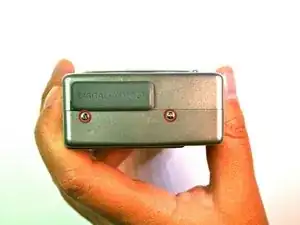
Remove the two 2.3mm screws beneath the name plate.
-
Remove the two 2.8 mm screws surrounding the threaded tripod mount.
-
-
-
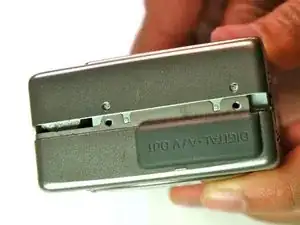
Remove the two outer 3.2mm screws from the left side of the camera
-
Remove the two inner 3.7mm screws from the left side of the camera.
-
-
-
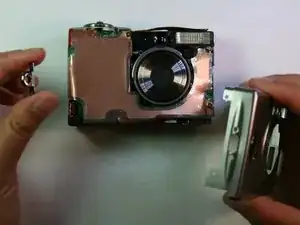
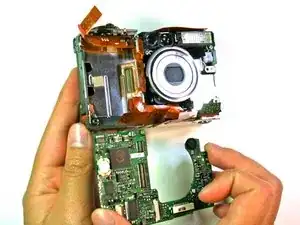
Pull the back face panel away from the front end of the body. This may take some wiggling and force.
-
-
-
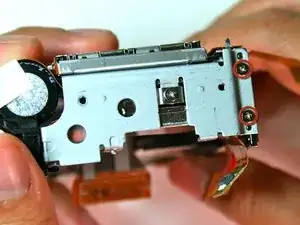
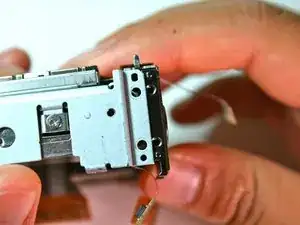
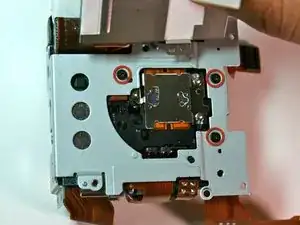
After completing the removal of the motherboard, remove the tripod mounting screws (3.4mm) on the left side
-
-
-
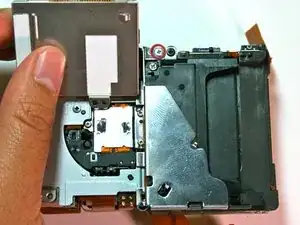
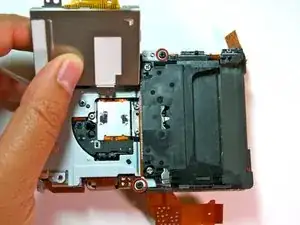
Carefully pry the left side of the housing plate from the bottom of the tripod mounting plate, releasing it from the two alignment pegs next to the screws
-
-
-
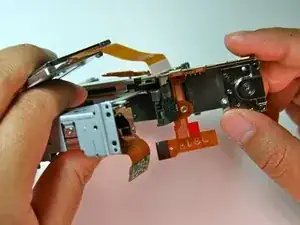
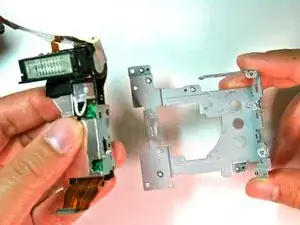
Lift the left side of the tripod mounting plate towards you, lift free the mounting plate from the rest of the assembly
-
Be careful because there are still wire connections attached to the mounting plate which you don't want to remove
-
-
-
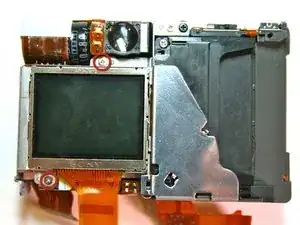
Remove the 2.1mm screws from the bottom and top of the screen connecting it to the housing plate
-
-
-
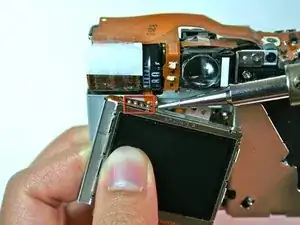
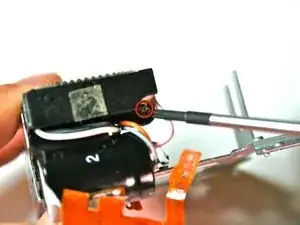
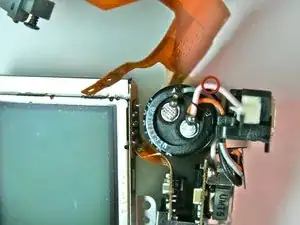
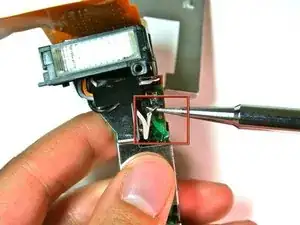
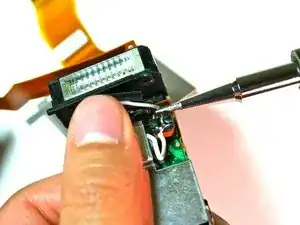
Remove the clear plastic cover from the white wire by lifting off with finger.
-
Desolder the white wire.
-
-
-
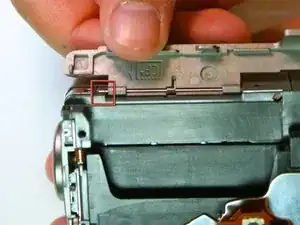
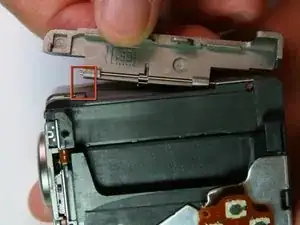
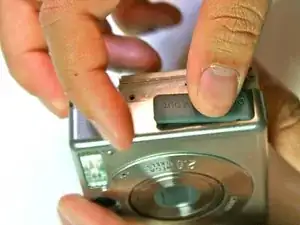
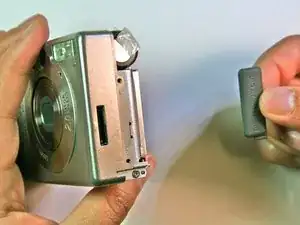
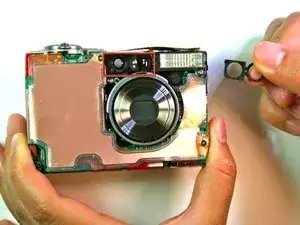
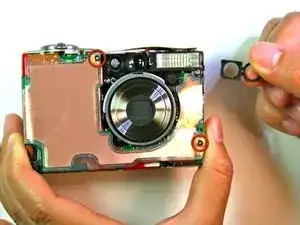
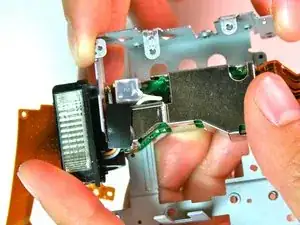
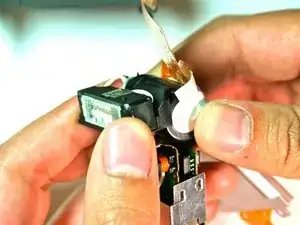
Carefully pull the flash unit off the condenser. There is tape underneath, so some force may be required.
-
To reassemble your device, follow these instructions in reverse order.
