Einleitung
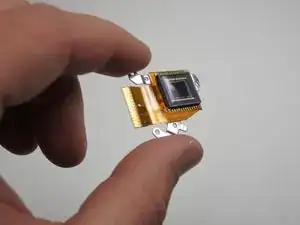
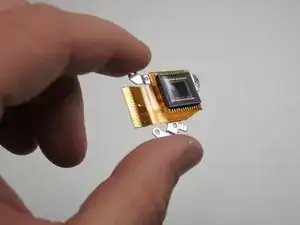
The image sensor is what actually captures the image when you take a picture. If damaged, the sensor can cause blurred, distorted, or even black pictures to be taken.
Werkzeuge
-
-
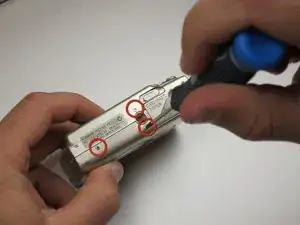
Remove the 3.2 mm screw from the right side of the camera.
-
Remove the 2.2 mm screw from the right side of the camera.
-
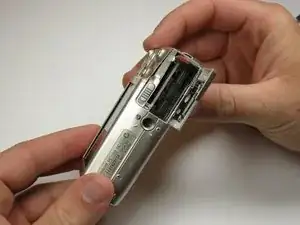
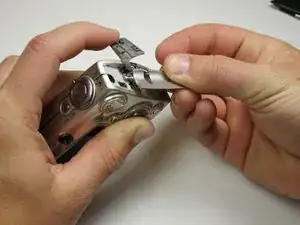
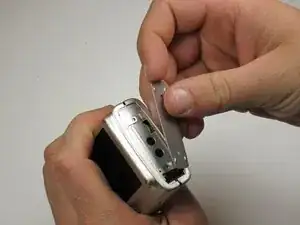
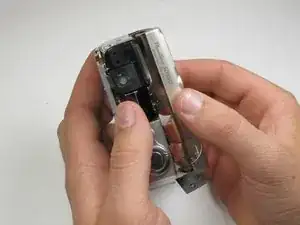
Lift the side panel off.
-
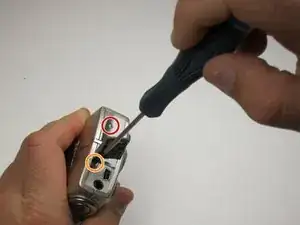
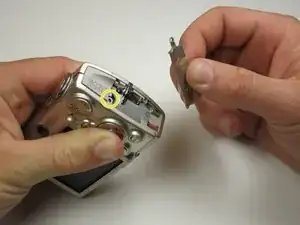
Remove the 1.8 mm screw from underneath the side panel.
-
-
-
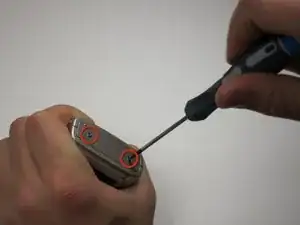
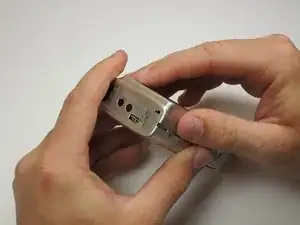
Remove the two 2.2 mm screws from the left side of the camera.
-
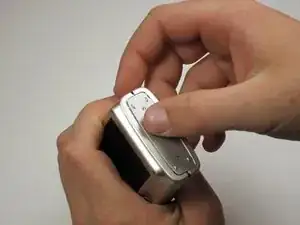
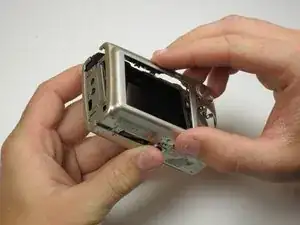
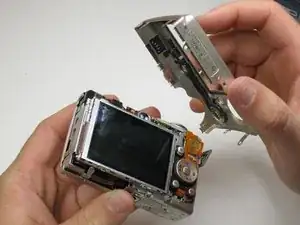
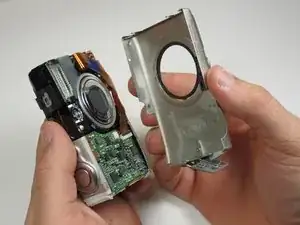
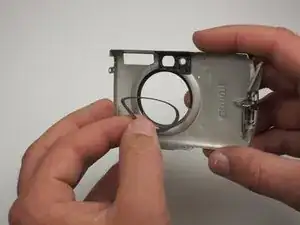
Lift the plate from the camera.
-
-
-
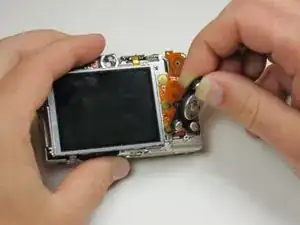
Peel the navigation buttons from the button panel and set them aside.
-
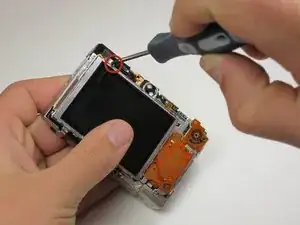
To free the LCD display, remove the 2.9 mm screw in the top left corner.
-
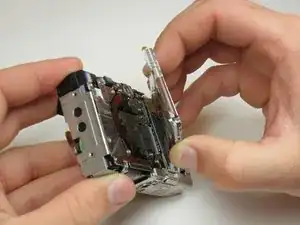
Rotate the screen clockwise until it lifts away from the camera.
-
-
-
To unplug the ribbon cables, pull them straight out of their plugs. Do this gently to avoid damaging the connections.
-
After disconnecting both cables, pull the screen away from the camera to remove it.
-
-
-
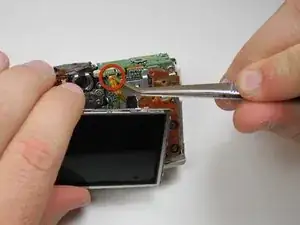
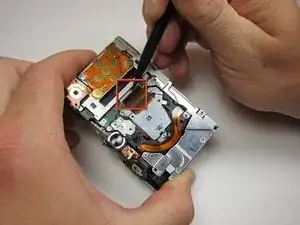
Now the photo sensor is exposed. In order to remove the ribbon cable from its port, first flip up the blue locking mechanism.
-
After the cable is unlocked, it easily pulls free.
-
-
-
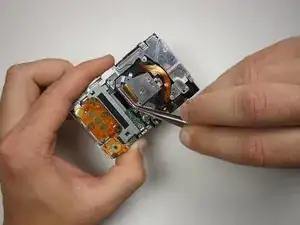
In order to remove the photo sensor, you will have to cut through glue and remove screws.
-
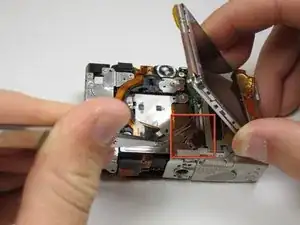
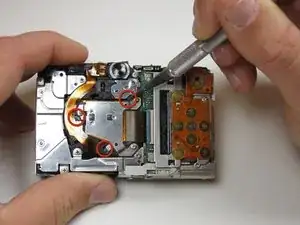
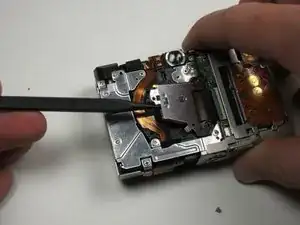
Use a knife to carefully slice through the glue at the tree points indicated. Try not to cut through anything but the glue to avoid damage.
-
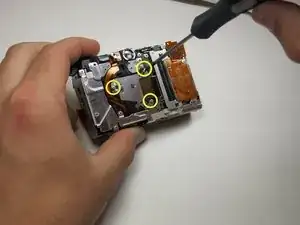
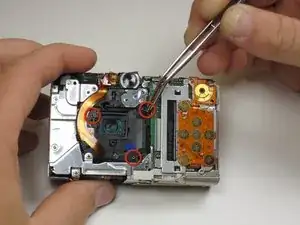
Now remove the three .15 inch screws holding the photo sensor to the camera frame.
-
-
-
Now you can carefully lift up the image sensor and remove it from the camera.
-
Be careful not to lose the three small springs or the rubber grommet that lie beneath the sensor.
-
To reassemble your device, follow these instructions in reverse order.
