Einleitung
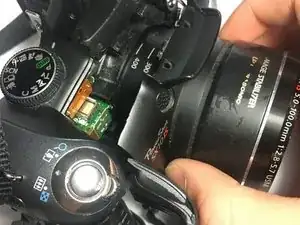
If your Canon Powershot SX10 IS isn’t powering on after replacing the batteries, the swing door on the bottom of the camera may be at fault. This door holds the batteries inside the device and gives it power. This guide will show you step-by-step how to replace this battery door.
Werkzeuge
Ersatzteile
-
-
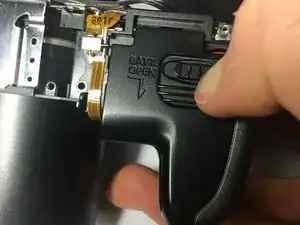
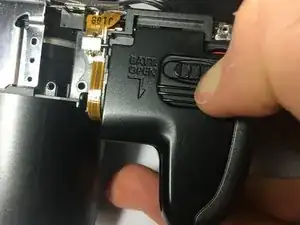
Open the door. Release the catch by sliding it towards the side of the camera.
-
Then slide the door towards the front of the camera.
-
-
-
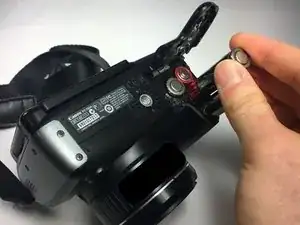
Remove AA batteries.
-
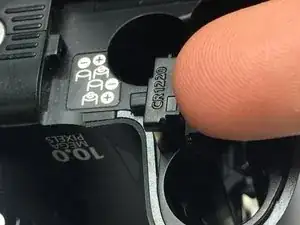
Using a fingernail or iFixit opening tools to pry up the battery cradle.
-
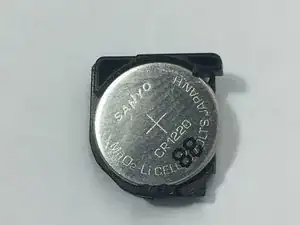
Remove CR1220 battery from the cradle.
-
-
-
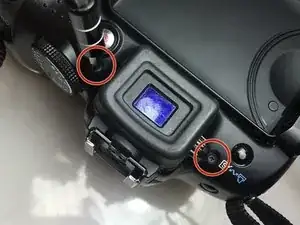
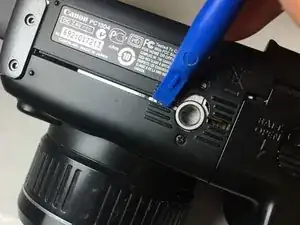
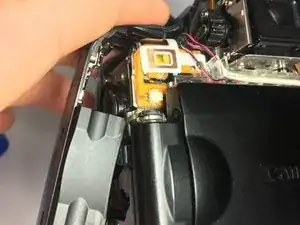
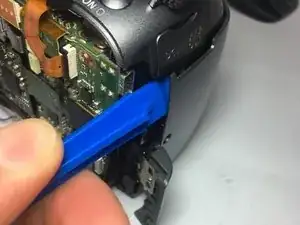
Use the iFixit opening tool to free the back casing from the rest of the camera body.
-
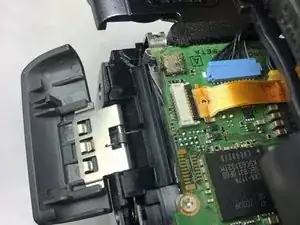
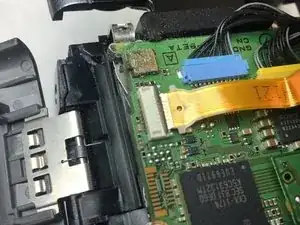
Gently lift up on the black latch holding the ribbon cable in place and slide the ribbon out.
-
-
-
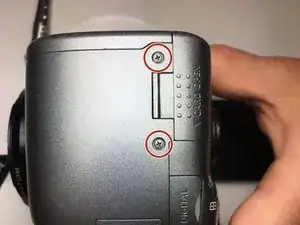
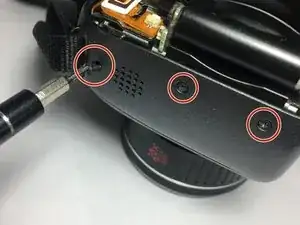
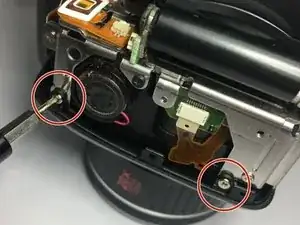
Remove three screws on the left side of the camera.
-
Slide the left side casing up and off of the camera body.
-
-
-
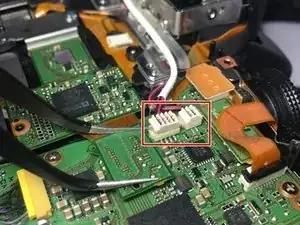
Remove two cables connected to the motherboard.
-
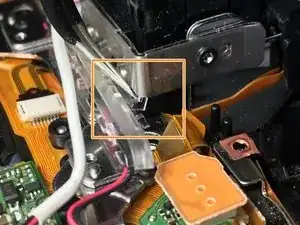
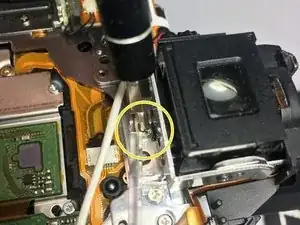
Use thin tweezers to push down on the clear piece and slide it out. At this point half of the clear piece should be free.
-
Remove one screw that is holding down the middle of the clear piece to the body of the camera. The whole structure with wires will swing out.
-
-
-
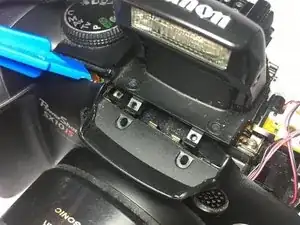
Using the iFixit opening tool, gently pry along the top edge of the front casing.
-
Move to the right side of the camera and gently pry at the top and bottom areas of this part of the casing. The front casing will come free once it has been pried here.
-
The front casing will be able to slide away from the body of the camera.
-
-
-
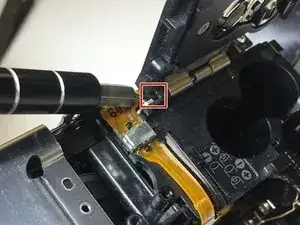
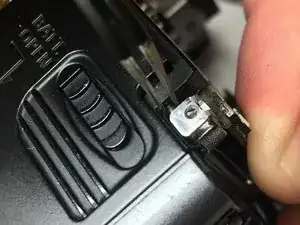
Use a small punch tip and push out the pin that is holding the battery door to the body of the camera as far as you can get it out to the right side.
-
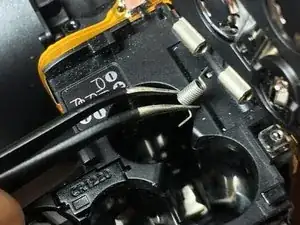
Close the battery door and switch over to the right side of the pin where you just started pushing it out. Using precision tweezers, continue to grab the pin and slide it out to the right until there is enough of the right end of the pin to pull all the way out.
-
-
-
Lastly, carefully open the door again. There is a small coiled spring that normally makes the door fly open when released. Take out the spring and the door will come away from the body.
-
To reassemble your device, follow these instructions in reverse order.
