Einleitung
Werkzeuge
-
-
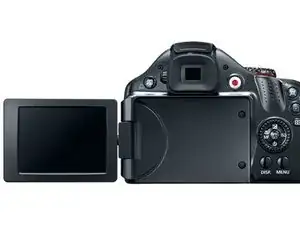
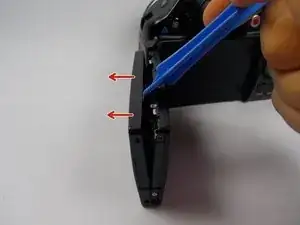
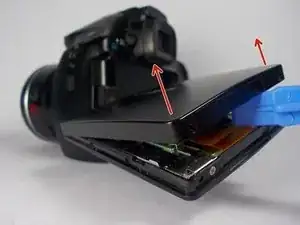
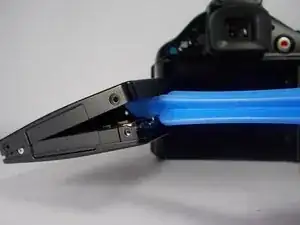
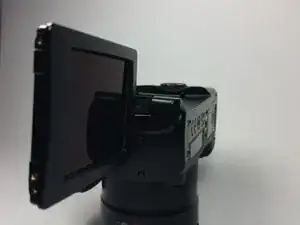
Open/turn the LCD screen until it fully extends outwards.
-
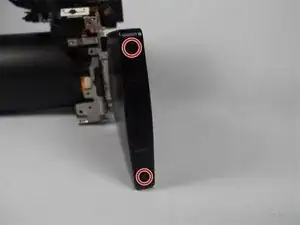
Remove these two 4 mm black screws on the left side of the screen with a Phillips size #00 screwdriver.
-
-
-
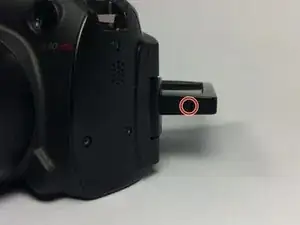
Partially close the screen and rotate it 90 degrees until the screen is facing upwards (photo view from the left front of the camera). Remove the 4mm black screw, indicated in the picture, with a Phillips #00 screwdriver.
-
-
-
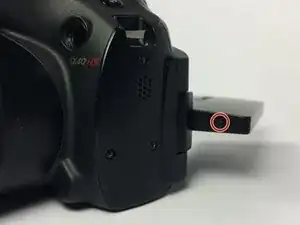
Rotate the screen 180 degrees until the monitor is facing downwards. Remove the 4mm black screw, indicated in the picture, with a Phillips #00 screwdriver.
-
-
-
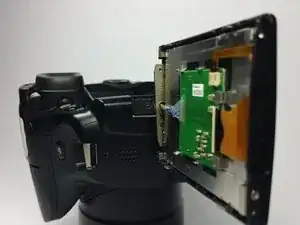
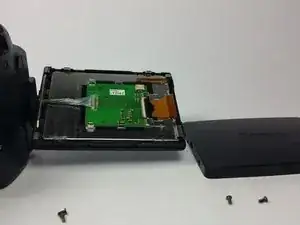
This is what you should see after removing the LCD screen cover. Replace the LCD screen cover if damaged.
-
Abschluss
To reassemble your device, follow these instructions in reverse order.
