Einleitung

  1. N2nnZBTjioT1XkXy
    N2nnZBTjioT1XkXy
    l5P1uZoIDVYCbkvy
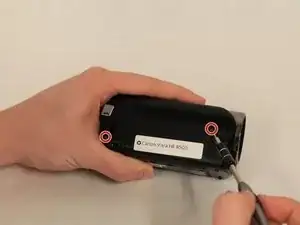
    • Remove the two 8mm Philips #000 screws on the side where the grip belt was located on.

  2. m1sCJh2iNElEUgVt
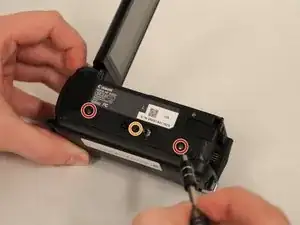
    • Remove the two 4mm Philips #000 head screws from the bottom of the camcorder.

    • A hidden 4mm Philips #000 screw is shown under the black plug shown.

  3. HUOKwgCMMBrWRBOT
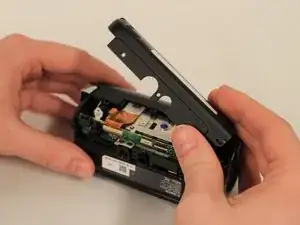
    • Remove the side piece plate.

  4. 6dutPDyv2Q24XcqB
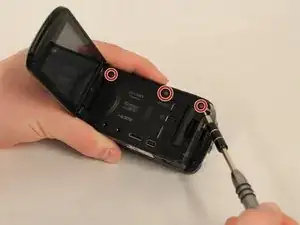
    • Near the LCD screen, remove the three 7mm Philips #000 screws in the picture shown.

  5. vHlDLYZH6SIrwJVe
    • Carefully place the camcorder where the inside of the device is facing upwards and remove the 3mm Philips #000 screw shown.

    • Do not use strong magnetic parts on the inside, as they may damage the device.

  6. Q6P4YmTdaxQyACfn
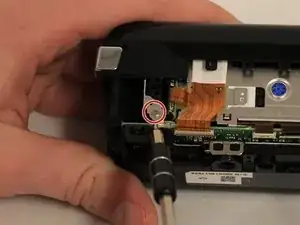
    • Using the spudger, pull the tab shown to start removing the ribbon cable.

  7. UUW5IDDDraxM1wtL
    UUW5IDDDraxM1wtL
    DxZOVDOoYKuUmVEx
    2hrOYlBrBrKwioZO
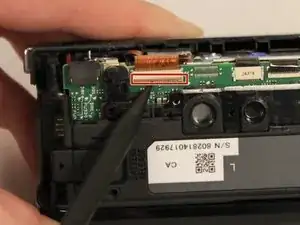
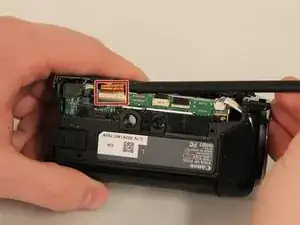
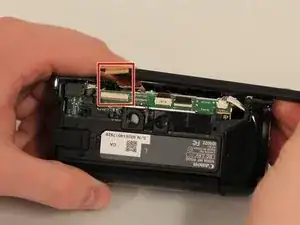
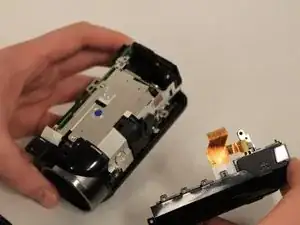
    • Using the Spudger, carefully remove the two ribbon cables that are connected to the top of the device.

  8. cZcOGfGaHo6kLcXZ
    • Remove the top piece.

Abschluss

To reassemble your device, follow these instructions in reverse order.
James Walker

Mitglied seit: 29/01/16

461 Reputation

0 Kommentare