Einleitung

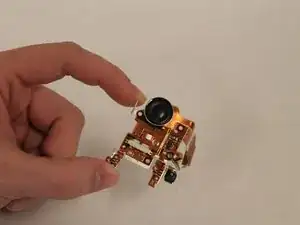
This repair is for when the speaker on your camera has either gone out or the audio is unrecognizable. There are no hazards to this repair as long as the battery and charger are not plugged into the camcorder. This repair to the device will be beneficial when recording a video clip with sound and want to play it back.

  1. DBHGGO35PsHCGsM4
    • Hold on to the battery.

  2. sqaUcHHGCYrDiScB
    • On the bottom of the battery hold the battery release switch.

  3. IyPOnMtKquNyHXYx
    • Remove the battery slowly away from the camcorder.

    • Removing the battery quick or in a different angle may cause sparks and damage to device.

  4. TNBlaqhKpnuSFLbT
    TNBlaqhKpnuSFLbT
    cOEWZxsvIKGdSwNM
    DYHJRHqJBieZ6YxL
    • On the right side of the camcorder remove the grip belt.

  5. N2nnZBTjioT1XkXy
    N2nnZBTjioT1XkXy
    l5P1uZoIDVYCbkvy
    • Remove the two 8mm Philips #000 screws on the side where the grip belt was located on.

  6. m1sCJh2iNElEUgVt
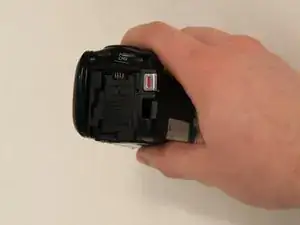
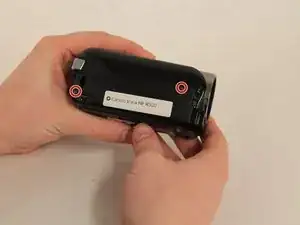
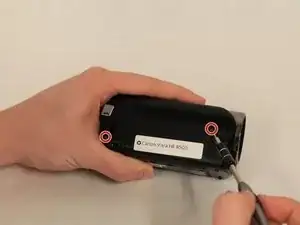
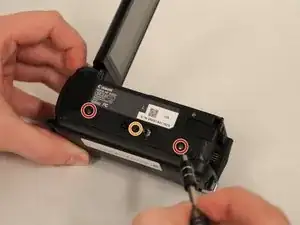
    • Remove the two 4mm Philips #000 head screws from the bottom of the camcorder.

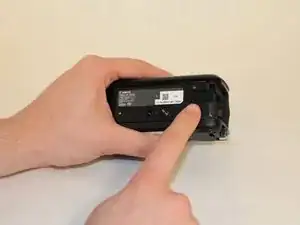
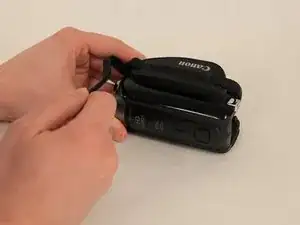
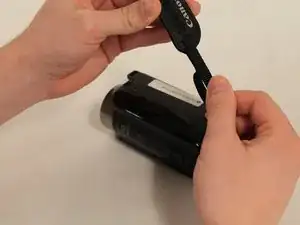
    • A hidden 4mm Philips #000 screw is shown under the black plug shown.

  7. HUOKwgCMMBrWRBOT
    • Remove the side piece plate.

  8. 6dutPDyv2Q24XcqB
    • Near the LCD screen, remove the three 7mm Philips #000 screws in the picture shown.

  9. vHlDLYZH6SIrwJVe
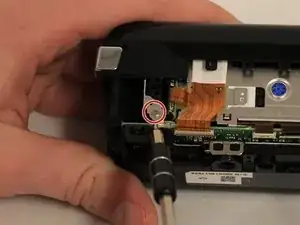
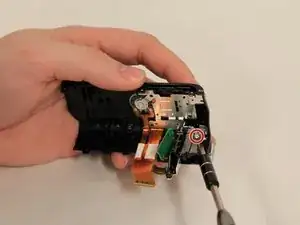
    • Carefully place the camcorder where the inside of the device is facing upwards and remove the 3mm Philips #000 screw shown.

    • Do not use strong magnetic parts on the inside, as they may damage the device.

  10. Q6P4YmTdaxQyACfn
    • Using the spudger, pull the tab shown to start removing the ribbon cable.

  11. UUW5IDDDraxM1wtL
    UUW5IDDDraxM1wtL
    DxZOVDOoYKuUmVEx
    2hrOYlBrBrKwioZO
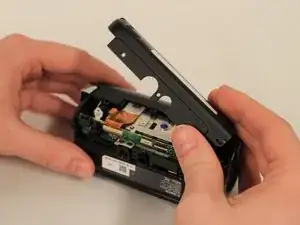
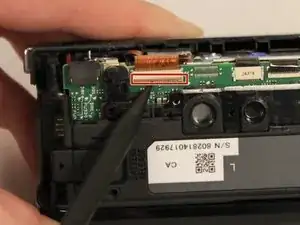
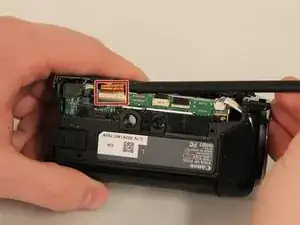
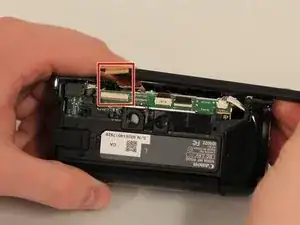
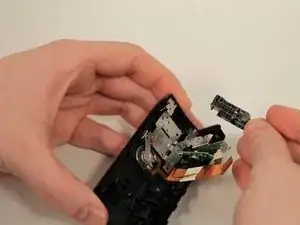
    • Using the Spudger, carefully remove the two ribbon cables that are connected to the top of the device.

  12. cZcOGfGaHo6kLcXZ
    • Remove the top piece.

  13. BgJISRMbZ4kKTpQx
    BgJISRMbZ4kKTpQx
    MISIoaNyTD5qrMZZ
    • Remove the three 6mm Philips #000 screws holding the black record piece.

  14. F1fkIuVFMmB1Xk5F
    • Remove the black record piece.

  15. wlLKx4KsChdMTqnT
    wlLKx4KsChdMTqnT
    pQw4YWtJ1xVFsXDk
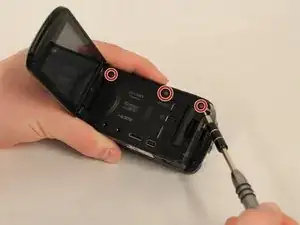
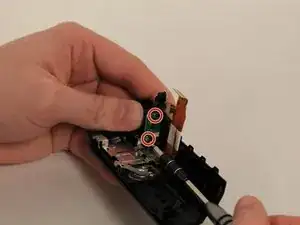
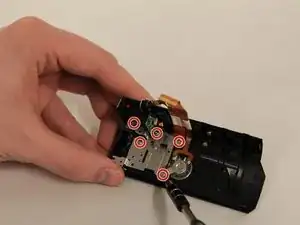
    • Holding the full top piece remove the six 5mm Philips #000 screws holding the metal frame to the top piece.

  16. LORBMomgWWrPvtlw
    • Carefully remove the the whole metal frame out of the device piece.

  17. f1RIURkAXqvPc6SZ
    • Replace the defective speaker with a functioning one.

Abschluss

To reassemble your device, follow these instructions in reverse order.

Deion Woods

Mitglied seit: 29/01/16

464 Reputation

0 Kommentare