Einleitung

This guide will show you how to access the components of the manual zoom to repair or replace broken elements.

  1. TNBlaqhKpnuSFLbT
    TNBlaqhKpnuSFLbT
    cOEWZxsvIKGdSwNM
    DYHJRHqJBieZ6YxL
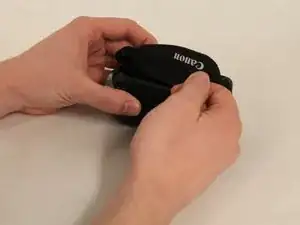
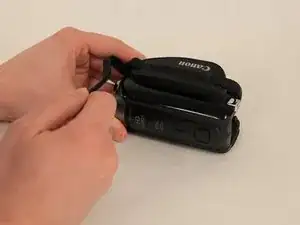
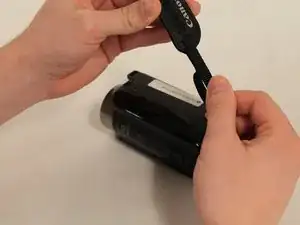
    • On the right side of the camcorder remove the grip belt.

  2. DBHGGO35PsHCGsM4
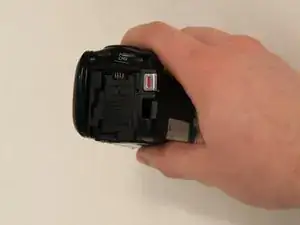
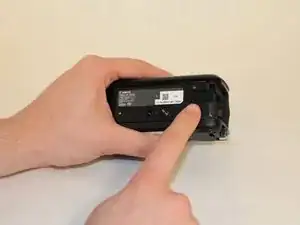
    • Hold on to the battery.

  3. sqaUcHHGCYrDiScB
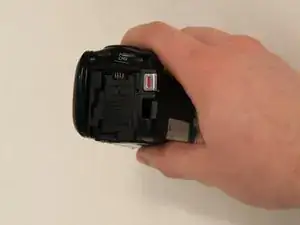
    • On the bottom of the battery hold the battery release switch.

  4. IyPOnMtKquNyHXYx
    • Remove the battery slowly away from the camcorder.

    • Removing the battery quick or in a different angle may cause sparks and damage to device.

  5. N2nnZBTjioT1XkXy
    N2nnZBTjioT1XkXy
    l5P1uZoIDVYCbkvy
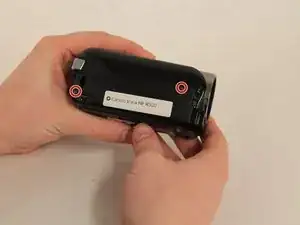
    • Remove the two 8mm Philips #000 screws on the side where the grip belt was located on.

  6. m1sCJh2iNElEUgVt
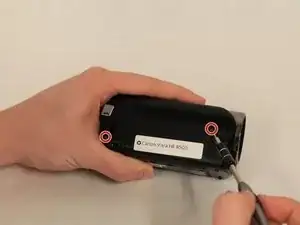
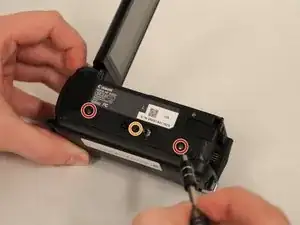
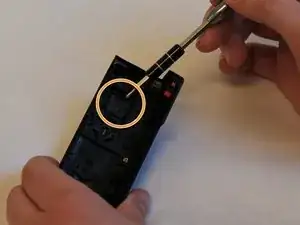
    • Remove the two 4mm Philips #000 head screws from the bottom of the camcorder.

    • A hidden 4mm Philips #000 screw is shown under the black plug shown.

  7. HUOKwgCMMBrWRBOT
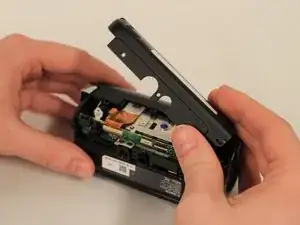
    • Remove the side piece plate.

  8. 6dutPDyv2Q24XcqB
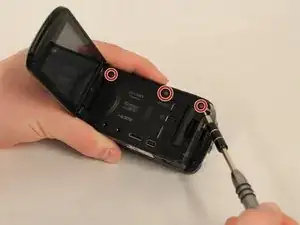
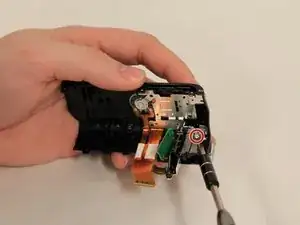
    • Near the LCD screen, remove the three 7mm Philips #000 screws in the picture shown.

  9. vHlDLYZH6SIrwJVe
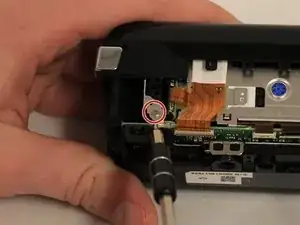
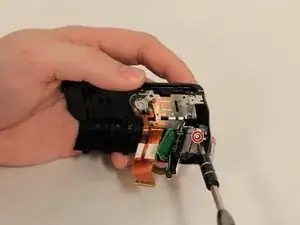
    • Carefully place the camcorder where the inside of the device is facing upwards and remove the 3mm Philips #000 screw shown.

    • Do not use strong magnetic parts on the inside, as they may damage the device.

  10. Q6P4YmTdaxQyACfn
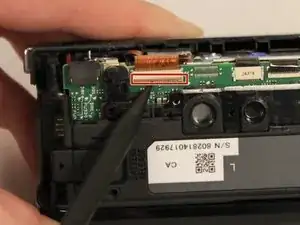
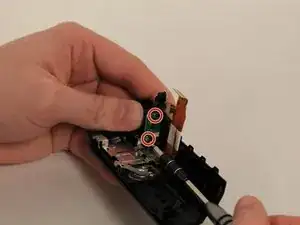
    • Using the spudger, pull the tab shown to start removing the ribbon cable.

  11. UUW5IDDDraxM1wtL
    UUW5IDDDraxM1wtL
    DxZOVDOoYKuUmVEx
    2hrOYlBrBrKwioZO
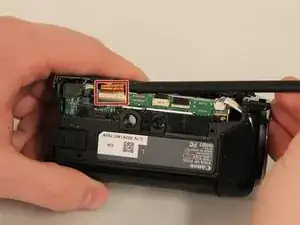
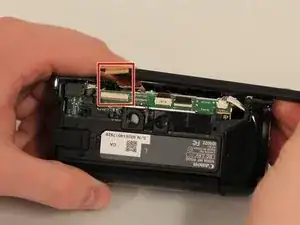
    • Using the Spudger, carefully remove the two ribbon cables that are connected to the top of the device.

  12. cZcOGfGaHo6kLcXZ
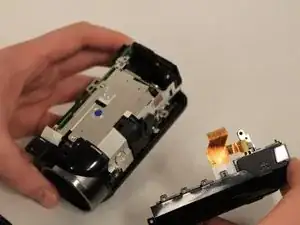
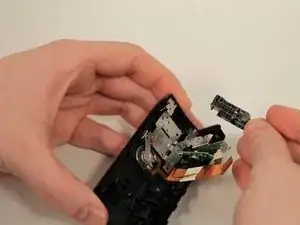
    • Remove the top piece.

  13. BgJISRMbZ4kKTpQx
    BgJISRMbZ4kKTpQx
    MISIoaNyTD5qrMZZ
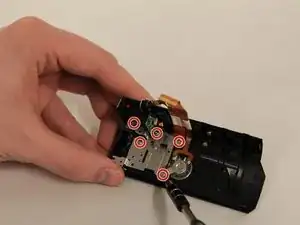
    • Remove the three 6mm Philips #000 screws holding the black record piece.

  14. F1fkIuVFMmB1Xk5F
    • Remove the black record piece.

  15. wlLKx4KsChdMTqnT
    wlLKx4KsChdMTqnT
    pQw4YWtJ1xVFsXDk
    • Holding the full top piece remove the six 5mm Philips #000 screws holding the metal frame to the top piece.

  16. LORBMomgWWrPvtlw
    • Carefully remove the the whole metal frame out of the device piece.

  17. f1RIURkAXqvPc6SZ
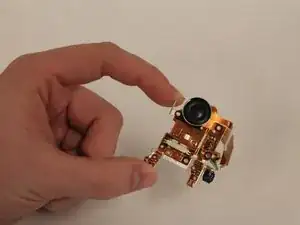
    • Replace the defective speaker with a functioning one.

  18. oqLJYU1W4RlGGMJ6
    oqLJYU1W4RlGGMJ6
    4Xj4jgmYGwF26Knn
    • Examine the grey zoom input tab located on copper plate.

    • Examine the black plastic zoom slider, on the top cover of the camera

    • Repair or replace damaged components and clear all debris from mechanisms.

Abschluss

To reassemble your device, follow these instructions in reverse order.
James Walker

Mitglied seit: 29/01/16

461 Reputation

0 Kommentare