Einleitung
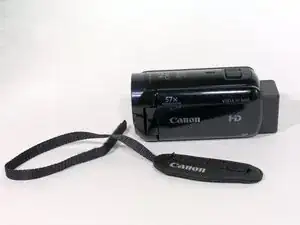
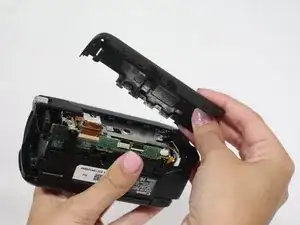
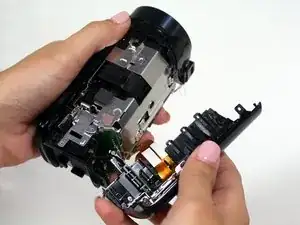
Cleaning your camera is important to maintaining good performance. Taking apart the outside casing will allow you to clean the inside of any dirt and debris. Casing removal is also necessary for replacing other internal components.
Werkzeuge
-
-
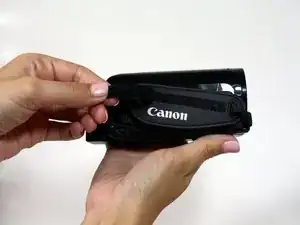
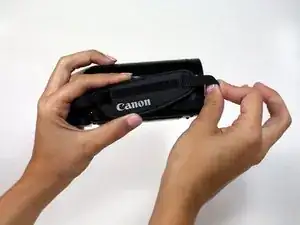
Pull up the Velcro strap starting from the front of the camera and working your way towards the back.
-
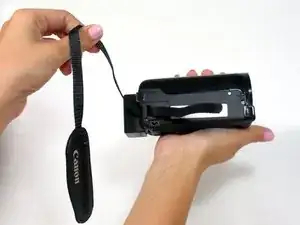
To remove the hand-strap, pull the Velcro strip through the leather pad.
-
-
-
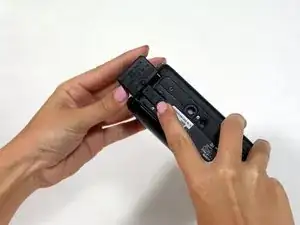
Press in the battery release tab located on the bottom of the camera.
-
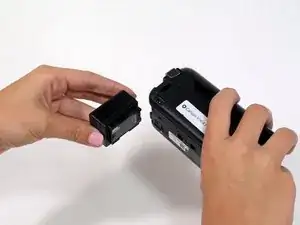
Slide the battery out from the body.
-
-
-
Start by removing the two 6mm Phillips #00 screws located on the right side of the camera.
-
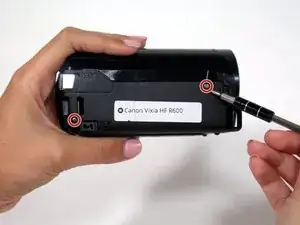
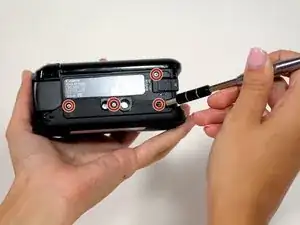
Remove four more 6mm Phillips #00 screws found on the bottom of the camera.
-
-
-
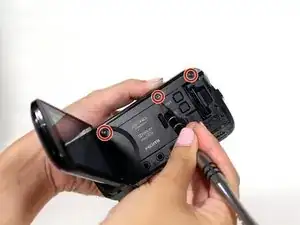
Open the display screen and remove the three 5mm Phillips #00 screws.
-
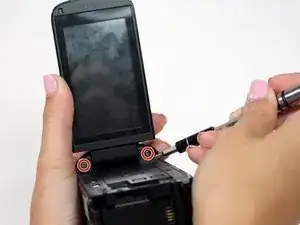
Look to the swivel point for the screen to find the last two 5mm Phillips #00 screws that must be removed.
-
To reassemble your device, follow these instructions in reverse order.
