Einleitung
In this guide I will be demonstrating how to properly replace the navigation button on the top of the camera. The common signs of a broken or failing navigation button are if the button fails to move or is jammed, when moved the button doesn’t do anything, the button when moved produces a delayed response, if any of these symptoms appear it is likely that this is the primary issue with the device.
-
-
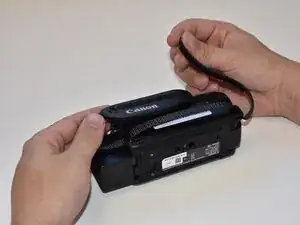
Remove the strap by undoing the Velcro and pulling it through the thread points.
-
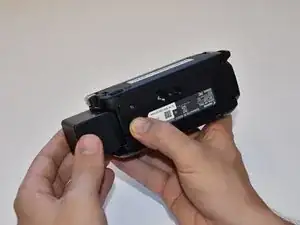
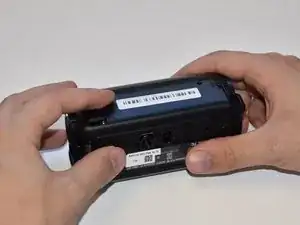
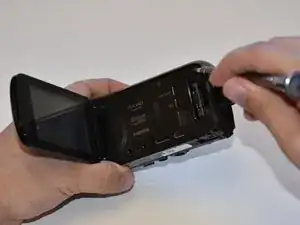
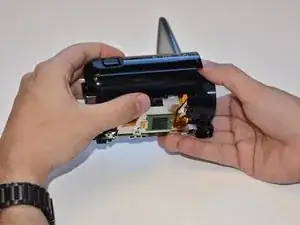
Remove the external battery pack by pressing down on the slide release and sliding it out.
-
-
-
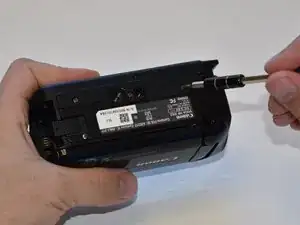
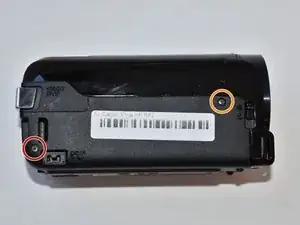
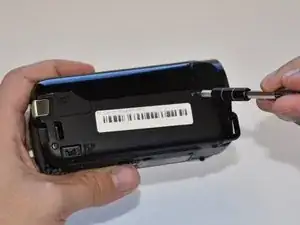
On the side of the device, remove the following Phillips #000 screws:
-
One 3mm screw
-
One 5mm screw
-
-
-
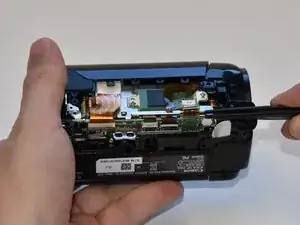
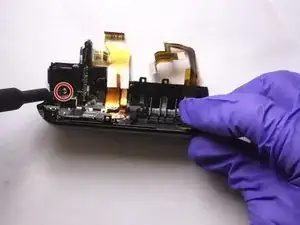
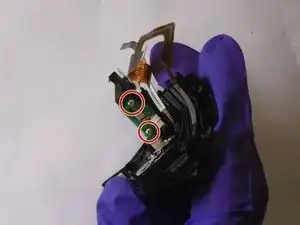
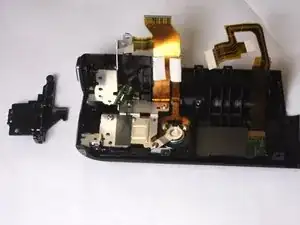
Use the Phillips #000 screwdriver to remove three 3mm Phillips #000 screws from the outer casing shell around the record button and remove it and the small microchip.
-
-
-
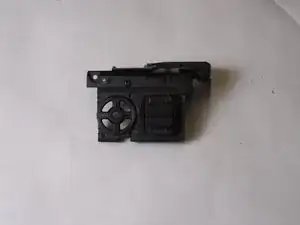
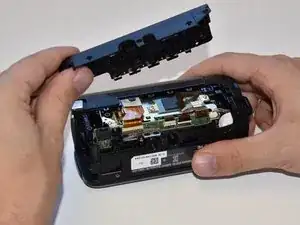
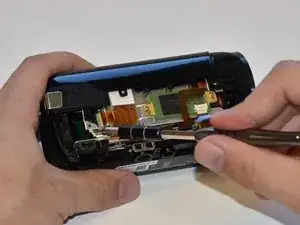
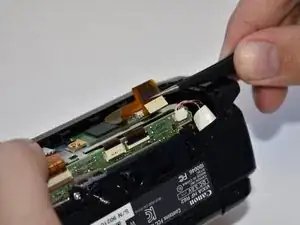
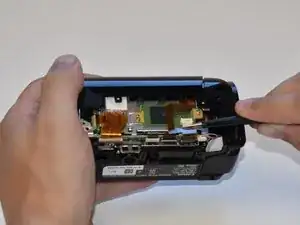
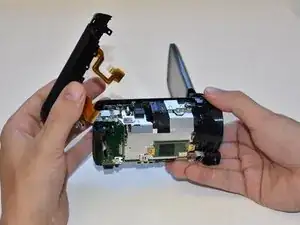
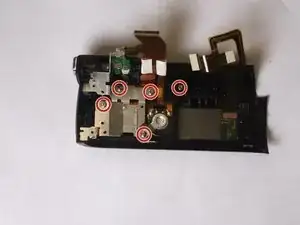
Use the Phillips #000 screwdriver to remove five 3mm Phillips #000 screws from the outer casing shell and remove the metal piece containing the speaker.
-
-
-
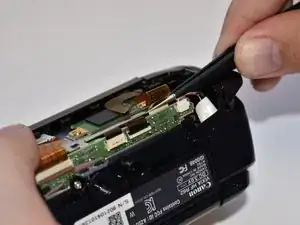
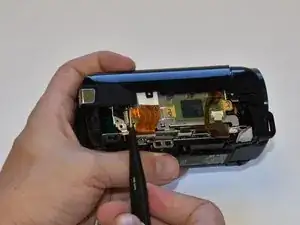
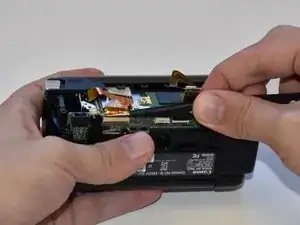
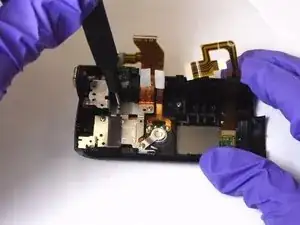
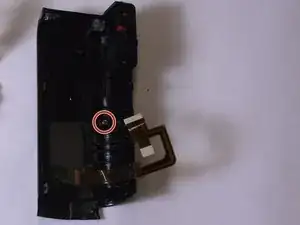
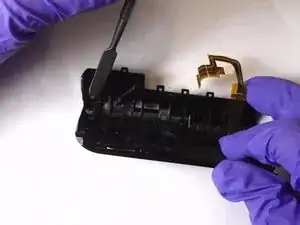
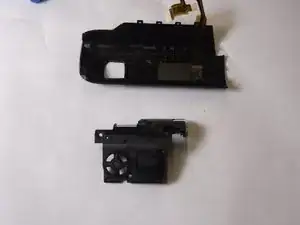
Remove one 3mm Phillips #000 screw holding the navigation button in. Then use the metal spudger to separate the button from the casing.
-


To reassemble your device, follow these instructions in reverse order.
