Einleitung
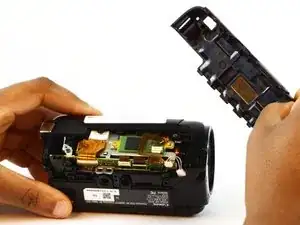
The top panel is the glossy plastic piece that rests on the top of the camcorder and protects the inner components. Along with the side panel, it must be removed before the internal parts of the camcorder can be accessed. Use this guide to remove and replace the top panel to your Canon Vixia HF R70.
Werkzeuge
-
-
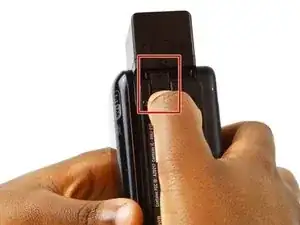
Locate the latch on the bottom edge of the camera.
-
Hold the battery into place and gently push down on the latch towards the lens.
-
-
-
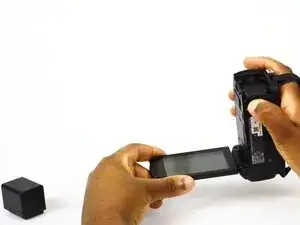
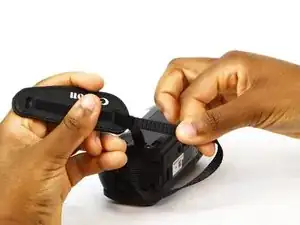
Position the camcorder so that the wrist strap is facing you.
-
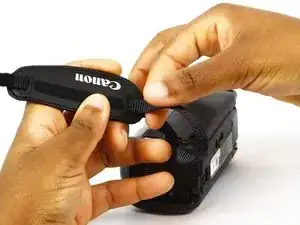
Locate the loose end of the strap.
-
-
-
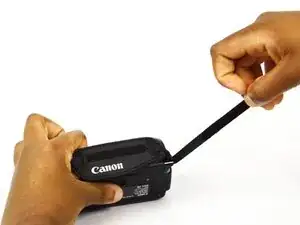
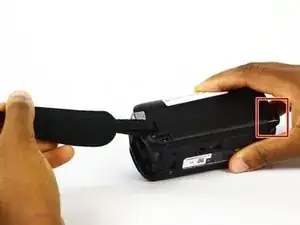
Locate the "slot" on bottom right corner of the camcorder where the strap loops through.
-
Pull the strap through the loop.
-
-
-
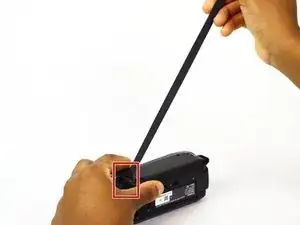
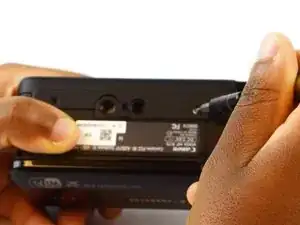
Position the camcorder so that the side panel is facing you.
-
Locate the two 6mm Phillips #00 screws on the side panel.
-
Remove the the screws using a screwdriver with a Phillips #00 head.
-
-
-
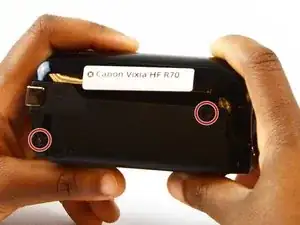
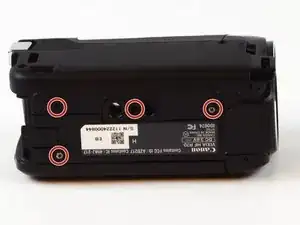
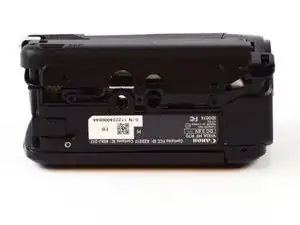
Turn the camcorder so that the bottom is facing you.
-
Using your screwdriver, locate and remove the four 6mm Phillips #00 screws connecting the side panel to the bottom of the camcorder.
-
-
-
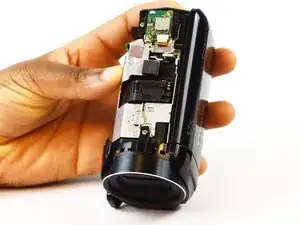
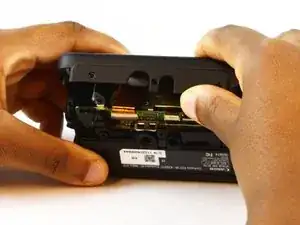
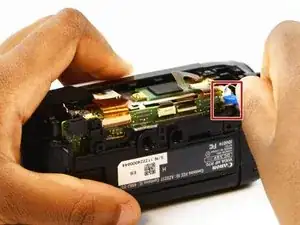
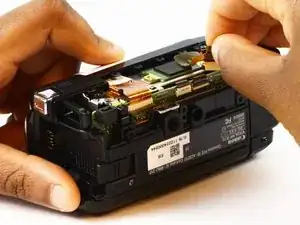
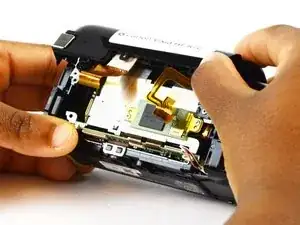
Disconnect the wires by inserting the plastic opening tool into the small slit.
-
Begin to push upward with the plastic opening tool, disconnecting the two compartments.
-
-
-
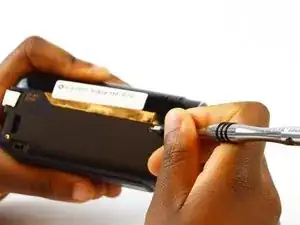
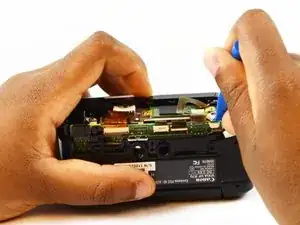
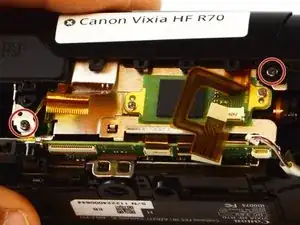
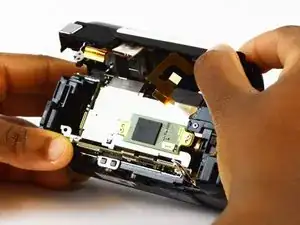
Locate and remove the two 3mm Phillips #00 screws on the side of the camera where the side panel was removed.
-
-
-
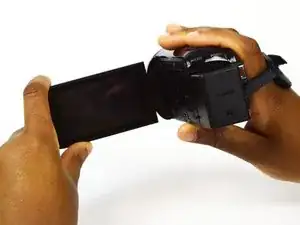
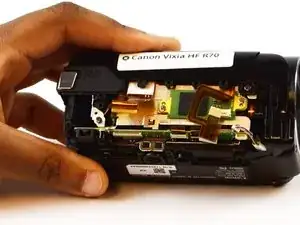
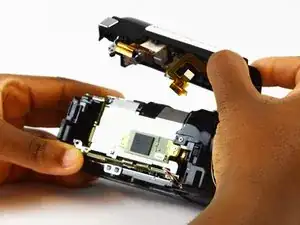
Turn the camera over to the side with the LCD screen, and open the screen.
-
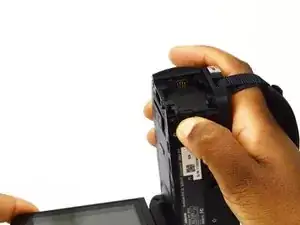
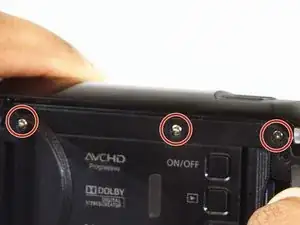
Locate and remove the three 5mm Phillips #00 screws holding the top panel in place.
-

To reassemble your device, follow these instructions in reverse order.