Einleitung

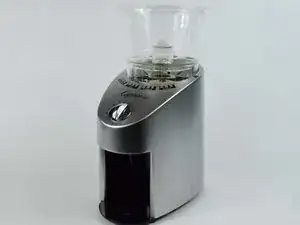
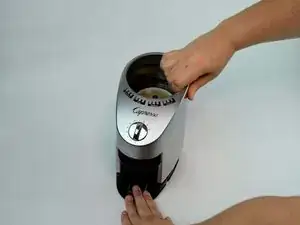
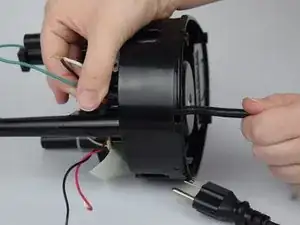
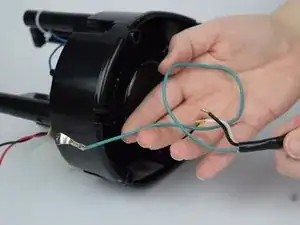
Does your Capresso Infinity Coffee Grinder not turn on? Has the power cord started to fray? If so, there might be an issue with your power cord. Here is a guide to replace your Capresso Infinity power cord. All you need is a Torx Security T10 Bit Screwdriver and a 2.0 Flathead Screwdriver in order to remove the screws to replace the power cord.

  1. dIog3igK3rxuV5JF
    dIog3igK3rxuV5JF
    CpcRJFgdyHeWf2RN
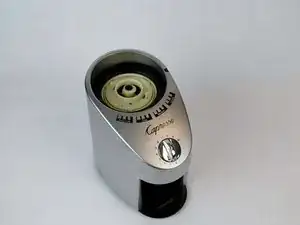
    • Twist the top plastic container to the left counterclockwise.

    • Pull upwards to remove.

  2. lV4EVcmQbLyWEZQG
    lV4EVcmQbLyWEZQG
    vxDYfKHmSurmECcG
    GIAKVNWViAvvEWvM
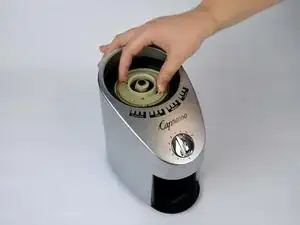
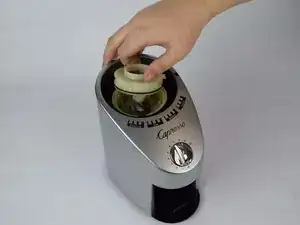
    • Twist the top burr to the left counter clockwise.

    • Pull upwards to remove.

  3. L4sH1QB4FkhsdpOt
    L4sH1QB4FkhsdpOt
    j2MfpWXxBbHINWUO
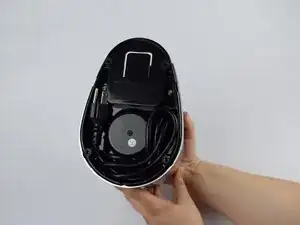
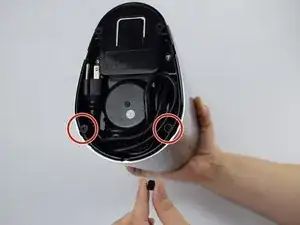
    • Flip entire device upside down.

    • Remove two rubber coverings on the back of the device.

  4. 5J1To6EQiNYLYg4r
    5J1To6EQiNYLYg4r
    halWFYylkQjUBQ2O
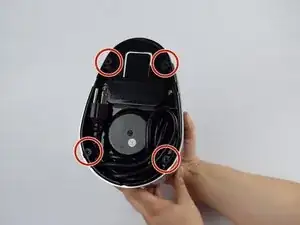
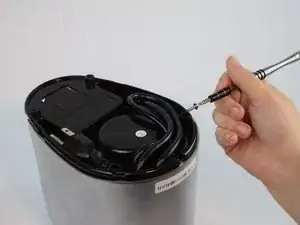
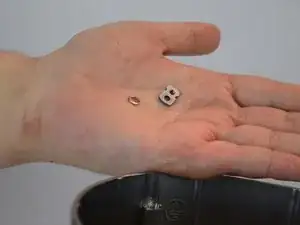
    • Remove four 11.59mm T10 screws.

    • The screws will have small circular washers under them. Put them aside for reassembly.

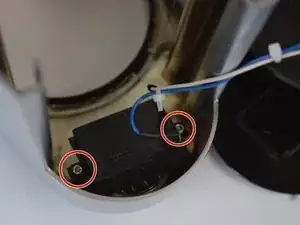
    T8 Torx screws. The two screws towards the front of the machine are below those circled in red in the picture.

    Canbo -

    My housing is plastic, and was just held on by clips holding the outer part to the base, I gently pried the housing away and lifted the housing off. It’s a Capresso model 560

    panchocole -

    Mine is as well. I tried digging the “rubber washers” out but it was only scratching plastic.

    There are 5 areas you can slide a slim flathead into and gently wiggle to get the casing to slide out from the base. Be firm yet gentle.

    Joseph Hirn -

  5. m1H3IJf1Xh2jVVKt
    m1H3IJf1Xh2jVVKt
    nNeVCToDUROPHPqM
    Phc1TfxGuH2IpgNL
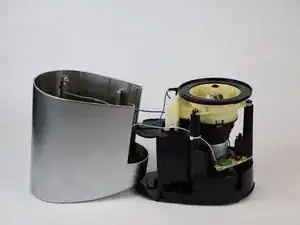
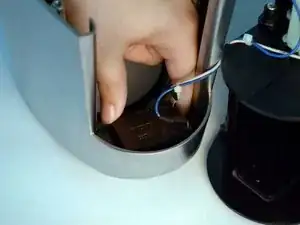
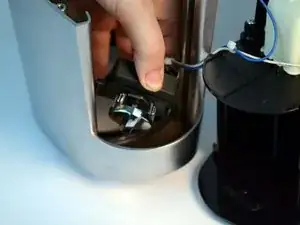
    • Lift the metal outside casing off the black base.

    • Flip the outside casing forward so you have access to the inside of it.

    What about the hard black plastic gasket that fits under the inside lip of the outer metal case?

    Nicole -

    What about the hard black plastic gasket that fits under the inside lip of the outer metal case?

    Nicole -

    It sits between the outer metal case & the black plastic flat ring. Please describe how to reassemble that part.

    Nicole -

  6. 4ME4LvaO4jo3WrTu
    4ME4LvaO4jo3WrTu
    IqIfsCY63aAgKP3P
    NcGltqVnUya3hRWT
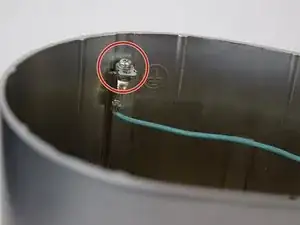
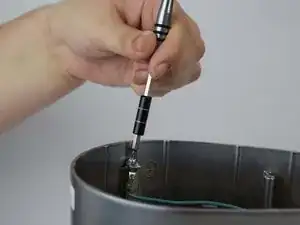
    • Remove one 11.59mm T10 screw.

    • Let the green wire fall, or place somewhere so it doesn't get in the way.

    • There will be a small metal retainer and washer, put them aside for reassembly.

    T8 Torx screw.

    Canbo -

    My unit has a plastic case and a two-prong plug, so there is no ground wire.

    michael.g.safonov -

  7. MAbNGvoGZQZMm1hD
    MAbNGvoGZQZMm1hD
    Ry5NEMIki4hdKskV
    KPUwqrpmFDNxZJtX
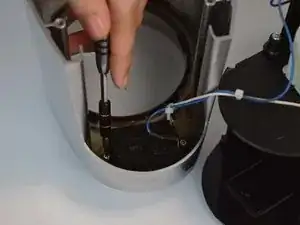
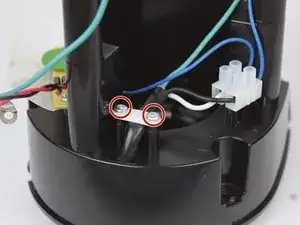
    • Remove two 11.59mm T10 screws.

  8. RjanRGYUG2A6FVgF
    RjanRGYUG2A6FVgF
    BQXlLZrYKrjVKWb2
    • Remove the time/on switch by pulling upwards.

  9. WKXjZN13tjIdIKEN
    WKXjZN13tjIdIKEN
    y5miVcbDRdGwOVSc
    eCBoIXqTMbYdOUIJ
    • Remove two 13.60mm T10 screws.

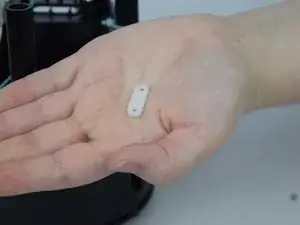
    • A white, flat plastic piece will have come loose. Place this to the side for reassembly.

  10. wGdjQUJmAn5Cvryf
    wGdjQUJmAn5Cvryf
    X3UcZMOVDbsM2A4N
    HyElpe4EPu4RY6jA
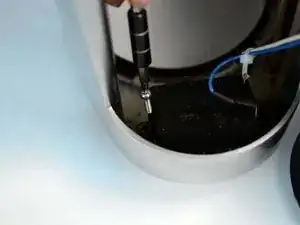
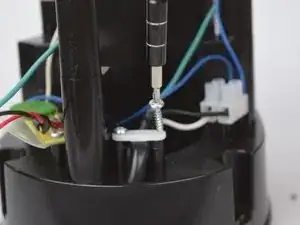
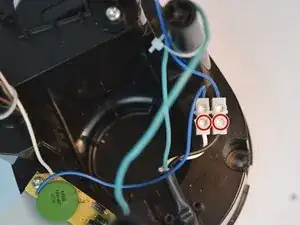
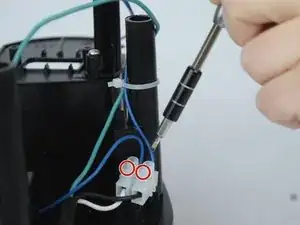
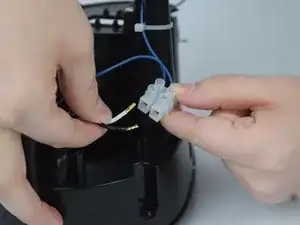
    • Using a Flathead screwdriver loosen the two screws connecting the white and black wire to the plastic box.

    • Do not remove the screws from the box, but loosen them enough to disconnect the black and white wire.

  11. boCVl6rP3IyDVLvD
    boCVl6rP3IyDVLvD
    uChLdWBkLiWrY5LT
    bCCM6WZQmKRwtGp6
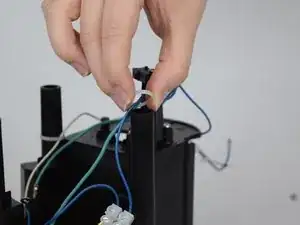
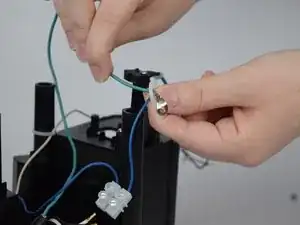
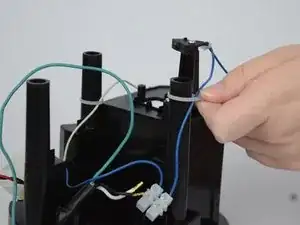
    • Originally attached to the inside of the outer casing, the green wire needs to be fed through the zip tie which keeps it in place.

    • Lift up on the zip tie far enough to create a space to feed the green wire through.

    • Place the zip tie back around the column that you lifted it from.

    • All three wires that comprise the power cord should be detached from the coffee grinder.

  12. BZiJXUUScmsiWUD6
    BZiJXUUScmsiWUD6
    PhOoV2kVGRcaEiWT
    bt3s3IQGqZfnnlqB
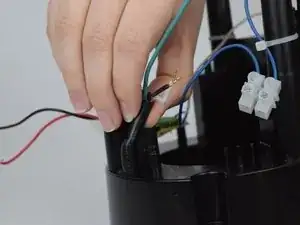
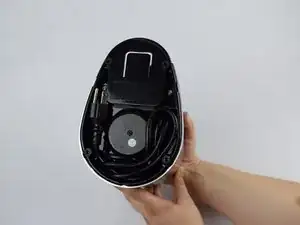
    • Feed the wires through the small hole at the bottom of the coffee grinder where the external power cord is located.

    • Once the power cord is free of the coffee grinder, you are able to put in the new cord.

Abschluss

To reassemble your device, follow these instructions in reverse order.
Elizabeth Roach

Mitglied seit: 09/10/18

233 Reputation

0 Kommentare