Einleitung

  1. BLBRfTVE1GjBKGrG
    BLBRfTVE1GjBKGrG
    5CkMGSEeqnYvIPQn
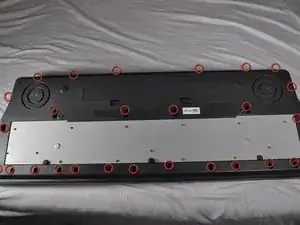
    • Flip the keyboard over so that the bottom is facing up.

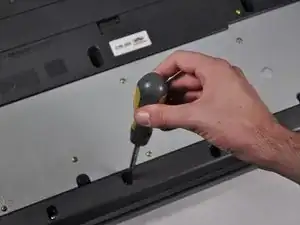
    • Remove the twenty-seven 12 mm screws from the dark-grey panel using a Phillips #2 screwdriver.

  2. 2mNbvCeCK3swXT1n
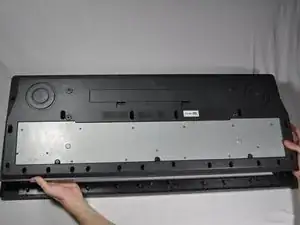
    • Remove the bottom panel by lifting and pulling it towards yourself.

  3. bQVwuD1FCiJNIxMx
    bQVwuD1FCiJNIxMx
    LJFYdJbiWPMuHQQS
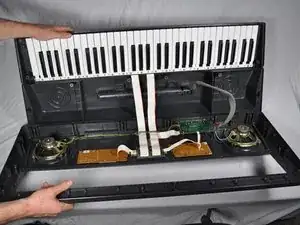
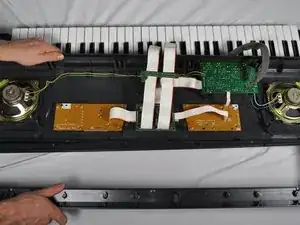
    • Flip open the top half of the keyboard.

    • Set the keyboard onto the bottom half with the internal parts facing up.

    • Be careful not to let the bottom drop.

  4. REuusaME3sCBxHCY
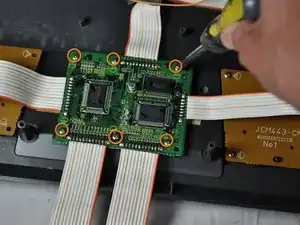
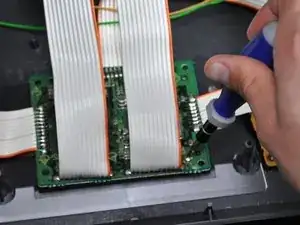
    • Completely unscrew and remove all six of the screws on the central circuit board.

  5. qOT2vUPbIFSPCOnA
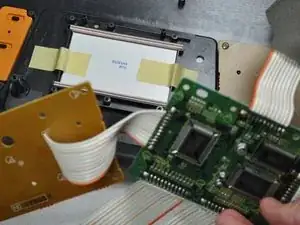
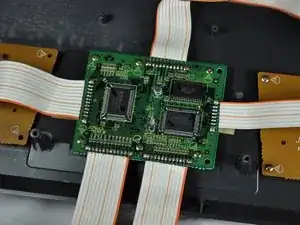
    • Lift the circuit board out of your way.

  6. ZWFIMcKaoYP6adfa
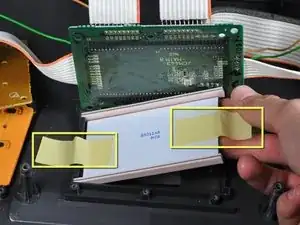
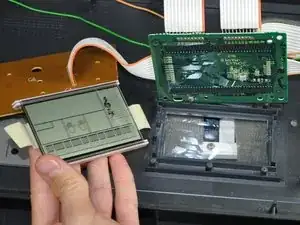
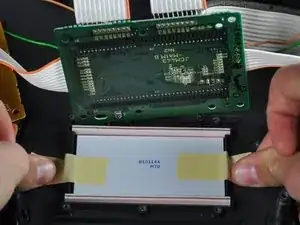
    • Remove tape from the LCD screen and remove the screen completely.

  7. GIBGwDtdw51UbpUZ
    GIBGwDtdw51UbpUZ
    jhP61G5wdMUV1yVY
    • Replace the LCD screen and tape it down to the top cover.

    O display do ctk 501 esta a venda? chama no whats 11 973620565

    Denis Novak -

  8. 3P3ZPKVCl4PwjG5O
    • Place the circuit board back on top of the LCD screen and screw all of the screws completely in their original positions.

Abschluss

To reassemble your device, follow these instructions in reverse order.

Jimmy Winne

Mitglied seit: 05/10/12

578 Reputation

3 Kommentare

Where did you get the replacement LCD screen? I'm looking for one for my CTK-573 keyboard mbuseck1@yahoo.com

mbuseck1 -

Hi. Would this screen work for CTK 481?

José Saldaña -

hi. I have the ctk 4300. i would like to know where i can get one.Binitintimo@gmail.com
timo binitin -