Einleitung
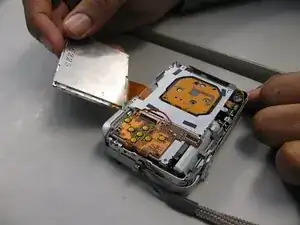
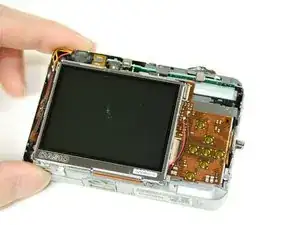
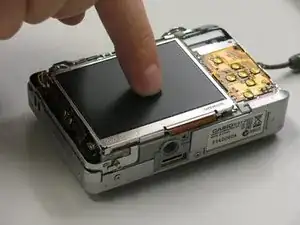
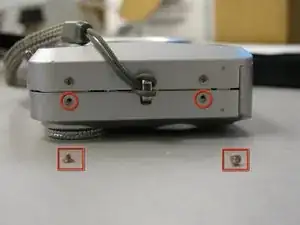
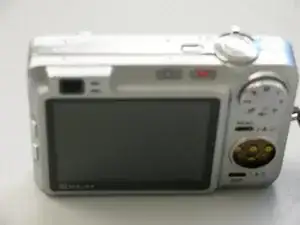
This guide will show you how to remove the LCD screen off the Casio Camera.
Werkzeuge
Ersatzteile
-
-
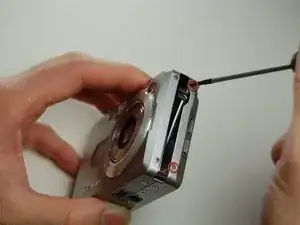
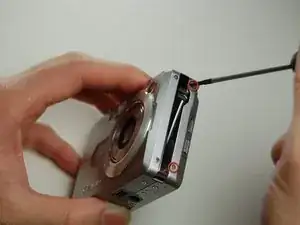
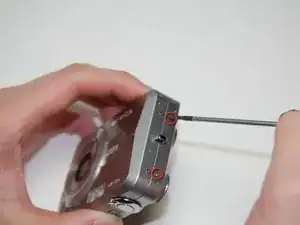
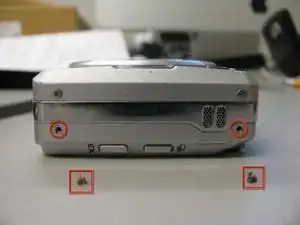
Remove the two screws on the side of the speakers with the Phillips 00 Screwdriver, on the portion of the camera that is a part of the back casing.
-
-
-
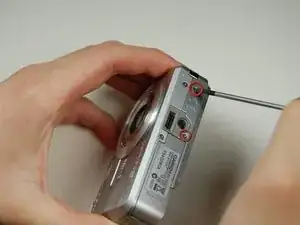
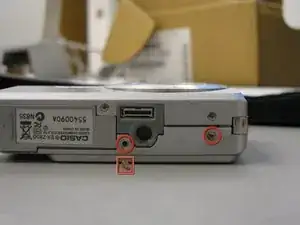
Remove the two back screws on the bottom of the camera on the same side as the LCD screen.
-
-
-
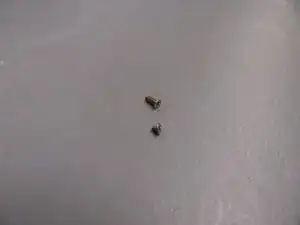
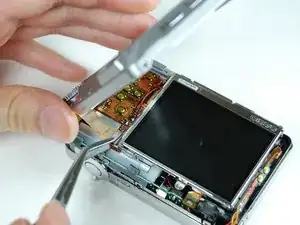
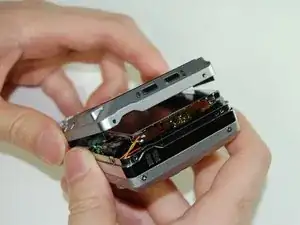
Once all screws have been removed, gently pry open the bottom casing.
-
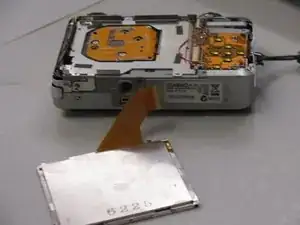
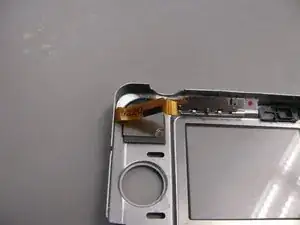
Use the tweezers to carefully remove the ribbon from the LCD screen- NOT from the back casing itself.
-
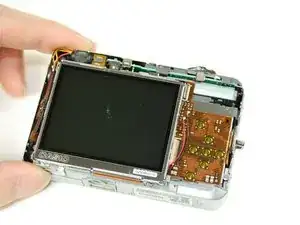
Set the bottom casing aside.
-
-
-
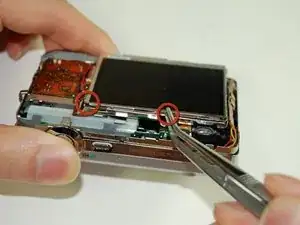
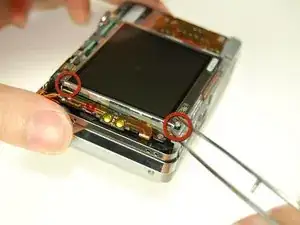
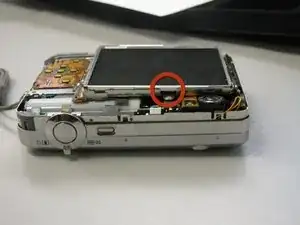
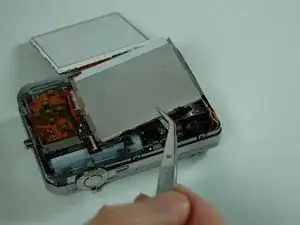
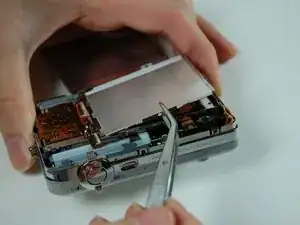
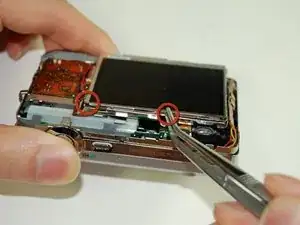
Use the tweezers to pry the LCD screen off from the openings. There are 5 spots that the tweezers can go in to pry the LCD screen off (see attached pictures).
-
-
-
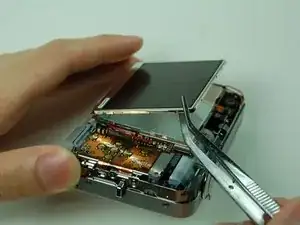
Use the tweezers to lift up the LCD screen.
-
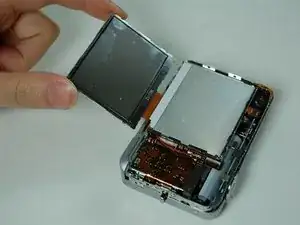
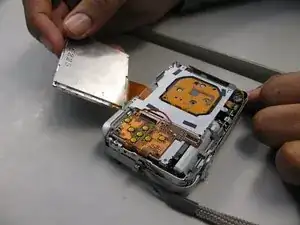
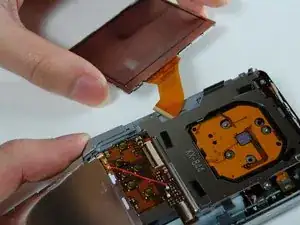
Grab the LCD screen with the index finger and thumb, leave the ribbon attached to the screen and leave it on the side.
-
-
-
Under the LCD screen you will see an LCD casing. You will want to GENTLY pry this off using the tweezers.
-
-
-
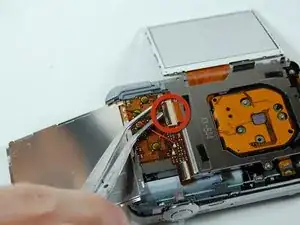
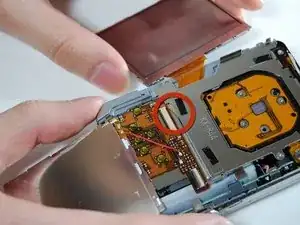
Use the tweezers to flip open the connectors holding the ribbon.
-
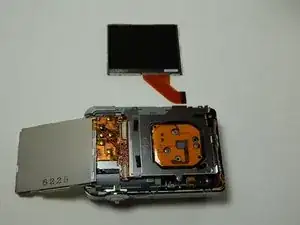
Pull out the LCD screen with the ribbon from the camera.
-
-
-
Reconnect the LCD ribbon to the connectors and flip back down.
-
Ribbon should be inserted straight in and to the right side.
-
-
-
Reattach the back casing as well as the small ribbon with it to the camera body.
-
Be carefully reattaching the case. Using both hands might help.
-
-
-
Locate the labeled screws from Step 2-on the bottom of the camera.
-
These are the longer screws. Screw them back in.
-
-
-
Locate the labeled screws from Step 1 and Step 3-on the side of the camera.
-
These are the shorter screws. Screw them back in.
-
Congratulations! Your camera has been reassembled.
-
By now you should have been able to get your Casio Exilim EX-Z850 camera's LCD screen functioning.
