Einleitung
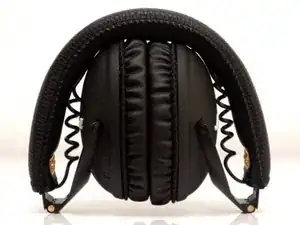
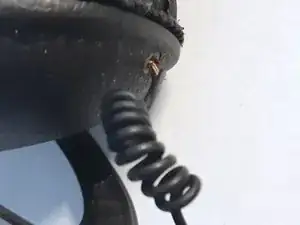
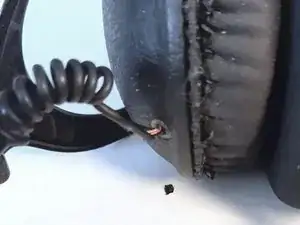
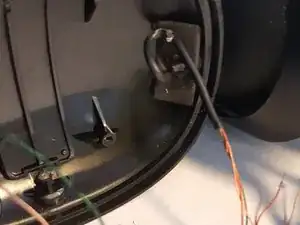
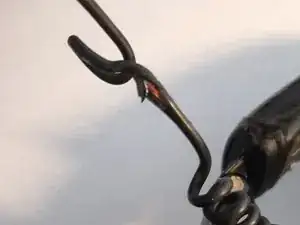
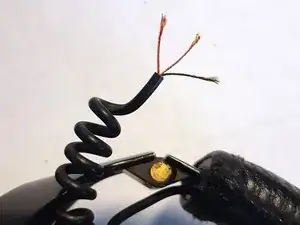
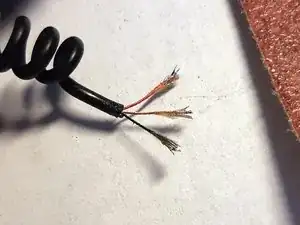
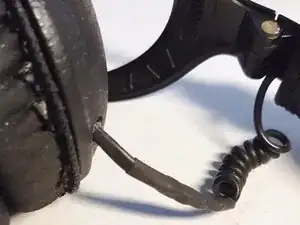
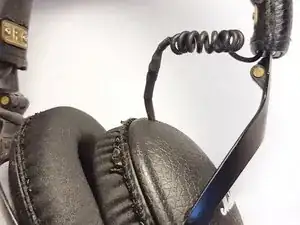
The cables of Marshall headsets do not support the folding system of the headset and more likely end up breaking. As a result, the audio will only pass through to one ear and not the other.
Werkzeuge
Ersatzteile
-
-
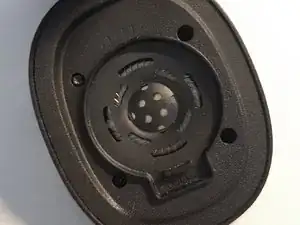
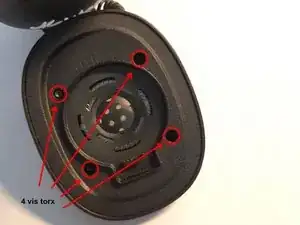
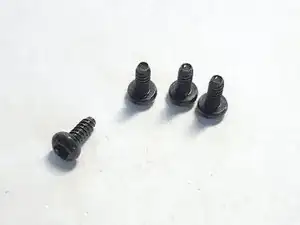
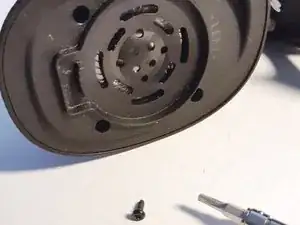
Remove the foam cushion and remove the 4 screws with the Torx screwdriver.
-
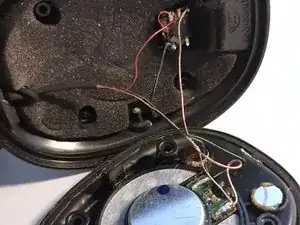
Be careful to carefully remove the upper part of the headset.
-
-
-
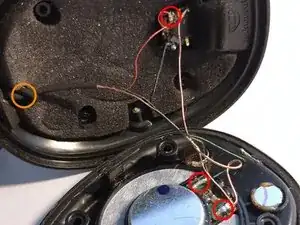
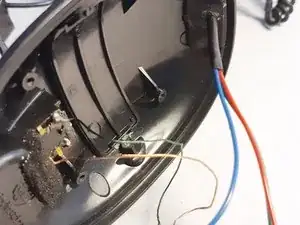
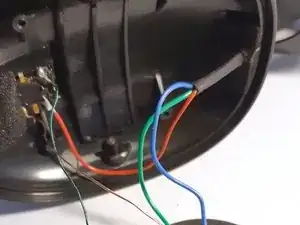
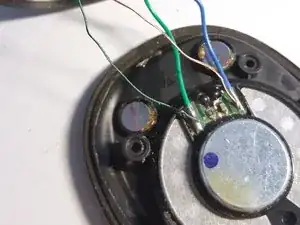
Unsolder the faulty cable connections.
-
Two of the wires are soldered to the transducer (one for ground and one for signal). The third is connected to the input of the 3.5 jack.
-
Remove the inner foam and undo the cable knot to take it out of the headset.
-
-
-
Cut the cable upstream of the damaged area and remove 10mm of sheath.
-
Prepare the wires for soldering. For this, the enamel that isolates the wires from each other must be removed using medium to fine grain sandpaper (120 - 180gr).
-
Next, tin the 3 wires.
-
-
-
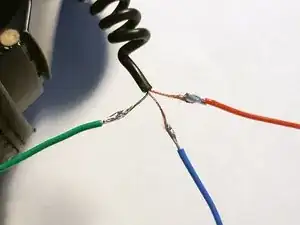
Solder the 3 replacement wires and mark the corresponding color.
-
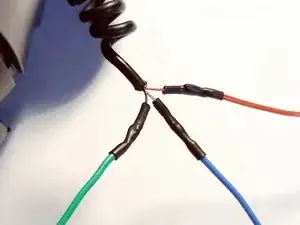
Isolate the 3 solder points by placing the thermoformable sheath on each solder point
-
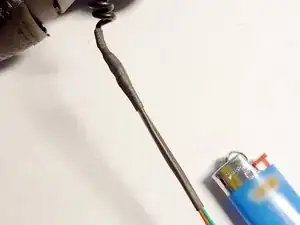
Join the 3 wires with another piece of thermoformable sheath
-
-
-
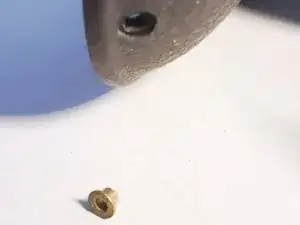
There is a good chance that the diameter of the replacement cable will be greater than the previous one. Therefore it is necessary to remove the original golden cable gland (its use is for decoration anyway).
-
-
-
Pass again the cable through the headset
-
Solder the wires to the placeholder locations
-
Place a dot of hot glue where the new cable passes through to hold it in place and to avoid any strains on the connections.
-
-
-
Replace the foam inside the headset then gently reposition the upper part.
-
Tighten the 4 Torx screws and replace the foam of the outer pads.
-
Crank up the volume!
