Einleitung

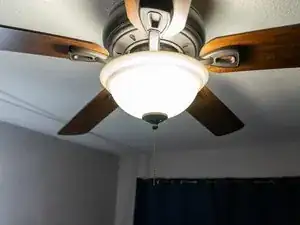
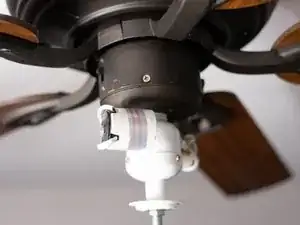
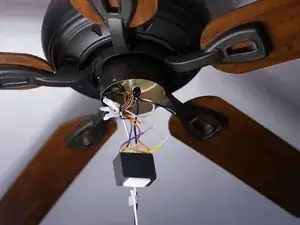
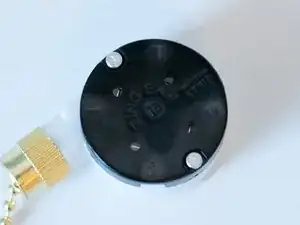
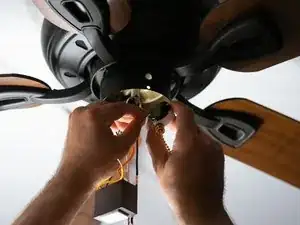
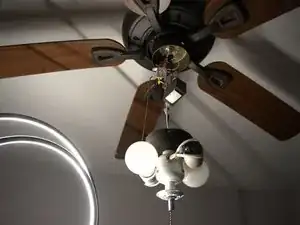
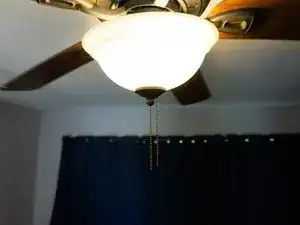
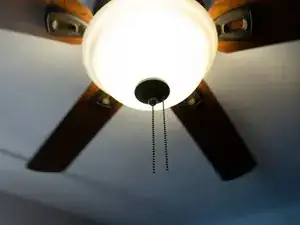
This guide will show you how to replace a ceiling fan pull chain switch.

Ceiling fan pull chains can break in two different ways:

  1. Chain breaks somewhere in the middle, outside the fan housing
    • In this case, the chain can be fixed by adding an extension chain.
  2. Chain breaks inside the fan housing
    • The chain will not be visible from the outside, so the fan housing must be opened to replace the chain or the pull chain switch itself.

This is a guide for replacing the pull chain switch.

Warning: Following this guide may expose you to voltage. Turn off the power from the circuit breaker and turn off any light switches that provide power to the ceiling fan to prevent injury.

  1. OQhlYLpiYGHI2aKW
    OQhlYLpiYGHI2aKW
    lAraLKiod4Ucwc5E
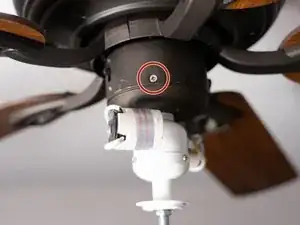
    • Caution: Turn off the power from the circuit breaker and turn off any light switches that provide power to the ceiling fan.

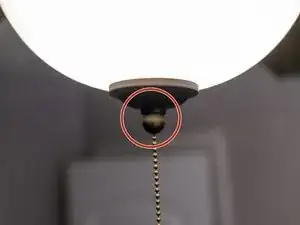
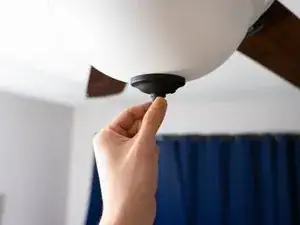
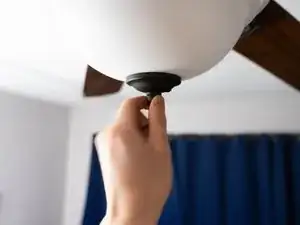
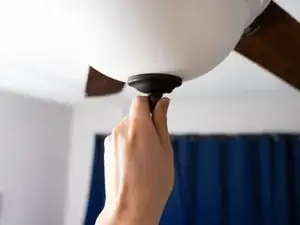
    • Remove the white cover by unscrewing the nut on the bottom from where the chain is hanging.

  2. C6SLDoe4qSkCrtJl
    C6SLDoe4qSkCrtJl
    DJYwoArjNCRoSPpn
    51MGIfxEhcYBtwLi
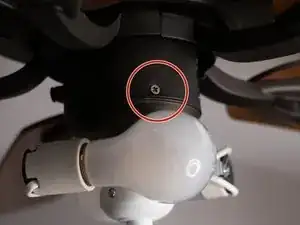
    • Caution: Let the bulbs cool off before you remove them.

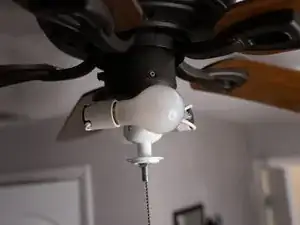
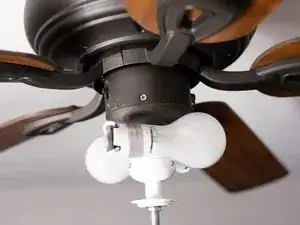
    • Remove the bulbs from their sockets.

  3. xTRY3By6N6kgtDsV
    xTRY3By6N6kgtDsV
    de4WM11SDIggVmSQ
    • Remove the screws around the base.

    • Remove the fan housing.

  4. U2y3H4qAJoM6NoxQ
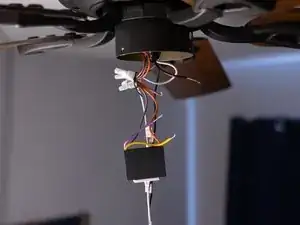
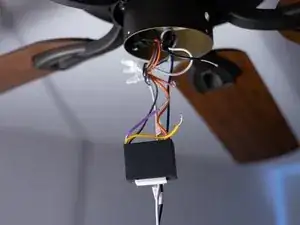
    • Pull the switch out of the fan housing, leaving the wires attached.

  5. hFuUgUhLJOhvUT2m
    hFuUgUhLJOhvUT2m
    pKKFwvRUTyQcBAjn
    xY6MG2XfZZAWk1Qb
    • Cut the colored wires from the switch using a pair of wire cutters.

    • On some switch models, the wires can be detached by pulling.

  6. asRVQFqVqhN1J1Nf
    asRVQFqVqhN1J1Nf
    cqtnTiCBxUy1WseH
    gdFvTUJeXZjfvGtM
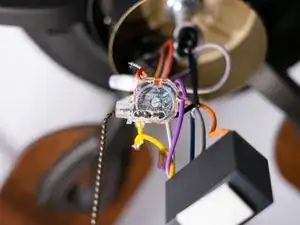
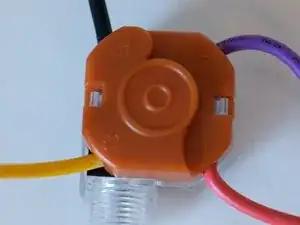
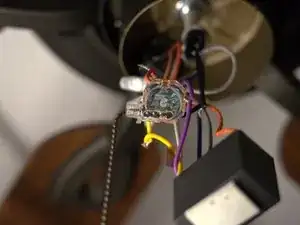
    • Note the wire colors and the terminal they attach to on the old switch.

    • 1 - Red

    • 2 - Purple

    • 3 - Yellow

    • L - Black

    The switch shown is more likely to be the switch which controls the fan speeds. The light switch is most likely to only have 3 wires connected to it. Same principle as described; just incorrect photo.

    Dave Seitman -

  7. S4mhKUQPcNdJv1Xl
    • Attach the colored wires to the new switch's respective terminals.

  8. TgbxJiJeoNevORHB
    TgbxJiJeoNevORHB
    MwIvoHjxZtxqojgJ
    • Put back the switch in the hole in the fan housing from the inside.

    • Tighten up the screws on the outside.

  9. eXMxcpW3pTSKU32a
    eXMxcpW3pTSKU32a
    h2JW2WNgoJOfut55
    gBgKcWNfpVeFNdKB
    • Put back the white cover and then tighten up the nut at the bottom of the cover from where the chain is hanging.

  10. u4uLLt6fPlXvwNNB
    u4uLLt6fPlXvwNNB
    WwoVMrBRByVTeAGp
    • Turn the power back on and test the switch to find if it is working or not.

Berkeli Alashov

Mitglied seit: 25/02/21

226 Reputation

0 Kommentare