Einleitung
-
-
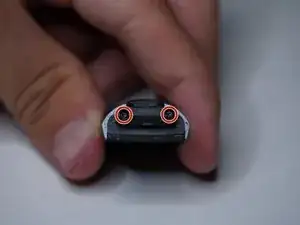
Entferne beide T2 Schrauben
-
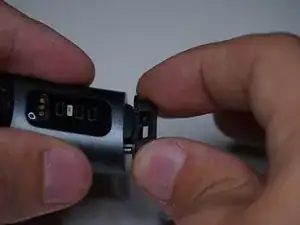
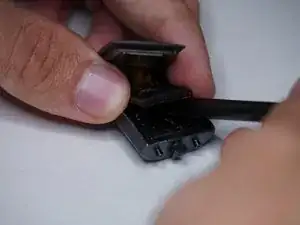
Entferne das Plastikteil durch Herausziehen und Ankippen und anschließendes Herausheben.
-
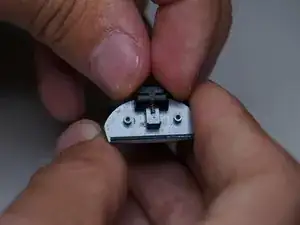
Schiebe die Plastik- und Federmontage aus der Schiene heraus.
-
-
-
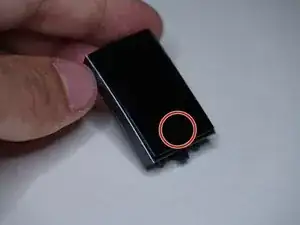
Erhitze das Glasdisplay mit einem Heißluftföhn, um den Kleber aufzuweichen.
-
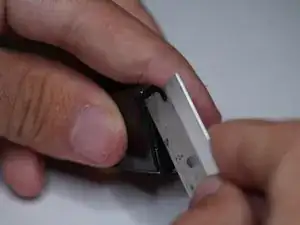
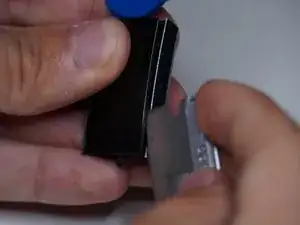
Schiebe eine Rasierklinge zwischen das Glas und den Metallkörper.
-
Gehe um den Rand des Displays herum, bis das Display lose ist.
-
-
-
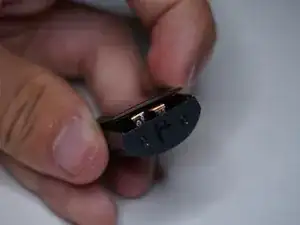
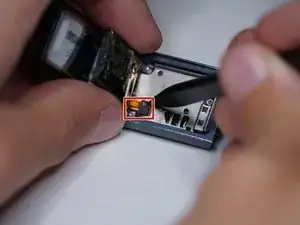
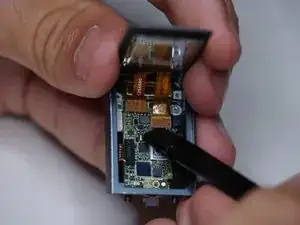
Trenne den Vibrationsmotor ab.
-
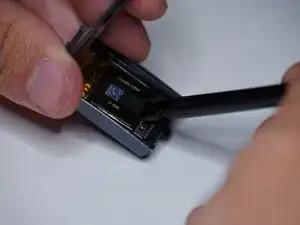
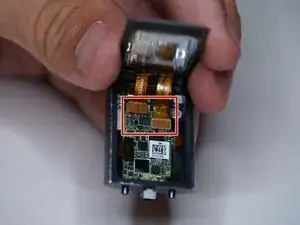
Trenne den Herzfrequenz- und den Ladestecker ab.
-
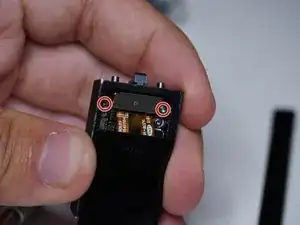
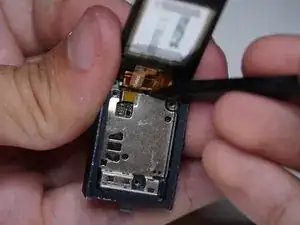
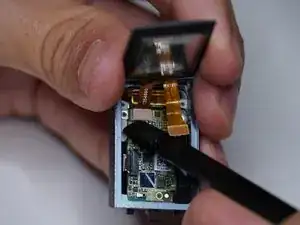
Entferne den Höhenmesser.
-
-
-
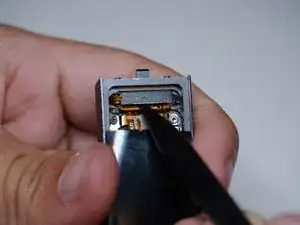
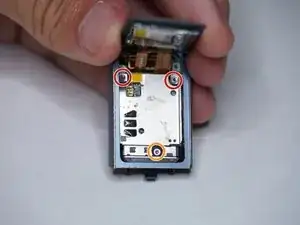
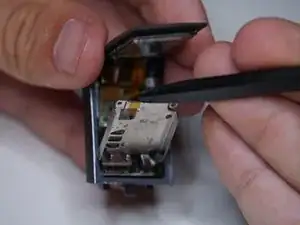
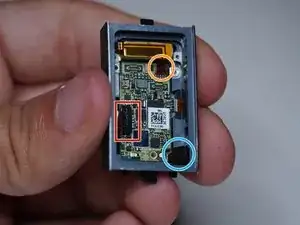
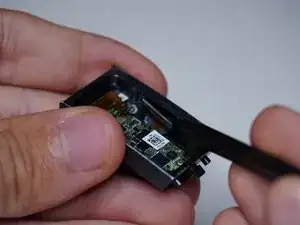
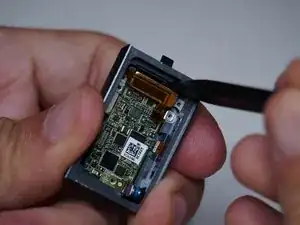
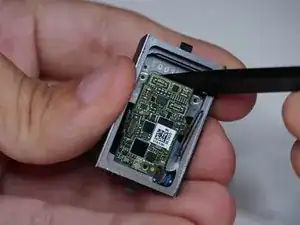
Entferne die Hauptplatine.
-
Der Herzsensor und die Ladepins sind scheinbar fest ins Gehäuse integriert worden. Ich war nicht in der Lage, sie zu entfernen.
-

10 Kommentare
The tear down pictures are great, but in my Charge 3 I needed a T-1 and a T-2 driver
Same, my ifixit pro kit only had a driver for the external screws and did not come with a small enough driver to remove the screws inside the charge 3 unit. I'll need to get the smaller bit from a different kit.
Which step in the teardown guide needed the T1 driver?
Great job on this tear-down. Thank you, it really helped in my screen replacement.
AndyZ -
This tear down was very easy to follow. The heart rate monitor was also sealed in with some adhesive for me too but a little heat gun took it right off. I had suspected water leaked in and that in fact was the culprit after inspecting the connection. corrosion all around the HR monitor.
Be careful of the small spring, it can jump away!
Niels Fennema -
Mine are definitely T2 torx screws (not T3 as written here). I'm pretty sure mine is the fitibt is Charge 3. Maybe they come in different versions. The rest of the instructions, up to the battery, are the same. I only needed to change the battery.
S C -