Einleitung

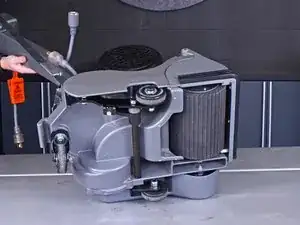
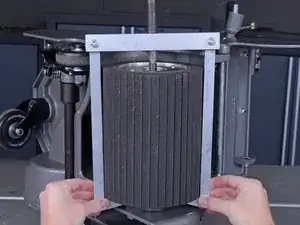
Follow this guide to replace the drum expander of a Clarke EZ-8 floor sander.

  1. AAq6ugauoZErPlVX
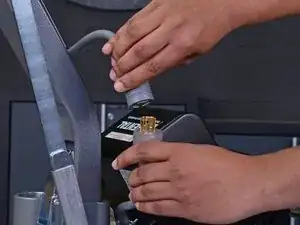
    • Before you begin your repair, disconnect all power cables to reduce the risk of short circuits and electric shock.

  2. ygAG4XAnyoAREoY6
    ygAG4XAnyoAREoY6
    eGqq4nGf44Kc2PVu
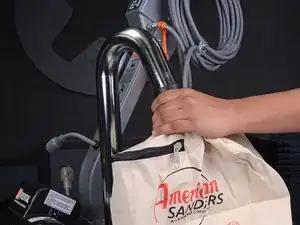
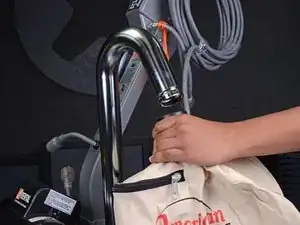
    • Pull on the dust bag to remove it from the dust tube.

    • If the dust bag doesn't slide off easily, gently twist it back and forth while pulling to free it from the tube.

  3. WEy2NfgJHORfkMu4
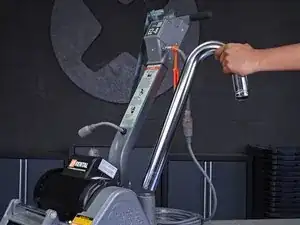
    • Pull up on the dust tube to remove it from the sander.

  4. 2Gf6MQxLFJYpuVCJ
    2Gf6MQxLFJYpuVCJ
    PTlEEtWGyDBJBSBm
    HEdWcroDRwMobe1Z
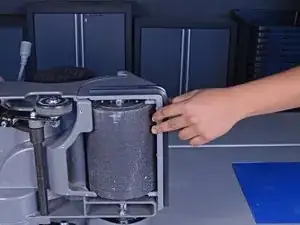
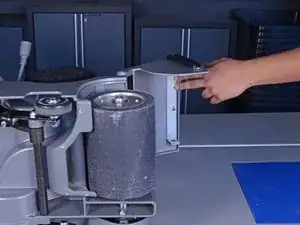
    • Gently lower the sander onto its left side (the side with the belt guard).

    • Lift the front cover up and out of the way of the sanding drum.

  5. ZIpgyQUaDwWbrxxR
    ZIpgyQUaDwWbrxxR
    JJc56hbwQbiWdOig
    nioxJHSmCZSewmmE
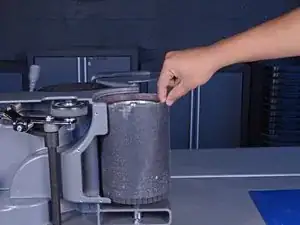
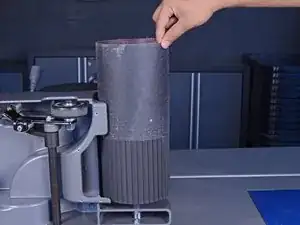
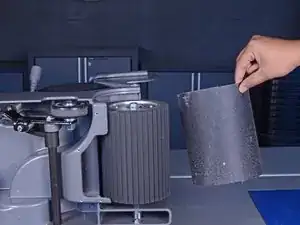
    • Pull the sandpaper loop straight up and remove it from the drum.

    When in this position before removing the drum check the level of the wheels supporting the drum. Place machine on its left side and position right beneath to the left of the wheel is a 3/4 adjustable screw

    Deandre Dumas -

  6. 6mwWXoth3sqBNvKd
    6mwWXoth3sqBNvKd
    qF16pQVaDkugTP4T
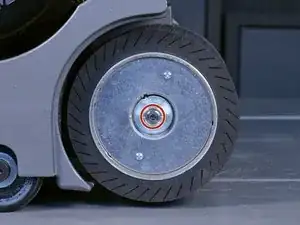
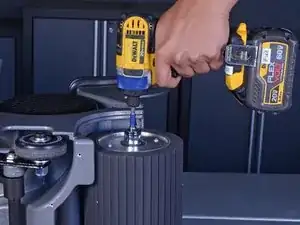
    • Remove the 3/4" nyloc nut from the drum end plate.

    • Nyloc nuts can be difficult to remove. If necessary, use an impact driver or another power tool for this step.

  7. mEDH6tQwy4KIaJqT
    mEDH6tQwy4KIaJqT
    BwjjAZB4H3ftEvwB
    PdiWWwDMeJyQg2WQ
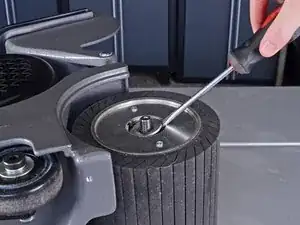
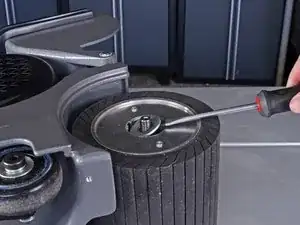
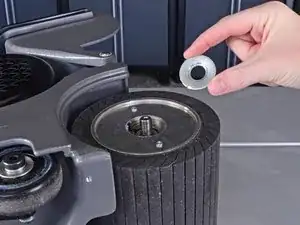
    • Use a flathead screwdriver or a prying tool to pry up the key washer and remove it from the drive shaft.

    • The key of the key washer may break off during removal. If so, replace the key washer with a new one during reassembly.

    Use the drum puller to loosen the drum and key washer so the key washer does not break. Do not go to far as to send the drum puller into the key washer.

    SAM -

  8. MNBraEgyjZogI3Nm
    MNBraEgyjZogI3Nm
    KDy5tgbakLcGSxJb
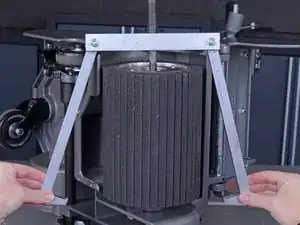
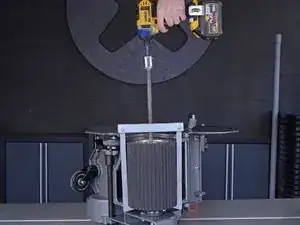
    • Place the center screw of the drum puller onto the drive shaft of the sander and hook the puller jaws around the bottom end of the drum.

  9. CnTl5lnl3GHpoWDH
    CnTl5lnl3GHpoWDH
    FReSwV3eLCa2BHwR
    YgN1nKLENKWBFFiK
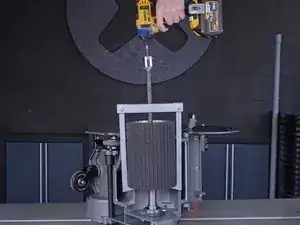
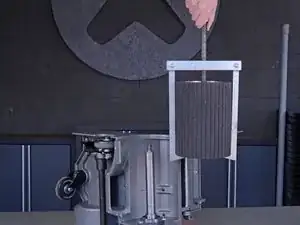
    • Use a 15/16" socket and an impact driver or a socket wrench to drive the screw of the drum puller clockwise, lifting the drum off the drive shaft.

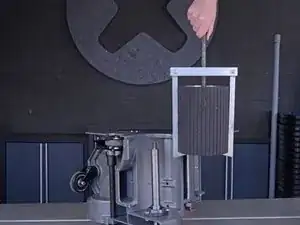
    • Once the drum has been lifted about halfway off the shaft, it should move freely and can be lifted the rest of the way by hand.

Abschluss

To reassemble your device, follow these instructions in reverse order.
Taylor Dixon

Mitglied seit: 26/06/18

63211 Reputation

0 Kommentare