Einleitung
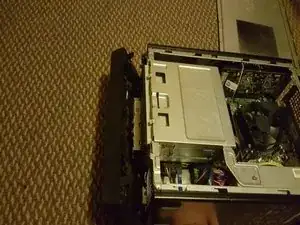
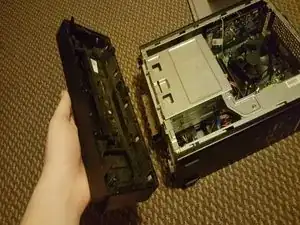
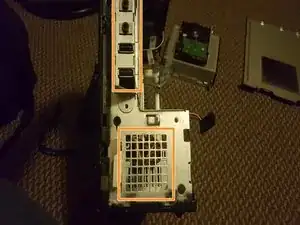
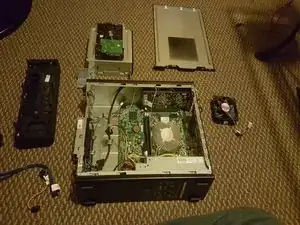
This is an extensive guide showing you exactly how to take apart this PC piece by piece and clean it out. The guide is very simple to follow and will allow you to clean everything from the motherboard, to the fans, right back to the Heat Sink.
This is must know information if you want to save a ton in professional cleaning and keep your system running at cooler temps, in addition to longer PC life!
Werkzeuge
-
-
First attach your Anti Static wrist band to both yourself and the chassis of the computer. You may need to move your wrist band around to different areas to make it easier while dismantling and that's fine. Just remember to have it connected at all times when handling the parts.
-
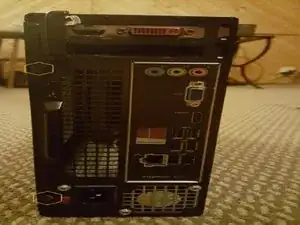
Now we can begin taking the PC apart. To start simply remove the two case screws on the back.
-
-
-
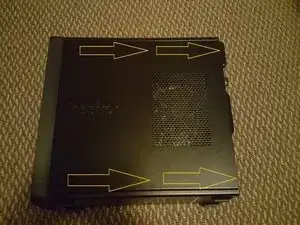
Next we are going to lay the tower on it's right side (side where motherboard is attached) and slide the cover off.
-
-
-
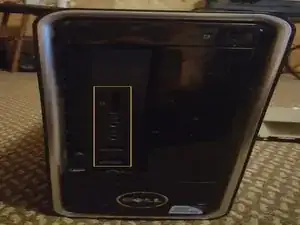
Before moving on, make sure that nothing is plugged into the ports on the front of the PC. If there is anything plugged into them, please remove them now.
-
-
-
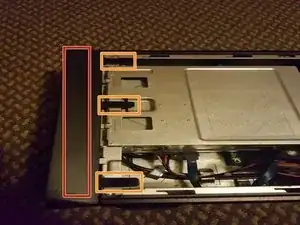
While putting LIGHT downward pressure on the side of the face cover (red), apply gentle upwards pressure to the three clips (Orange).
-
-
-
Once the three clips are free from the internal case you will see the face panel swing down. Simply lift the front of the PC up while it is laying on it's side, and the face cover will unhook from the other side.
-
-
-
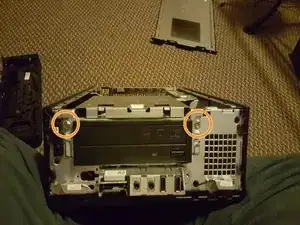
Next remove the three screws holding the HDD and Optical Drive in place. It is very important that you DO NOT remove the drives yet as they are still plugged into the motherboard.
-
-
-
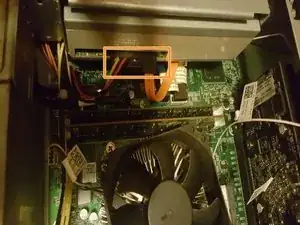
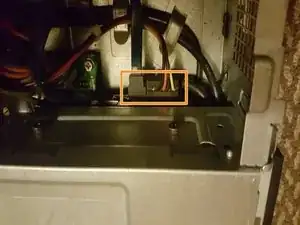
Next we need to unplug the cables from the back of the Optical Drive and HDD. Do not grab the wires to pull. Get a firm grip on the hard plastic plugin and gently rock the cord side to side until it comes free.
-
Keep in mind there are two cords for your Optical Drive, and two cords for your HDD to make a total of four that need to be unplugged.
-
-
-
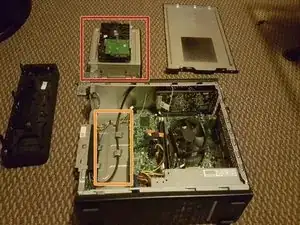
Now that the screws are removed and cables unplugged. Very carefully lift the drives out. They slide directly up and out. Make sure to set your drives with the HDD facing up like you see in Red Box. To reassemble your drives carefully line them up in the space with the orange box outlined.
-
Then carefully set them inside the PC. It lines up perfect and comes close to the SATA cords on the motherboard. Make sure nothing is getting pressed down underneath when reassembling.
-
-
-
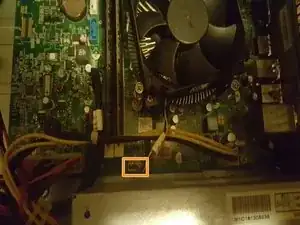
Before you use the canned air or Air Compressor on the inside, make sure to remove those pesky SATA Cords as they tend to grab and hold onto pet hair and other dust chunks. Be careful when reassembling as the ports are numbered. 0 is the first SATA port your motherboard will load so make sure your HDD is plugged into 0.
-
Your Optical Drives plugs into the number 1 which is right next to your 0 port. 1 will be loaded second so make sure your Optical Drive is connected to that. Otherwise when you turn your PC on, it will not load your Operating System, which is the Interface you see when using your PC.
-
-
-
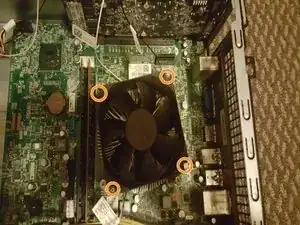
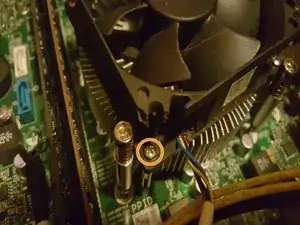
Note: We are NOT removing the heat sink in this guide as that requires cleaning of its own and reapplying thermal paste. It is VERY important you check the second photo in this step to make sure you are taking the correct screws out.
-
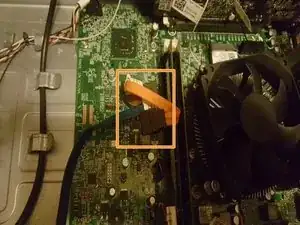
Remove the four screws around the edge of the fan and make sure to unplug the power wire to the fan (Photo #3). Once unplugged and screws removed, you may gently take out the heat sink fan.
-
-
-
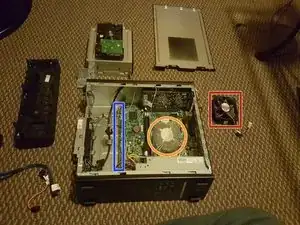
With everything out of our way we can begin cleaning. You may clean in any order you wish. When cleaning the Heat Sink Fan (Red) DO NOT let the fan spin. When cleaning the Heat Sink Grill (Orange) you may find it best to use cotton. Start in the center and pull to the outer edge to clean.
-
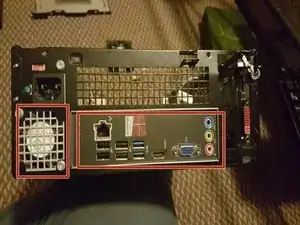
Make sure you spray underneath your motherboard. There is a small gap between your chassis and motherboard shown in the blue marker. Dust, pet hair, and other debris like to hide under there. To finish up make sure to spray the back peripheral ports and the front ports. Also spray down system fans making sure not to let them spin!
-
-
-
If you would like to clean the Front Case, simply take a damp cloth and wipe it down. Make sure it fully dries before reassembly otherwise you risk water damage to the PC.
-
If cleaning the Optical and HDD Drive be very careful not to drop or slam the HDD as you will damage your DATA and OS. Meaning when you reassemble the PC, you will not have an Operating System to come back to. Also be careful not to spray to close to parts as condensed air has high moisture content at close range.
-
Congratulations! Wasn't so hard after all huh? Now that you are done cleaning everything, just put it back together. Follow the steps above in reverse if you get stuck, and should you run into problems and need help, please feel free to ask me!
