Einleitung
Ersatzteile
-
-
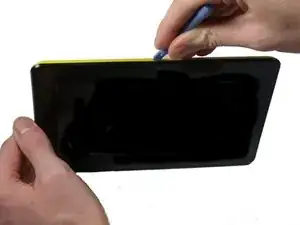
Press the plastic opening tool in until you hear a “click” and that part of the tablet opens.
-
Press and slide the plastic opening tool around all sides of the tablet until all sides pop off.
-
-
-
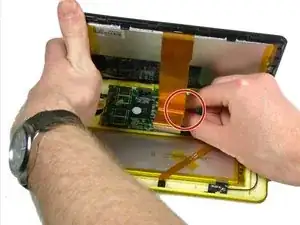
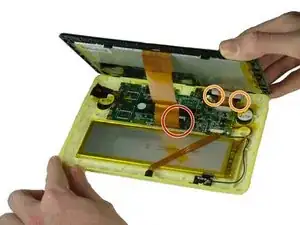
There is a black tab behind the long ribbon cable. Lift up the black tab.
-
For the ribbon cable in the back, pull the black tabs on the side out.
-
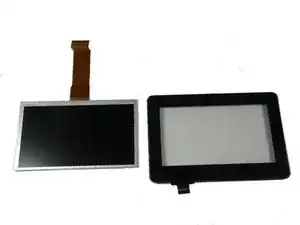
Detach the ribbon cables connecting the screen to the motherboard.
-
Remove any tape that is holding down the ribbon cables. Set it aside.
-
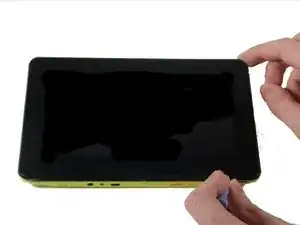
Once the ribbon cables are freed, separate the top and bottom sides.
-
-
-
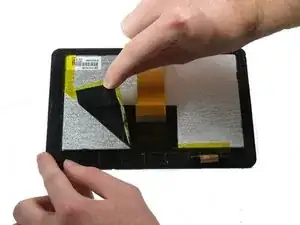
Remove the yellow tape on the right side. Easiest side to get.
-
Remove the black and yellow tape stuck together on the left and bottom sides of the screen.
-
-
-
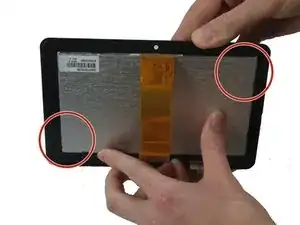
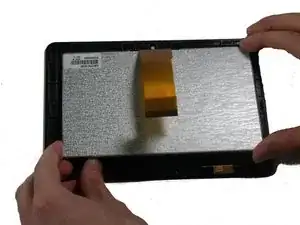
Flex the sides of the tablet until the clips holding the display to the screen case pop loose.
-


To reassemble your device, follow these instructions in reverse order.