Einleitung
Werkzeuge
-
-
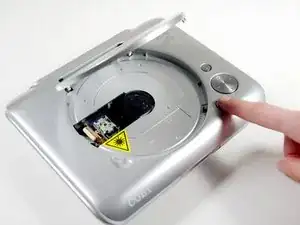
Press the eject button to view the laser inside.
-
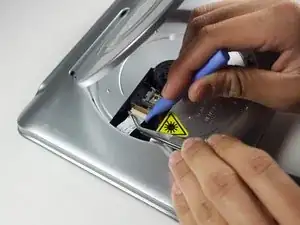
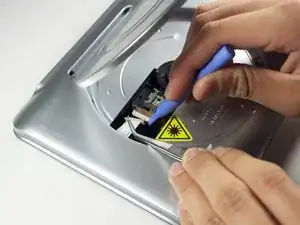
Using the blue plastic tool and the tweezers, remove the ribbon cable.
-
-
-
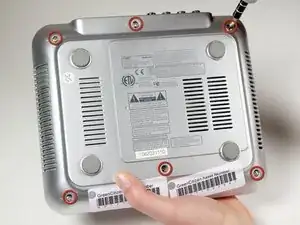
Remove the six 1cm screws on the bottom of the device with the Phillips #1 screwdriver.
-
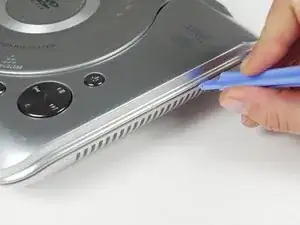
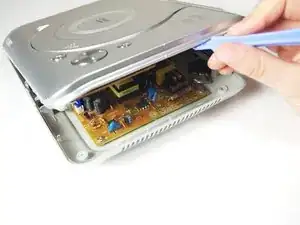
Pry the top of the device open from the right side where the buttons are located.
-
-
-
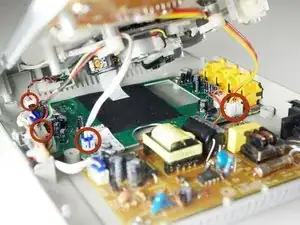
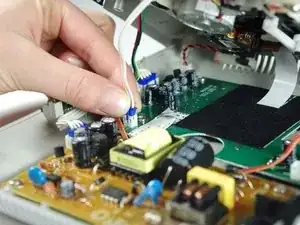
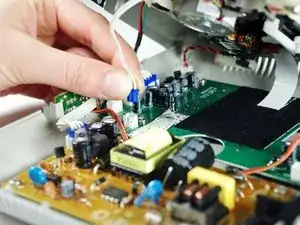
Pinch the plastic adapter with two fingers to remove the wires circled in red from the circuit board.
-
-
-
Position the DVD player so that the power and AVI ports are facing you.
-
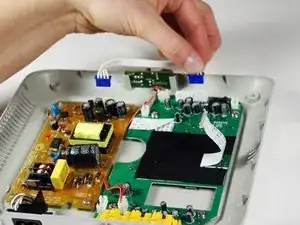
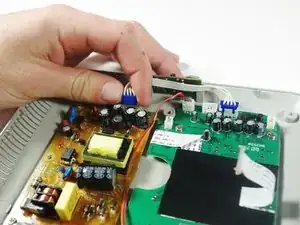
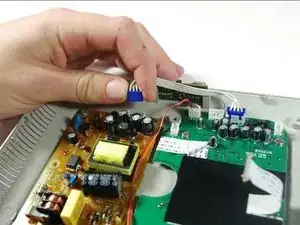
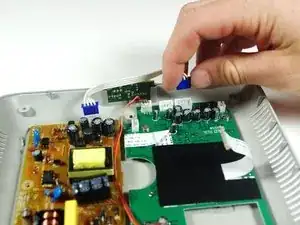
Pull the white cable with the blue adapters off of the circuit boards.
-
Abschluss
To reassemble your device, follow these instructions in reverse order.
