Einleitung

  1. Mep5sCPurCGvLAxo
    Mep5sCPurCGvLAxo
    w2eMOT6pFgYbwcQ2
    mRXrooqlb3ZYNXQU
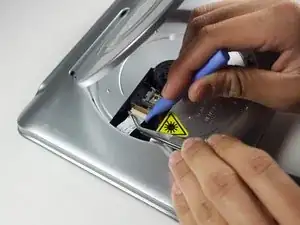
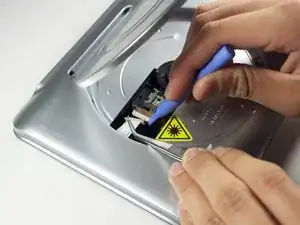
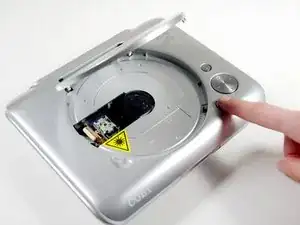
    • Press the eject button to view the laser inside.

    • Using the blue plastic tool and the tweezers, remove the ribbon cable.

  2. r2WOeFJJHJp1nxYA
    r2WOeFJJHJp1nxYA
    jYvFoQDNUFPwjyR5
    uIQIpUHMSni3d2kf
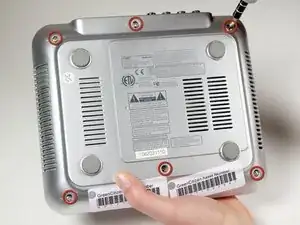
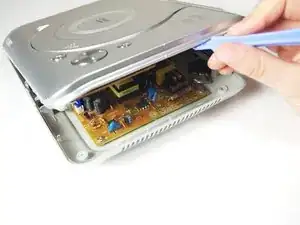
    • Remove the six 1cm screws on the bottom of the device with the Phillips #1 screwdriver.

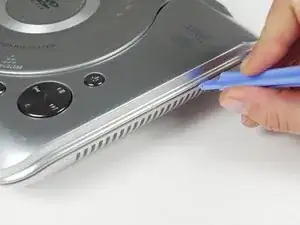
    • Do not lift the top of the DVD player too quickly because there are wires attached on the inside.

    • Pry the top of the device open from the right side where the buttons are located.

  3. VhUZUXCvDsi1R3AF
    VhUZUXCvDsi1R3AF
    a6iYqnmpgALnVQLl
    SSXOcsroJ1LNpon4
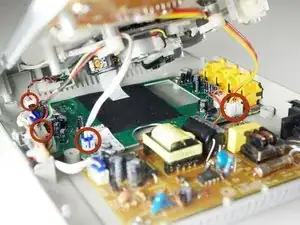
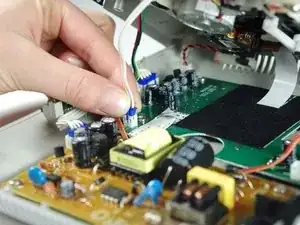
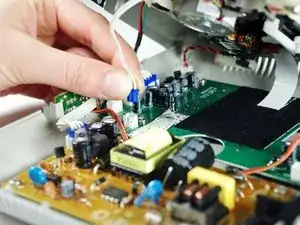
    • When pulling the ribbon cables out, make sure not to pull by the wires, as this can cause damage to them.

    • Pinch the plastic adapter with two fingers to remove the wires circled in red from the circuit board.

Abschluss

To reassemble your device, follow these instructions in reverse order.
Kyle VanAllen

Mitglied seit: 20/01/12

70 Reputation

0 Kommentare