Einleitung
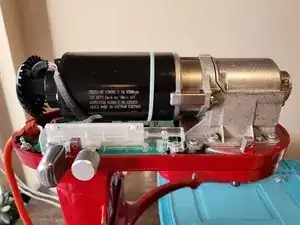
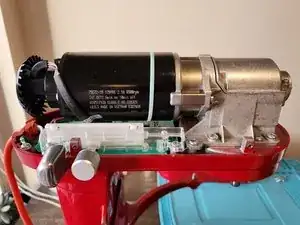
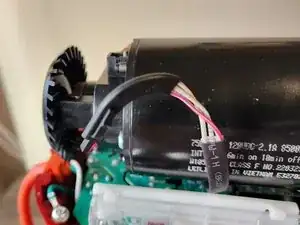
The powertrain assembly is comprised of the motor, the gearbox, and the transfer gears. Unlike previous generations of KitchenAid AC Motor bowl-lift mixers, which had these broken in to discrete parts, this is a single unit in this model and must be replaced as such.
Note: Depending on the generation of your motor it might have a different coloration than the one in the picture (e.g. older models were all silver). Verify the motor part number before continuing.
Werkzeuge
Ersatzteile
-
-
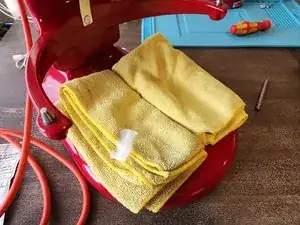
Place a couple dish towels or other soft materials on the base to protect it from any potential impact.
-
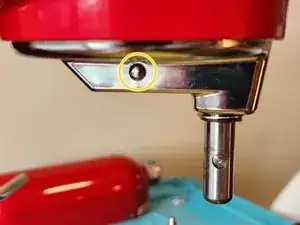
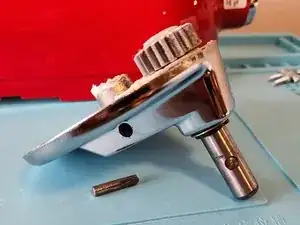
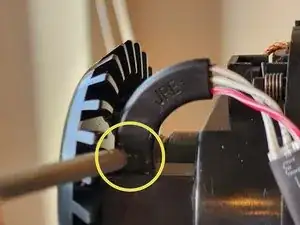
Disconnect the planetary from the motor drive shaft by removing the retaining pin (circled in yellow). You can do this with a hammer and either a pin punch or a Torx T15 screwdriver. Simply hammer the punch/screwdriver on the pin until it comes out the other side.
-
If the planetary assembly doesn't fall out, you might have to give it a firm pull straight down to remove it.
-
-
-
Using a #2 Philips Screwdriver, remove the screw which holds on the trim band.
-
Remove the trim band.
-
-
-
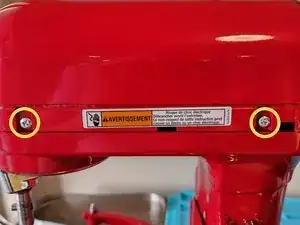
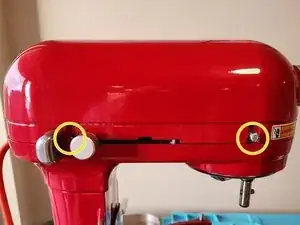
Remove the four screws (circled in yellow, two on each side) using a #2 Philips Screwdriver
-
Remove the motor housing by lifting it straight up.
-
-
-
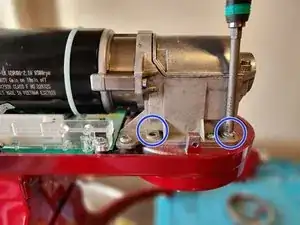
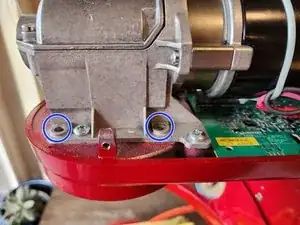
There are two motor support brackets: one in front, one back (shown in the first image)
-
Each bracket is attached to the motor by two screws (one on each side).
-
Using a #2 Phillips screwdriver, remove the four screws (circled in yblue in the second and third images) which attach the two motor support brackets.
-
-
-
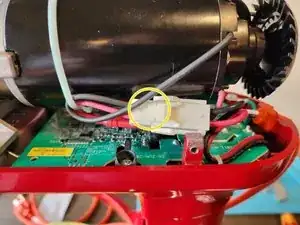
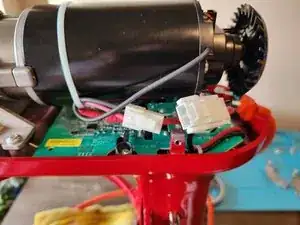
Disconnect the motor power cable by depressing the locking tab (circled in yellow) while pulling the connector apart.
-
-
-
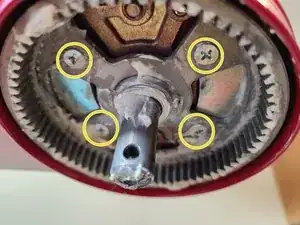
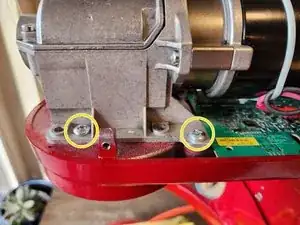
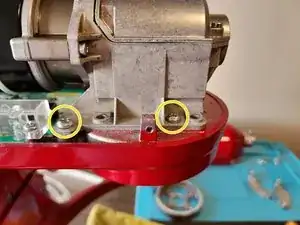
Using a #2 Philips screwdriver, remove the four screws (indicated in yellow, two on each side) attaching the powertrain/motor to the mixer body.
-
-
-
Remove the hall effect sensor from its mount by pressing down on the tab indicated in the first picture and sliding it out.
-
Now that the powertrain/motor is fully disconnected from the mixer, remove it and place it to the side.
-
Begin the reassembly process with the new powertrain/motor
-
To reassemble your device, follow these instructions in reverse order.
