Einleitung
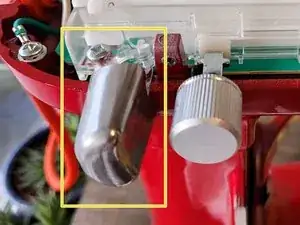
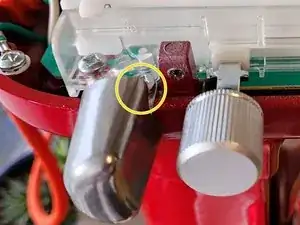
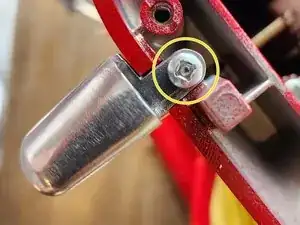
The switch guard is there to prevent accidental activation of the mixer, something which is critical in a commercial environment. The switch guard can be damaged due to a strong impact to the side of the mixer. This guide will provide a detailed step-by-step instructions on how to replace the switch guard for the KitchenAid Commercial 8qt Mixer.
Werkzeuge
Ersatzteile
-
-
Using a #2 Philips Screwdriver, remove the screw which holds on the trim band.
-
Remove the trim band.
-
-
-
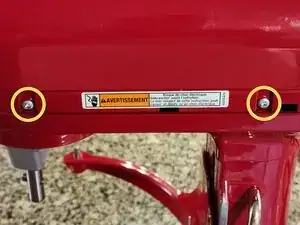
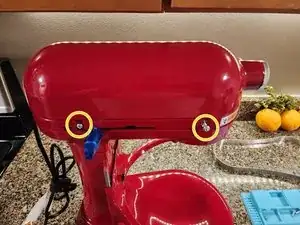
Remove the four screws (circled in yellow, two on each side) using a #2 Philips Screwdriver
-
Remove the motor housing by lifting it straight up.
-
-
-
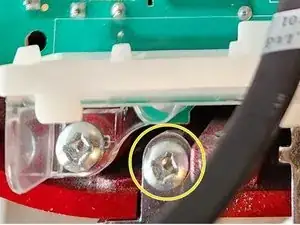
Using a #2 Phillips screwdriver, remove the single screw attaching the switch guard to the mixer body.
-
To reassemble your device, follow these instructions in reverse order.
