Einleitung
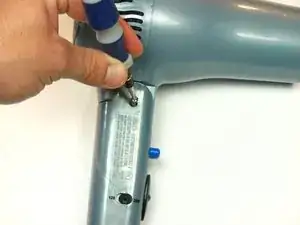
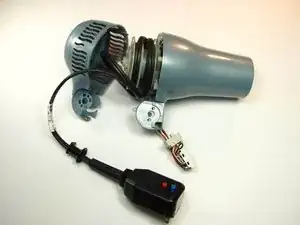
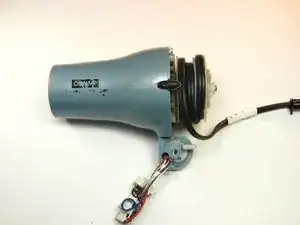
You are going to be starting from the handle and working your way to the head of the dryer in this disassembly.
Werkzeuge
-
-
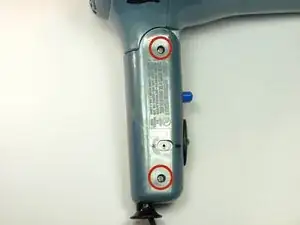
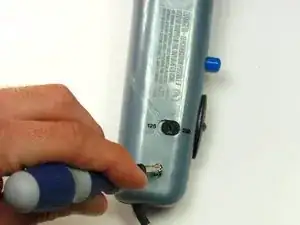
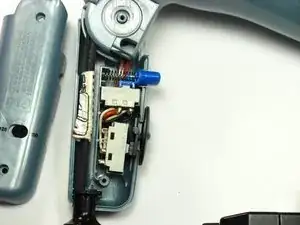
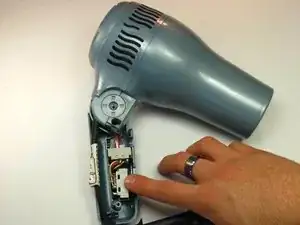
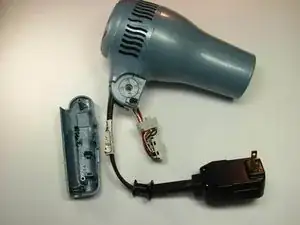
Once you have taken the screws out, take the top half of the handle off by lifting it off of the dryer.
-
-
-
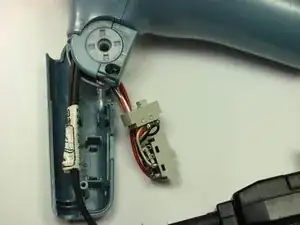
Gently remove the tan boxes (power supply) by wiggling them out of place and set them aside so you can take the back part of the handle off.
-
-
-
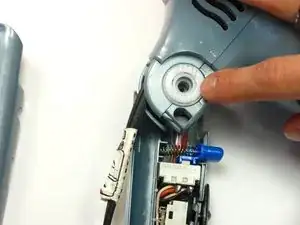
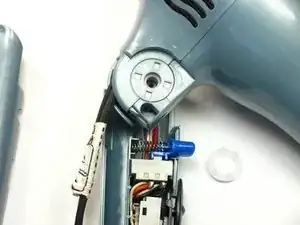
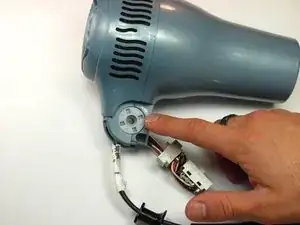
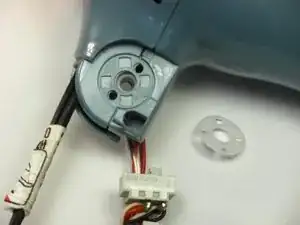
Remove the inner white disk piece from the base of the dryer head by gently pulling it out with your finger nail.
-
-
-
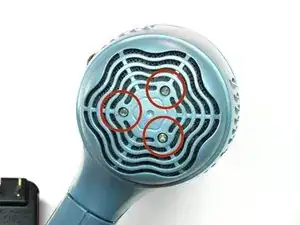
Once the three screws are removed, pop the back of the dryer off by wiggling it until it comes loose. This shouldn't take too much effort.
-
-
-
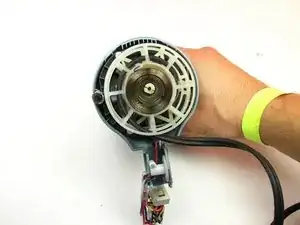
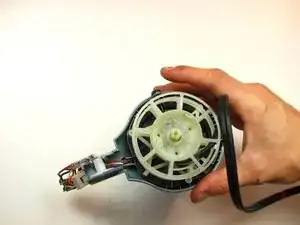
At this point, unwind the cord and lay it to the side so you can get to the screw in the middle easier.
-
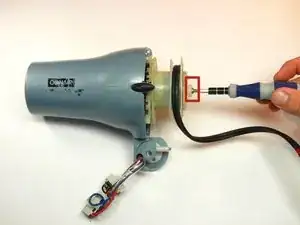
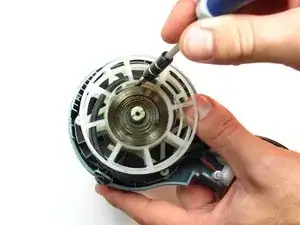
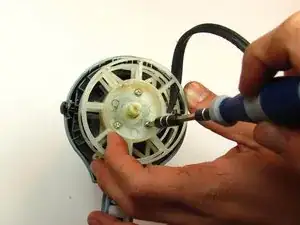
Remove the single 12 mm long Phillips #2 screw in the middle of the cord track.
-
-
-
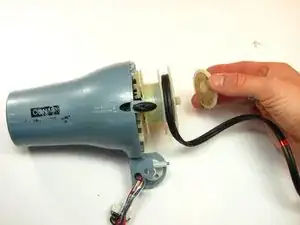
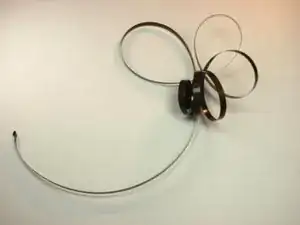
Take off the white cap that covers the heating coil. You will see a wound up piece of metal (cord retracting coil) underneath once the cap is removed.
-
-
-
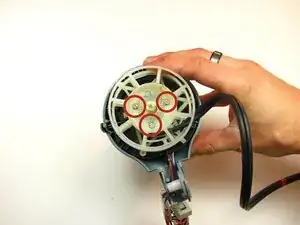
Once the coil is removed, unscrew the three 11 mm long Phillips #2 screws underneath to remove the retracting wheel.
-
To reassemble your device, follow these instructions in reverse order.
