Einleitung

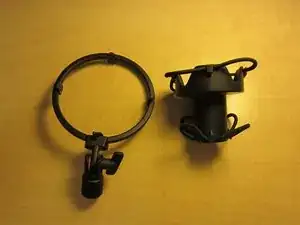
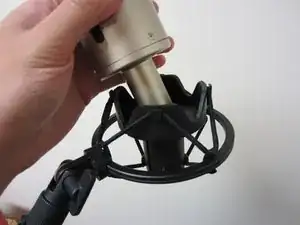
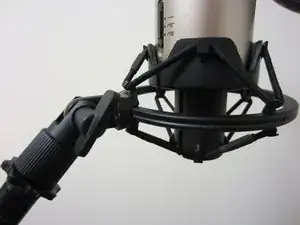
Need to know how to replace the cords on your condenser mic shock mount without any hassle or worries you are doing it wrong? Look no further, this guide will show you the proper steps to replacing the cords in a proper fashion.

  1. ZYHDLpSU1lr42JTg
    ZYHDLpSU1lr42JTg
    pj2FTIIOcWb4VA3y
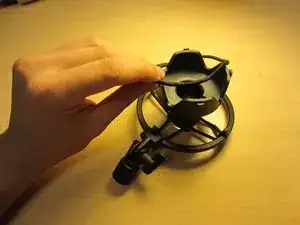
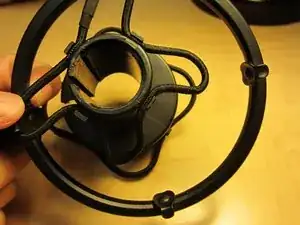
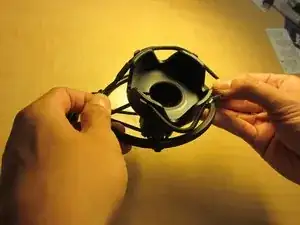
    • Begin by removing the top broken cord from the mic holder.

    • Be gentle with the removal of the cords. Forceful removal could result in damaging the mic holder itself.

  2. hZfP3vSByFOtpB6U
    hZfP3vSByFOtpB6U
    uxFBK6FOZcePTNlE
    qgcLBtvhFE5ZfWVT
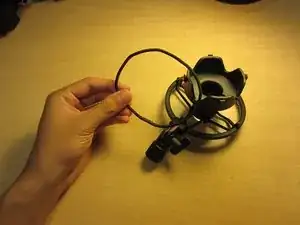
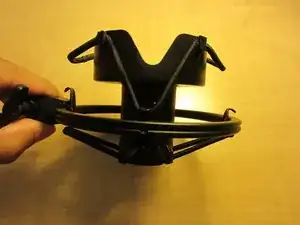
    • Once the top cord is properly removed, remove the bottom cord.

    • Removing the final cord will disconnect the mic holder from the outer ring. Make sure the mic holder is secure and won't fall once the final cord is removed.

  3. cNWJK23HVvXjkqrU
    cNWJK23HVvXjkqrU
    1naIOoxr2avSP122
    mSddhVEVYTPqcHiK
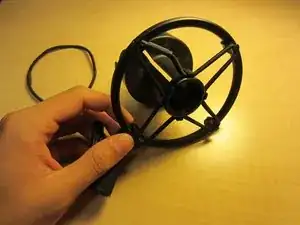
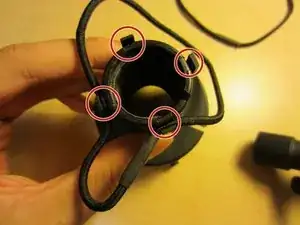
    • Begin by attaching the bottom cord to the four slots attached to the mic holder.

    • Cord lengths can be adjusted after it has been attached to the four slots.

  4. Ygu4aYPA3klBugif
    Ygu4aYPA3klBugif
    gKKckSIsL2hTnZaQ
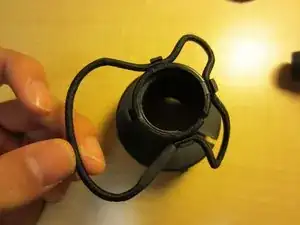
    • Once the bottom cord is securely attached, attach the top cord the same way.

  5. BrTSGUwrFRMJE2L5
    BrTSGUwrFRMJE2L5
    BO16laVNo2SAa466
    XaC2LmGxIPMo3536
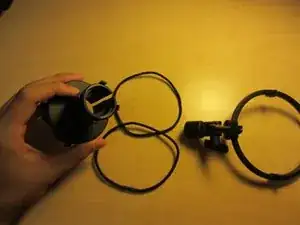
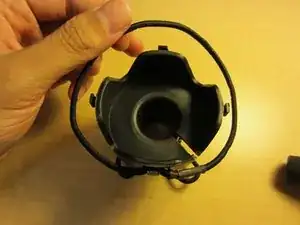
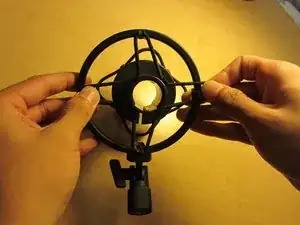
    • Next, take the mic holder and center it in the middle of the outer ring.

    • Take the bottom cord loops and string them on the outer rings' hooks.

    • Each cord hoop should be about the same length so that the mic holder is centered in the outer ring.

    • It is easier to string opposite cord hoops first rather than stringing them consecutively.

  6. oWvsFy5txsG5iARp
    oWvsFy5txsG5iARp
    O4MVKSIlKR33NnFv
    wIgEyIW1RTDavm3g
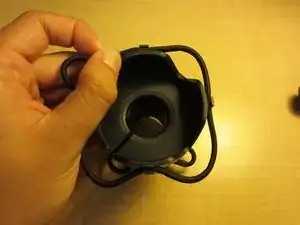
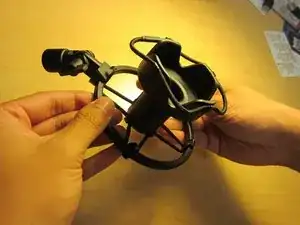
    • Flip the parts over so the top is facing up and hook the top cord onto the outer ring.

  7. ZOSMENDZM1kBHGHr
    ZOSMENDZM1kBHGHr
    eecNnKmFc1ibsXTh
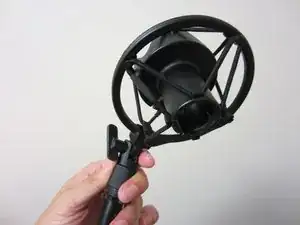
    • Once both of the cords are secure, you may reattach the shock mount to the mic stand.

    • Be sure the cords are secure and won't snap off before reattaching your microphone.

  8. JdfFCZZn2YVjZGcd
    JdfFCZZn2YVjZGcd
    FJAZfgTKAXPVhFjL
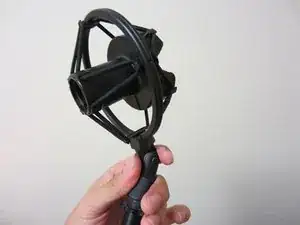
    • Carefully reattach your condenser microphone to the shock mount to make sure the cords are connected properly.

    • Once it is confirmed that the cords are attached securely, use your shock mount at your leisure.

    What microphone shockmount is this please? I'm looking for the bands for this type of shockmount. It looks like the Studio Projects B1 but they're no longer available. There must be a similar shockmount that I can get supplies from.

    Jerry Lefever -

Avery Kwong

Mitglied seit: 29/09/15

141 Reputation

Ein Kommentar

Where do you get the replacement cord?

Steve Hynes -